Building an ice cream cake sounds intimidating right up until the moment someone realizes it is really just layering and freezing done in the right order. Learning how to make ice cream cake that slices clean and looks intentional comes down to a handful of steps most recipes skip past too quickly, timing, layering, and giving each part enough freezer time before moving on.
This tutorial walks through the whole process from planning the flavors to the final freeze before serving. Nothing here requires special pastry skills. What it does require is patience between steps, since rushing the freeze time is the single biggest reason homemade versions collapse or slide apart the moment a knife touches them.
Follow the order below exactly as written, since each step sets up the one after it. By the end, the cake should release cleanly from the pan, slice without falling apart, and look like it came from a bakery instead of a home freezer.
1. Planning the Cake Backward From Serving Time Before Buying a Single Ingredient
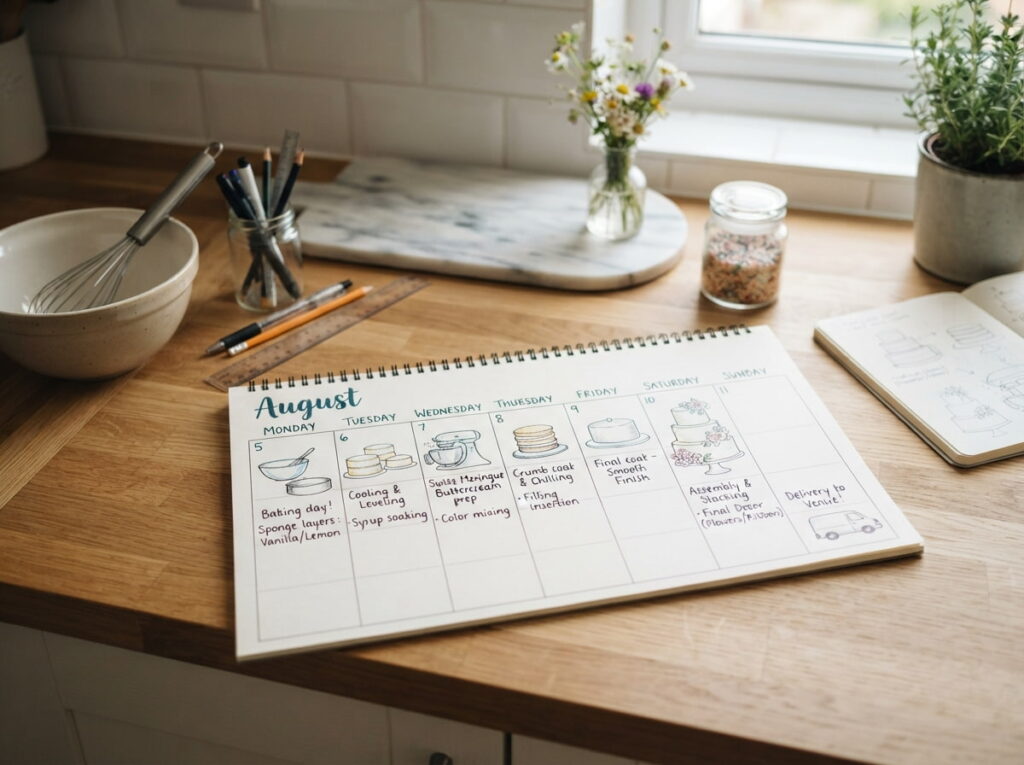
Working backward from the moment the cake needs to be served is what actually determines when to start, not the other way around.
What to map out before shopping:
- The exact day and time the cake needs to be ready
- How many hours each layer needs to freeze, which adds up fast
- A buffer day in case anything needs extra time to firm up
A cake needing four layers with proper freeze time between each one can easily take two full days from start to finish.
2. Choosing a Springform Pan Over a Regular Cake Pan for Clean Release
A regular cake pan traps the frozen layers against straight sides, which almost always means chunks stuck behind instead of a clean release.
💡 Quick Tip
A 9 inch springform pan is the standard size for this tutorial, and its latch releases the sides without disturbing the frozen layers inside.
3. Picking Two or Three Ice Cream Flavors That Actually Complement Each Other
Four or five flavors stacked together often ends up muddy rather than impressive, competing for attention instead of building on each other.
Five different flavors stacked together, competing instead of complementing.
Two or three flavors chosen deliberately to build on each other.
4. Building a Cookie Crumb Base That Holds the Whole Cake Together
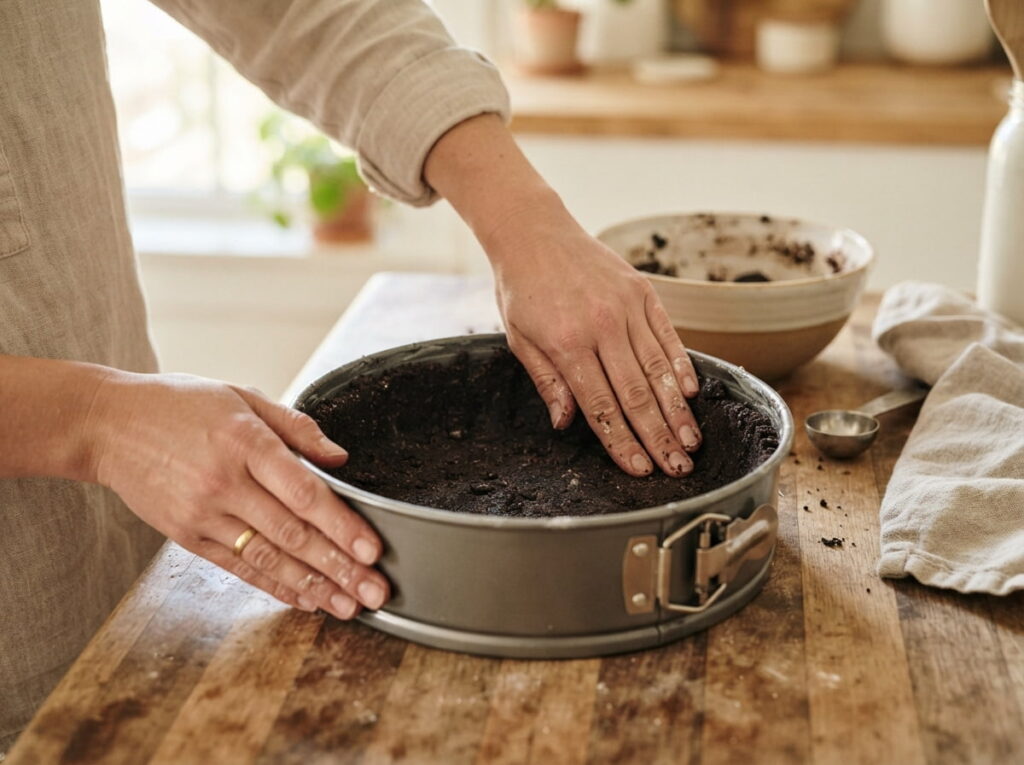
Crushed cookies mixed with melted butter and pressed firmly into the bottom of the pan gives every layer above it something sturdy to rest on.
What to have ready:
- 2 cups crushed sandwich cookies or graham crackers
- 6 tablespoons melted butter
- Parchment paper to line the bottom of the pan
- A flat bottomed cup or measuring cup for pressing
Press the crumbs firmly and evenly, using the back of a measuring cup to pack them tight against the pan bottom.
What to grab first
5. Softening Ice Cream to the Right Texture Without Letting It Melt
Ice cream straight from the freezer tears and clumps instead of spreading smooth, but left out too long it turns to soup before it ever reaches the pan.
6. Spreading the First Ice Cream Layer Evenly Without Trapping Air Pockets
Air pockets under the surface of an ice cream layer show up as odd gaps once the cake is sliced, and they usually come from spreading too fast without pressing the ice cream down first.
- Add softened ice cream in dollops across the crumb base rather than one big scoop
- Spread from the center outward with an offset spatula, pressing down gently as you go
- Smooth the top with a few light passes once the layer is even, checking for gaps at the edges
Taking the extra minute to press down instead of just spreading across the top makes a real difference once the cake is sliced.
Add softened ice cream in dollops across the crumb base.
Spread from the center outward, pressing down gently as you go.
Smooth the top with a few light passes, checking for gaps at the edges.
7. A Common Mistake That Makes the Middle Layer Collapse Once Sliced
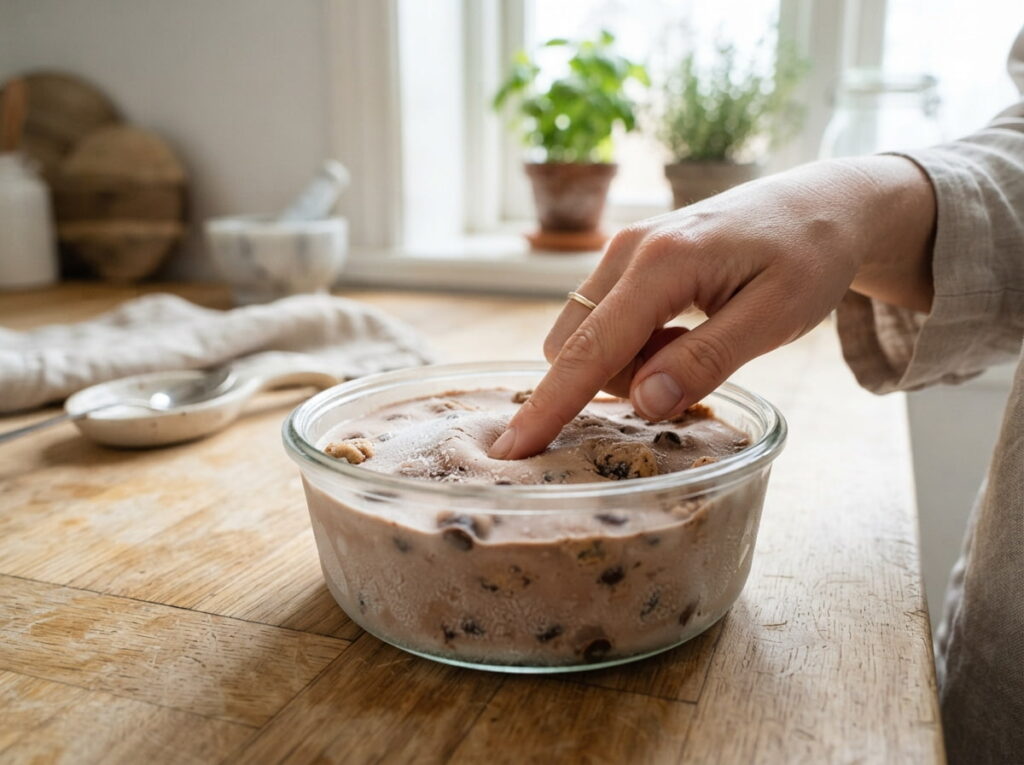
Adding a new layer before the one underneath has fully hardened is the single most common reason an ice cream cake shifts or collapses the moment a knife touches it.
Freeze each layer until it is fully solid before adding the next.
Test firmness by pressing a finger lightly at the center.
Adding a new layer while the one below still feels soft in the middle.
Rushing the process because the timeline started too late.
8. Adding a Crunch Layer Between Ice Cream Sections for Texture Contrast
A layer of crushed cookies, chopped candy, or a thin spread of fudge sauce between the two ice cream sections breaks up the texture so every bite is not just soft against soft.
| Crushed Cookies or Candy | Thin Fudge Layer |
|---|---|
| Adds a crisp, distinct crunch between layers. | Adds a chewy, fudgy contrast instead of crunch. |
| Sprinkle on evenly, no freezing needed first. | Chill slightly before spreading so it does not melt into the ice cream. |
9. Freezing Each Layer Fully Before Adding the Next One on Top
This step matters enough to repeat on its own, separate from the general layering advice, because skipping it is where almost every failed ice cream cake actually goes wrong.
A minimum of two full hours per layer, longer if the freezer runs warm, is what actually holds this whole cake together.
10. Spreading the Second Ice Cream Layer to Match the Thickness of the First
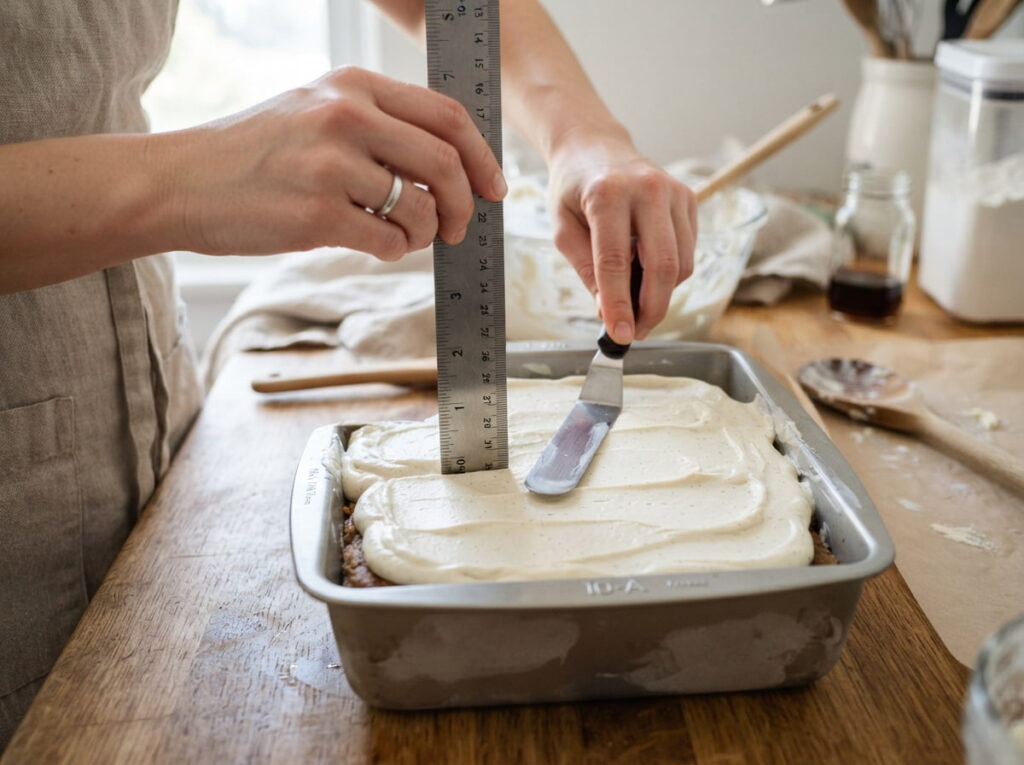
An uneven second layer throws off the whole look of the cake once it is sliced, showing thick and thin bands instead of clean, matched sections.
- Measure the first layer’s height against the side of the pan before starting the second
- Use the same dollop and spread method as the first layer
- Check the height periodically while spreading, not just at the end
- Smooth the final surface completely flat, since this becomes the base for decorating later
A kitchen ruler pressed gently against the outside of the pan gives a quick visual check without disturbing the layer itself.
- ▸Measure the first layer’s height against the pan side
- ▸Use the same dollop and spread method as the first layer
- ▸Smooth the final surface completely flat
11. Releasing the Cake From the Springform Pan Without Cracking the Sides
The cake needs to come out of the pan looking clean, not cracked or chipped from a rushed release before it decorates.
12. Chilling the Ganache So It Drips Instead of Sliding Off the Frozen Cake
Warm ganache poured straight onto a frozen surface slides right off before it has a chance to hold its shape, sliding into a puddle at the base instead of a clean drip.
💡 Quick Tip
Let the ganache cool to room temperature and thicken slightly before applying, so it clings to the edge instead of running straight off.
13. Applying the Drip Along the Edge So It Looks Deliberate Instead of Messy
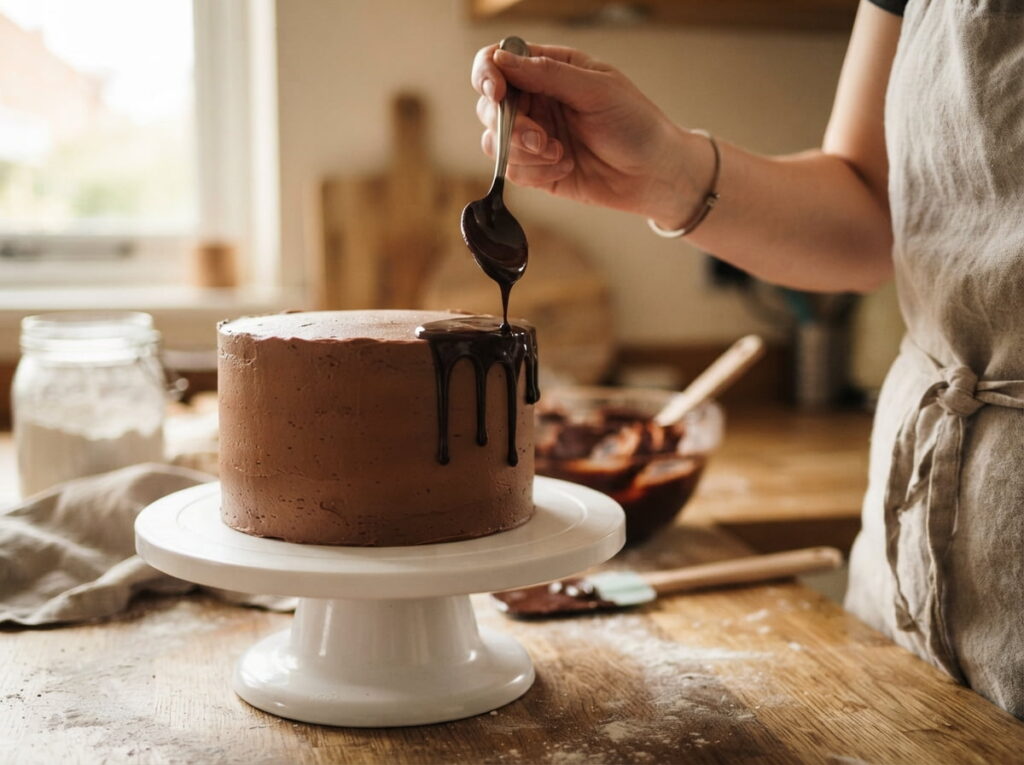
A drip that looks intentional comes down to control, not luck, and a small spoon or squeeze bottle gives far more precision than pouring straight from a bowl.
Ganache poured from the bowl, running unevenly down the sides.
Ganache applied drip by drip with a spoon, controlled and even.
14. Piping Decorative Borders on a Frozen Cake Without the Tip Getting Stuck
Frozen ganache or whipped topping can seize up in a piping bag faster than room temperature frosting, clogging the tip mid decoration if the pace is too slow.
What to have ready:
- A piping bag fitted with the tip of your choice
- Whipped cream or a stable buttercream, chilled but not frozen
- A steady, quick pace once piping begins
- A backup bag prepped in case the first one clogs
Pipe in short, continuous bursts rather than pausing mid line, since stopping is when clogging tends to happen.
What to grab first
15. Adding Final Toppings in the Last Few Minutes Before the Cake Goes Back in the Freezer
Sprinkles, crushed candy, or fresh fruit added too early can sink into a still soft surface, so timing this step correctly keeps toppings sitting visibly on top instead of disappearing into the decoration underneath.
16. Giving the Finished Cake One Last Long Freeze Before the Day It Gets Served
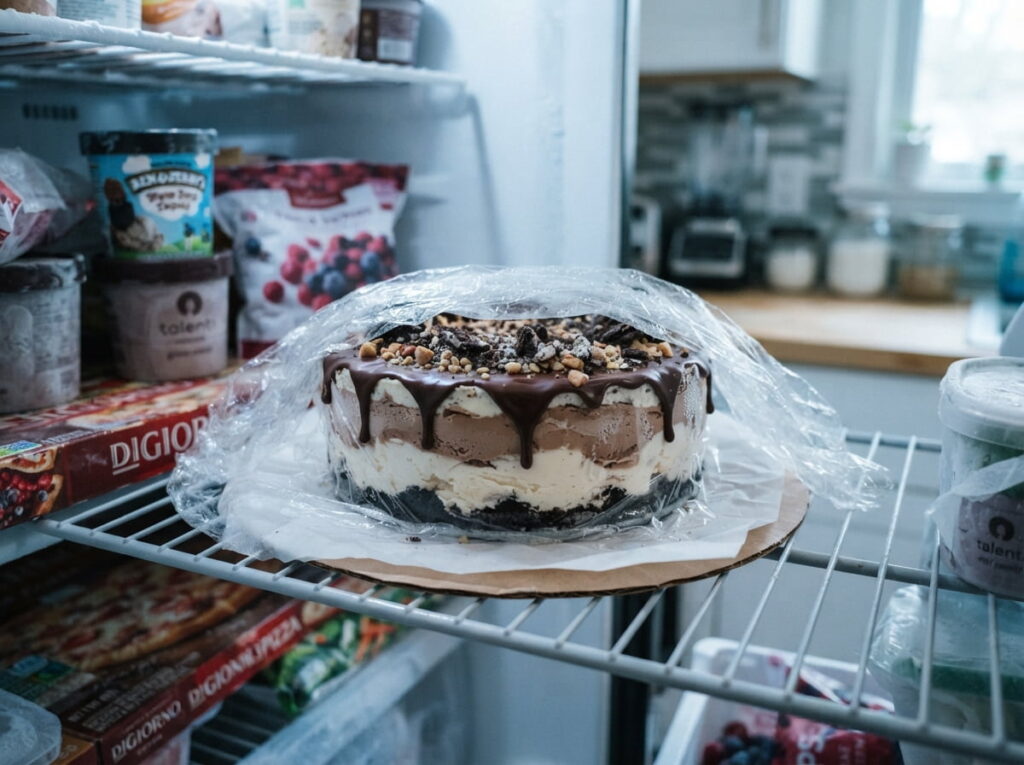
After all the layering, decorating, and piping, the whole cake needs one final stretch in the freezer to fully reset before it is ready to travel or serve.
- Cover the finished cake loosely with plastic wrap without pressing into the decoration
- Return it to the freezer for a minimum of four hours, ideally overnight
- Check that it feels completely solid throughout, not just on the surface, before moving on to serving day
This final freeze locks in every decision made during decorating, so it holds its shape through the trip from freezer to table.
Cover the finished cake loosely with plastic wrap, avoiding the decoration.
Return it to the freezer for a minimum of four hours, ideally overnight.
Check that it feels solid throughout before moving on to serving day.
17. Timing the Cake’s Trip From Freezer to Table So It Slices Clean
Pulling the cake out too early leaves it too hard to cut without cracking, while too late turns the whole thing into a puddle before the first slice even happens.
Pull it from the freezer about ten minutes before serving.
Dip the knife in warm water between each slice for a clean cut.
Cutting straight from the freezer, which cracks instead of slicing clean.
Leaving it out for more than fifteen minutes before the first cut.
18. Troubleshooting a Cake That Will Not Release, Slice, or Hold Its Shape
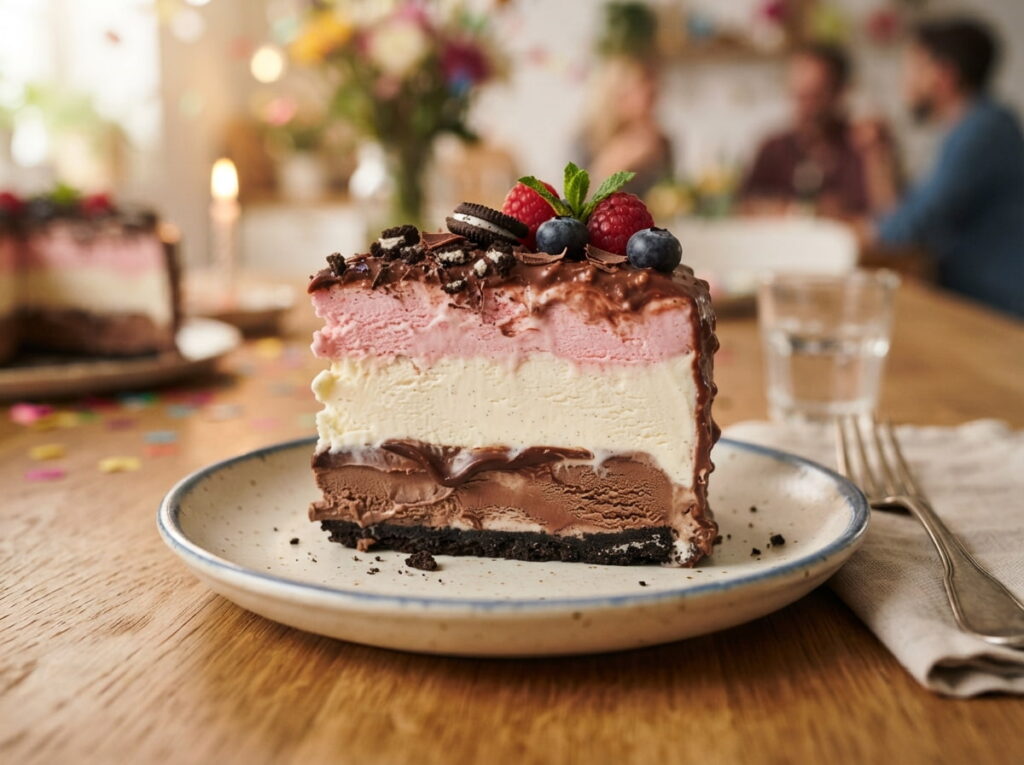
Even after following every step carefully, something can still go slightly wrong, and knowing the quick fix for each problem saves the cake instead of starting over.
| The Problem | The Quick Fix |
|---|---|
| The pan will not release cleanly. | Wrap a warm towel around the outside for thirty seconds. |
| Slices crack instead of cutting clean. | Let the cake sit a few more minutes before the next cut. |
Conclusion
Every step in this process points back to the same idea, patience between layers is what separates a cake that holds together from one that falls apart the moment a knife touches it. Learning how to make ice cream cake this way takes longer than picking up one from the store, but the result actually looks like something worth the wait.
Follow the timeline from the very first step, plan backward from serving time, freeze fully between layers, and give the finished cake one last long freeze before the day it gets served. Each part builds on the one before it, so skipping ahead is really the only way this goes wrong.
Save this tutorial for the next celebration that calls for something homemade and worth showing off.