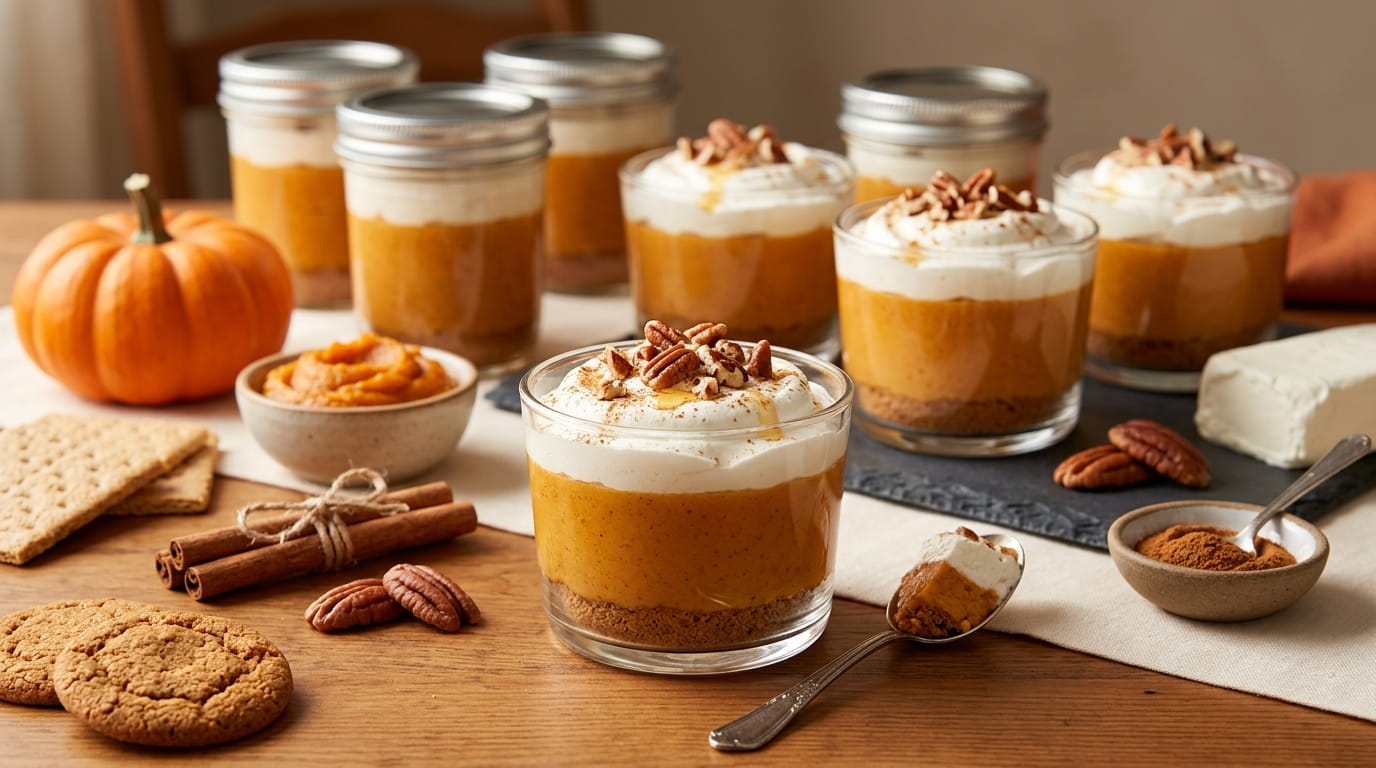
Pumpkin pie season usually means a hot oven running for an hour while the rest of the kitchen waits its turn, which gets complicated fast when there’s a whole holiday meal competing for oven space. Pumpkin pie dessert cups solve that problem completely, since the whole dessert comes together in the fridge instead of the oven, and nobody has to choose between the turkey and the pie.
The flavor is still there, warm spices, that dense pumpkin filling, a crumbly crust underneath. What changes is the method, and honestly, the portion control. No more fighting over who gets the last slice, since everyone already has their own cup.
This list covers the basics that make the no bake filling actually set properly, along with plenty of ways to switch things up depending on what you’re working with. Some ideas solve texture problems. Others are about presentation or making a big batch ahead of time. Pick a few that fit your holiday plans and build from there.
1. The No Bake Base That Sets Up Like a Real Pie Crust
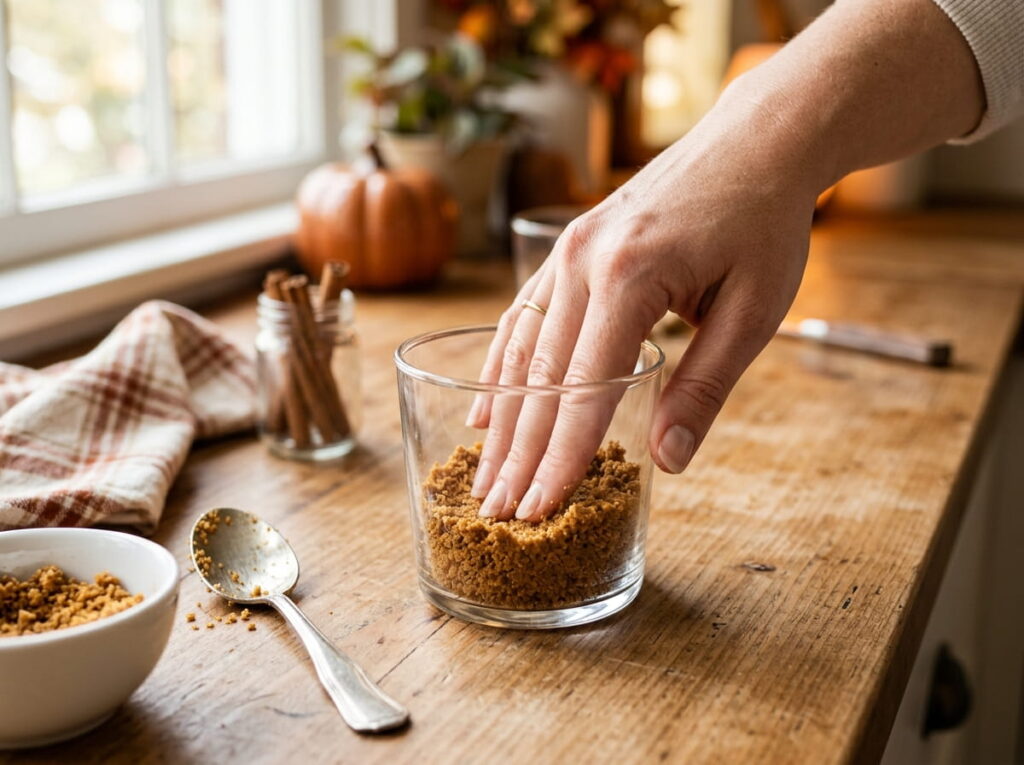
A soggy, crumbly base is the fastest way to ruin an otherwise good no bake dessert, and it usually comes down to one missing step, pressing the crumbs firmly enough before they go in the fridge.
Mix crushed graham crackers with melted butter and a spoon of sugar, then press it firmly into the bottom of each cup using the back of a spoon or a small glass.
Chill the base for at least ten minutes before adding filling, which gives the butter time to firm back up and hold everything together.
2. Getting the Pumpkin Filling to Set Without an Oven or Gelatin
Regular pumpkin pie filling relies on eggs and oven heat to set, neither of which exist in a no bake version, so something else has to do that job instead.
💡 Quick Tip
Whip cold cream cheese into the pumpkin puree along with instant pudding mix. The pudding starch sets the filling firm within a couple hours in the fridge, no gelatin needed.
Give it at least four hours to fully set before serving, since cutting corners on chill time is the most common reason the filling ends up too soft to hold its shape.
3. Store Bought Versus Homemade Pumpkin Puree, and Which to Use Here
A can of plain pumpkin puree works fine for this recipe, but some people prefer roasting their own, and the two options behave a little differently once mixed into a no bake filling.
| Canned Puree | Homemade Puree |
|---|---|
| Consistent texture, already drained of excess water. | Fresher flavor, but often needs draining first. |
| Ready to use straight from the can. | Strain through a cheesecloth or the filling turns watery. |
If you do roast your own, always check the water content before mixing it in, since extra moisture is the fastest way to end up with a filling that never fully sets.
4. Layering Order That Keeps the Crust From Turning Soggy
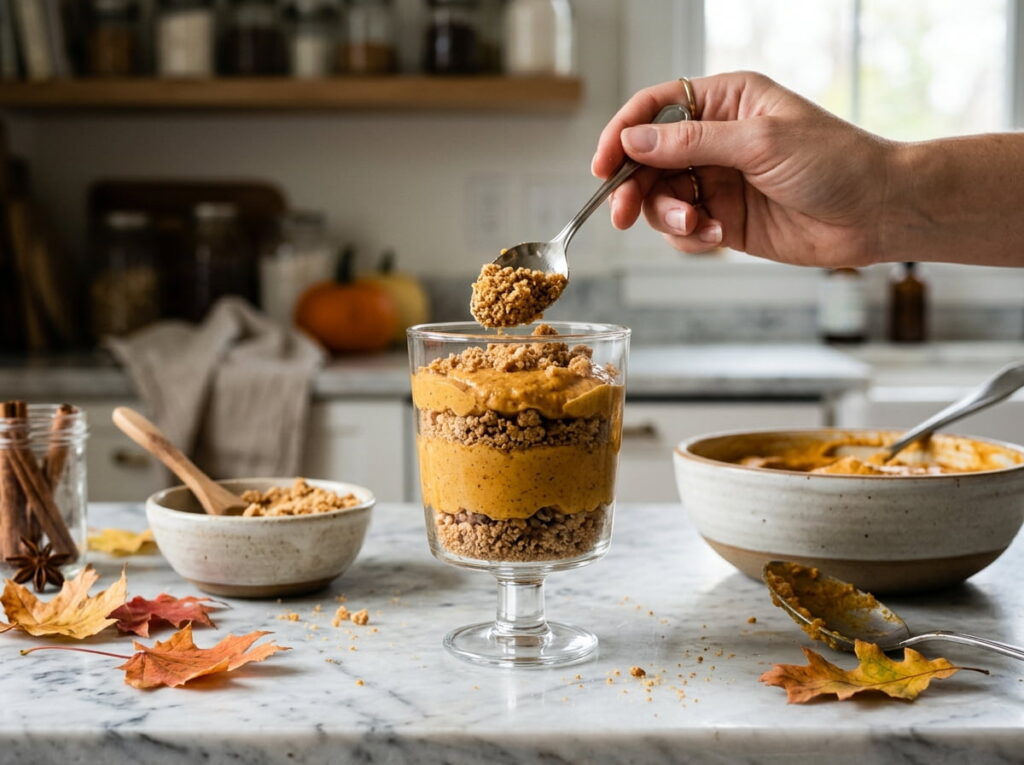
The order these layers go in matters more than it seems, especially since this whole dessert sits in the fridge for hours before anyone eats it.
Chill the crust base fully before adding anything on top of it.
Add the pumpkin filling next, smoothing the top with a spoon.
Save whipped cream and any crunchy topping for right before serving.
That last step matters most. Whipped cream added too early starts to weep and thin out, which drags moisture down into the crust below it.
5. The Mistake That Leaves the Filling Too Runny to Hold a Shape
Skipping the cold cream cheese step is one of the most common reasons a no bake pumpkin filling never fully sets, no matter how long it sits in the fridge.
Use cold cream cheese straight from the fridge, not softened.
Whip the pudding mix in fully before adding pumpkin.
Using room temperature cream cheese, which whips looser.
Rushing the chill time to under two hours.
If a batch does turn out runny, don’t toss it. Spoon it over ice cream or into a jar instead, since the flavor is still there even if it won’t hold a clean cut.
6. A Gingersnap Crust Instead of Graham for More Spice
Graham crackers are the default choice for a reason, but they’re also fairly neutral, and some people want the crust doing more work flavor wise.
Swap in crushed gingersnaps for the same amount of graham crackers, keeping the butter and sugar ratio the same. The molasses and ginger flavor comes through even after hours in the fridge.
A gingersnap crust adds spice from the bottom up instead of relying only on the filling for flavor.
Good for anyone who finds the classic version a little one note and wants more warmth in every bite, not just the top layer.
7. Turning Extra Cups Into a Make Ahead Freezer Stash
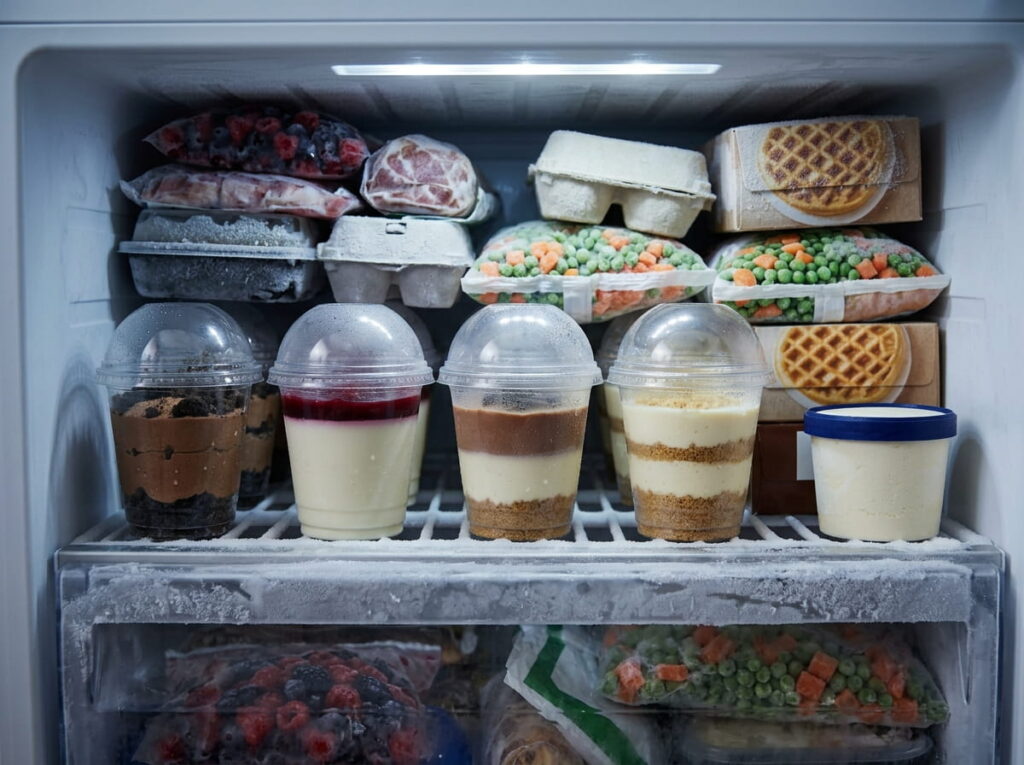
This dessert freezes better than most people expect, which makes doubling the batch worth it even if you’re only serving a handful of people right away.
One batch made for tonight, nothing left for next week.
A doubled batch, half tucked in the freezer for a busy week ahead.
Hold off on the whipped cream topping until the day you actually serve them, since freezing it ahead tends to leave it grainy instead of smooth.
8. A Dairy Free Version That Still Sets Firm
Plenty of guests at a fall gathering are avoiding dairy, and this dessert can adapt without losing the texture that makes the no bake filling work in the first place.
What to swap
The pudding mix still does the same job here, so the filling sets just as firm as the original version, dairy or not.
9. A Crunchy Pecan Topping That Beats Whipped Cream Alone
Whipped cream on top is fine, but it doesn’t add any texture contrast against the smooth pumpkin filling underneath, which is where a crunchy topping earns its spot.
Toast the pecans in a dry pan for a couple minutes first. That extra step brings out a deeper flavor than tossing them on raw.
10. Small Mason Jars for a Fall Table That Looks Intentional

Regular cups get the job done, but small mason jars turn this dessert into something that looks planned rather than thrown together at the last minute.
- Half pint jars work best for portions, since a full pint runs too large for a rich dessert like this one.
- Wipe the inside glass clean before adding whipped cream so the topping doesn’t smear against the sides.
- Tie a small piece of twine around the jar neck if you want a finished, gift like look for a potluck.
- ▸Jars can sit sealed and chilled a day ahead without issue.
- ▸Line jars up on a wooden board for a simple self serve setup.
- ▸Guests can take a jar home instead of leaving with an empty plate.
Best for a fall gathering where the table setting matters just as much as the dessert sitting on it.
11. Getting the Pumpkin Spice Blend Right Without It Tasting Bitter
Overdoing the spices is an easy mistake in a no bake dessert, since there’s no baking process to mellow out harsh flavors the way heat usually does.
💡 Quick Tip
Start with half a teaspoon of pumpkin pie spice per cup of puree, taste, then add more in small amounts. Cloves in particular turn bitter fast if you overdo it.
Mixing your own blend of cinnamon, ginger, nutmeg, and a small pinch of clove gives more control than a pre made spice mix that might already lean too heavy on one note.
12. Turning Leftover Pie Filling From a Can Into a Shortcut Base
A can of pumpkin pie filling, the kind that already has spices and sweetener mixed in, sitting unused in the pantry doesn’t have to go to waste when a no bake dessert needs a fast starting point.
Measuring out spices and sweetener separately from scratch.
One can, already spiced and sweetened, mixed straight into cream cheese.
Skip adding any extra sugar if you go this route, since pie filling is already sweetened and the balance can tip too far without noticing until it’s too late.
13. No Bake Versus Traditional Baked Pumpkin Pie, and When Each Wins
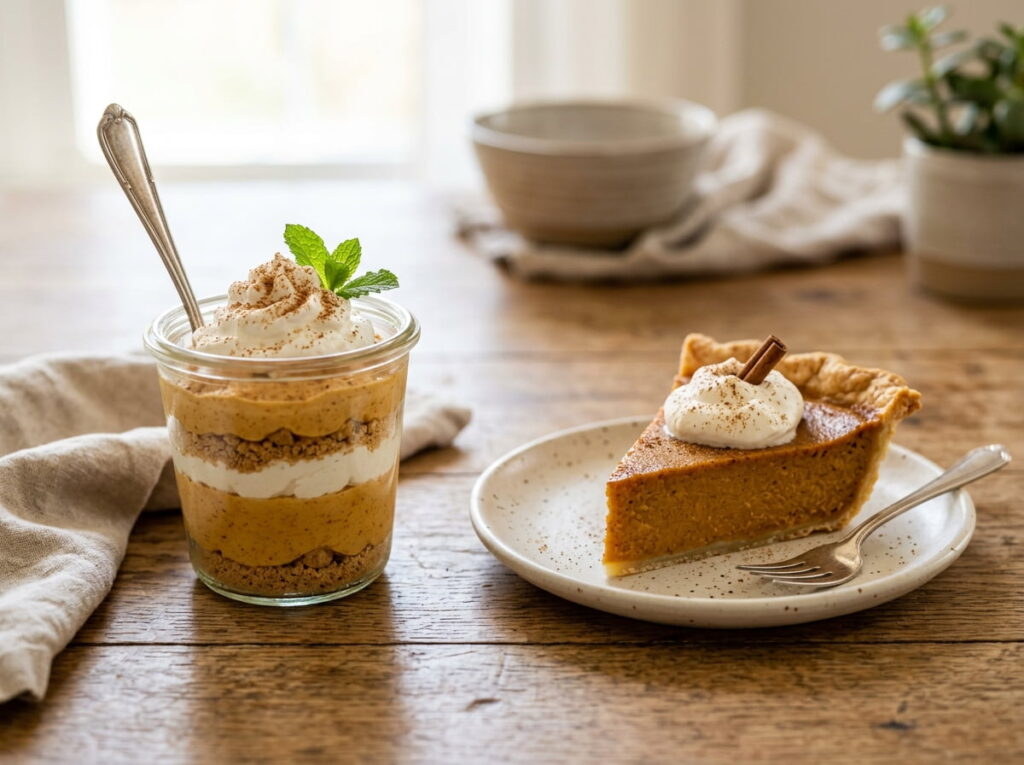
Neither version is universally better. It comes down to what the occasion actually calls for and how much oven space is realistically available.
| No Bake Cups | Traditional Baked Pie |
|---|---|
| No oven needed, frees up space for other dishes. | Requires an hour of oven time, hard to share on a busy day. |
| Built in portions, easy for guests to grab. | Requires slicing and serving, harder to portion evenly. |
On a holiday with a packed oven schedule, the cups win by default. When there’s no time pressure at all, a classic baked pie still has its place too.
14. A Cheesecake Layer That Adds Tang Under the Pumpkin
Pure pumpkin filling can taste a little flat without something to cut through the sweetness, and a thin cheesecake layer underneath does exactly that.
Whip cream cheese with a little sugar and vanilla for the base layer.
Let it chill and set before adding the pumpkin layer on top.
Mixing the two layers together instead of keeping them separate.
Adding pumpkin before the cheesecake layer has had time to firm up.
Best for anyone who finds straight pumpkin filling a little one dimensional and wants that classic cheesecake tang working underneath it.
15. Packing These for a Thanksgiving Potluck Without the Layers Sliding
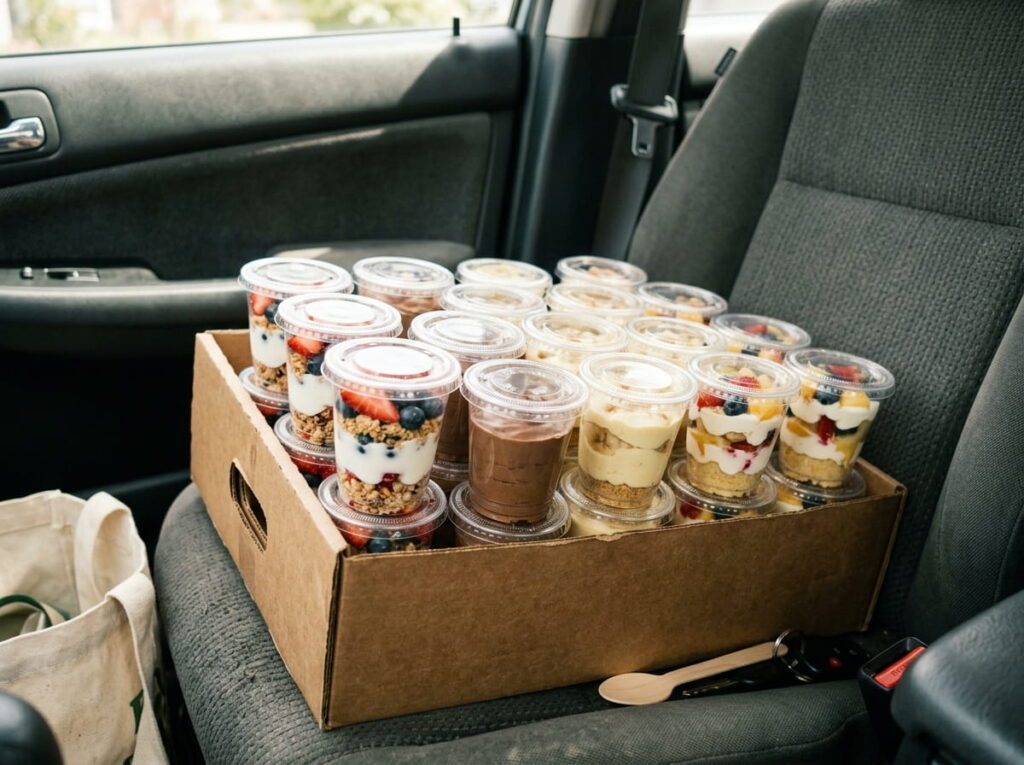
A car ride with a tray of loose dessert cups is a recipe for a mess, especially once the layers start shifting on every turn and stop.
Snap on lids and a snug box keep these potluck ready without the layers sliding during the drive.
Use cups with lids that snap on securely, and pack them upright in a shallow box with something wedged between them so they can’t tip over on the drive.
Conclusion
Pumpkin pie dessert cups take everything worth loving about the classic version and skip the part that makes it stressful to fit into a holiday meal. No oven space fought over, no slicing arguments, just a spoon and a cup that holds together from the first bite to the last. Once the base and filling method are down, the rest is just deciding which direction to take it, whether that’s a gingersnap crust or a dairy free swap for the table.
These hold up well for a crowd, travel better than a full pie ever could, and give you an easy way to stretch a can of pumpkin further than one dessert. Save this list of pumpkin pie dessert cups for the next potluck or holiday table that needs one more dessert without needing the oven at all.