Ice cream cake has a reputation problem, mostly because so many homemade attempts end up as a soupy mess by the time the candles get blown out. Good ice cream cake recipe ideas exist, but most of them skip the part that actually matters, which is timing and structure, not just flavor.
This list is built around cakes that hold their shape long enough to slice cleanly and serve without turning into a puddle on the plate. Some use a cookie crumb base instead of cake for easier assembly. Others lean on a freezer timeline that keeps every layer firm until the moment it needs to come out.
You will find classic cookies and cream builds, a few chocolate and peanut butter combinations, and lighter fruit based versions for anyone who wants something less rich. None of these require special equipment beyond a springform pan and a freezer with enough room. Pick one that matches the birthday person’s favorite flavors and plan the freezer time in advance so it is ready exactly when the party needs it to be.
1. A No Churn Ice Cream Cake Base That Skips the Ice Cream Maker Entirely
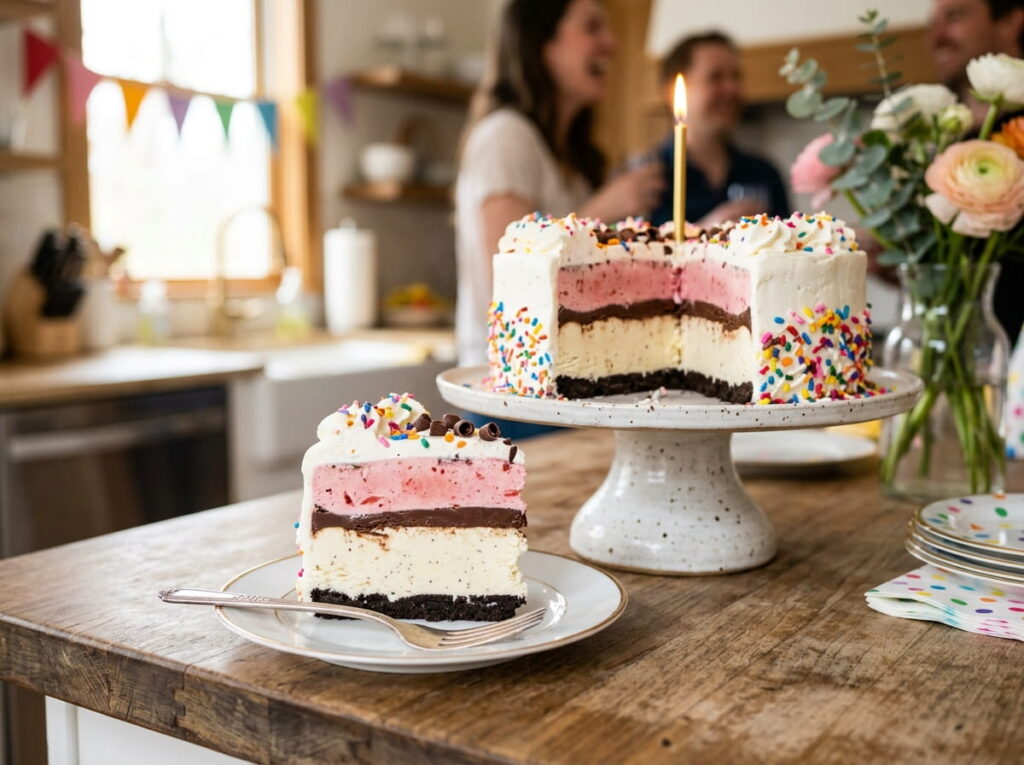
Softened store bought ice cream does the same job as homemade, and it removes an entire piece of equipment from the process. Let it sit out for about fifteen minutes until it is spreadable, then layer it directly into the pan.
Why this base works so well:
- No churning means no extra freezer time before assembly even starts
- Store bought ice cream is already stable enough to slice cleanly once refrozen
- It saves an entire day compared to homemade churned versions
Work fast once the ice cream softens, since it starts melting the moment it leaves the freezer.
2. Turning Store Bought Cookies Into a Crunch Layer That Holds the Cake Together
Crushed sandwich cookies mixed with melted butter, pressed into the bottom of the pan, form a base sturdy enough to hold every layer above it without crumbling apart on the first slice.
💡 Quick Tip
Press the crumb layer firmly with the bottom of a measuring cup so it packs tight and does not crumble when sliced.
3. A Drip Cake Technique Adapted for Frozen Layers Instead of Buttercream
Regular drip cake chocolate ganache sets up too slowly for a frozen dessert, sliding right off the cold surface before it has a chance to hold its shape. Chilling the ganache slightly before drizzling, so it is thick instead of runny, fixes the problem completely.
Warm ganache sliding straight off the frozen cake before it sets.
Slightly cooled ganache holding a clean drip along the frozen edge.
4. Building an Ice Cream Cake in a Springform Pan So It Actually Releases Clean
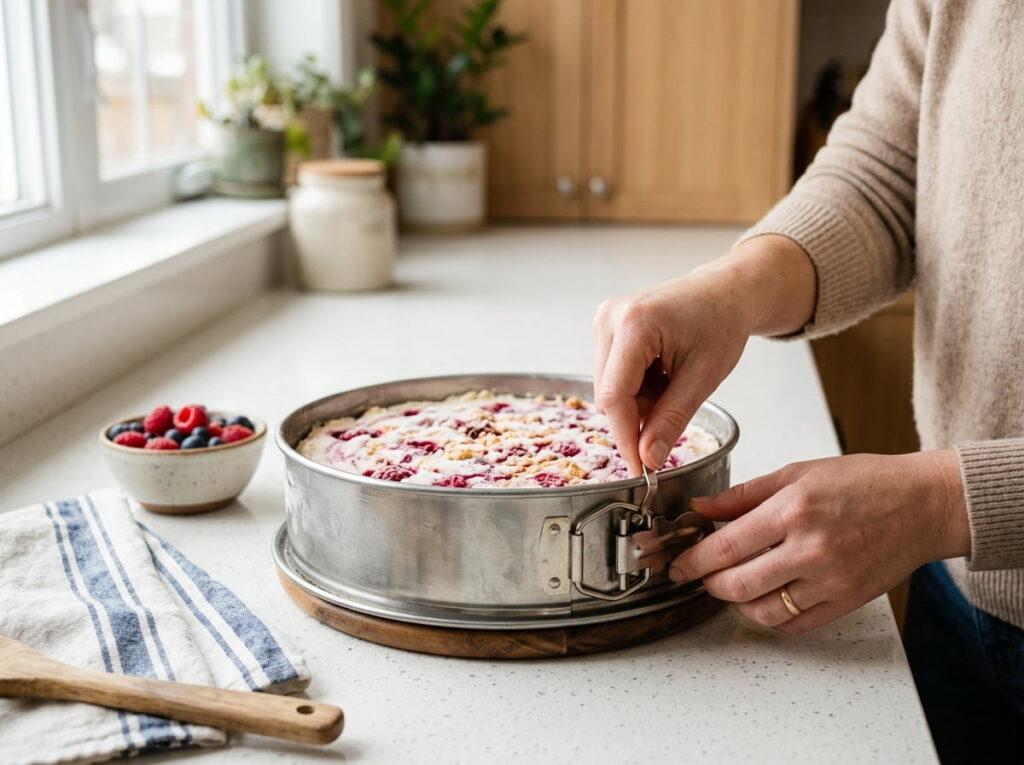
A regular cake pan traps the frozen layers against the sides, which usually means chunks stuck to the pan instead of a clean release. A springform pan solves this before it ever becomes a problem.
What to have ready:
- A 9 inch springform pan
- Parchment paper lining the bottom
- A thin knife for running around the edge before releasing
- A warm towel to wrap around the outside for stubborn spots
Run the knife around the edge while the cake is still fully frozen, not after it starts softening.
What to grab first
5. A Cookies and Cream Layer Cake That Uses Crushed Sandwich Cookies Two Different Ways
Most cookies and cream cakes only fold crushed cookies into the ice cream itself, missing an easy chance to add more texture. Using a second batch as a whole layer between the ice cream sections adds a crunch that a single mix in does not give.
6. The Right Order to Freeze Each Layer So the Cake Does Not Collapse When Sliced

A collapsed ice cream cake almost always comes down to one mistake, adding a new layer before the one underneath has fully set. Each layer needs its own hardening time before the next one goes on top, or the whole thing shifts the moment a knife touches it.
- Freeze the crumb or cake base until firm, about 20 minutes
- Add the first ice cream layer and freeze until solid, at least 2 hours
- Repeat for each additional layer, giving each one full freezer time before adding the next
Rushing this step is the single biggest reason homemade ice cream cakes fall apart on the plate.
Freeze the crumb or cake base until firm, about 20 minutes.
Add the first ice cream layer and freeze until solid, at least 2 hours.
Repeat for each additional layer, giving each one full freezer time first.
7. A Birthday Sheet Cake Version Built for a Crowd Instead of a Single Layer
A round cake works fine for a small gathering, but it runs out fast once the guest list grows. Spreading the same layers into a sheet pan instead solves the portion problem without changing the flavor combination at all.
Use a 9×13 pan lined with parchment for easy lifting.
Score the top into squares before it fully hardens.
Cutting straight from frozen, which cracks the layers instead of slicing clean.
Skipping the parchment, which makes serving squares nearly impossible.
8. Choosing Between Cake Layers and Brownie Layers for the Base of an Ice Cream Cake
Both bases work, but they behave differently once frozen, and picking the wrong one for the occasion can make slicing harder than it needs to be.
| Cake Layer | Brownie Layer |
|---|---|
| Softer texture, slices clean when partly thawed. | Dense and fudgy, holds its shape even fully frozen. |
| Better for a classic birthday cake look. | Better for chocolate lovers who want more richness. |
9. A Strawberry Shortcake Ice Cream Cake That Uses Freeze Dried Berries for Crunch

Fresh strawberries turn icy and hard once frozen inside a cake, losing the soft texture they had at room temperature. Freeze dried strawberries solve that problem, staying crisp and flavorful no matter how long the cake sits in the freezer.
Freeze dried fruit stays crisp in a frozen cake, while fresh fruit turns icy and loses its texture.
10. Decorating the Sides of an Ice Cream Cake Without It Melting Under Your Hands
Piping bags and warm hands are the enemy of frozen desserts, since body heat alone can soften ice cream fast enough to ruin clean edges. A few adjustments to the usual decorating process keep everything firm while you work.
- Chill the piping bag and tip in the freezer for ten minutes before filling it
- Work in short bursts, returning the cake to the freezer between decorating steps
- Handle the cake by the pan or a cake board, never directly with bare hands
Decorate close to serving time rather than hours ahead, so the details stay sharp.
- ▸Chill the piping bag and tip before filling
- ▸Work in short bursts, freezing between steps
- ▸Handle by the pan or board, not with bare hands
11. A Chocolate Peanut Butter Ice Cream Cake Built Around a Fudge Crackle Layer
Peanut butter cups crushed into the ice cream give this cake its crunch, but the real trick is a thin fudge layer poured between sections that hardens into a crackle once frozen. It snaps under the fork instead of just blending into the rest of the texture.
12. Timing an Ice Cream Cake So It Is Ready to Slice the Moment the Candles Come Out
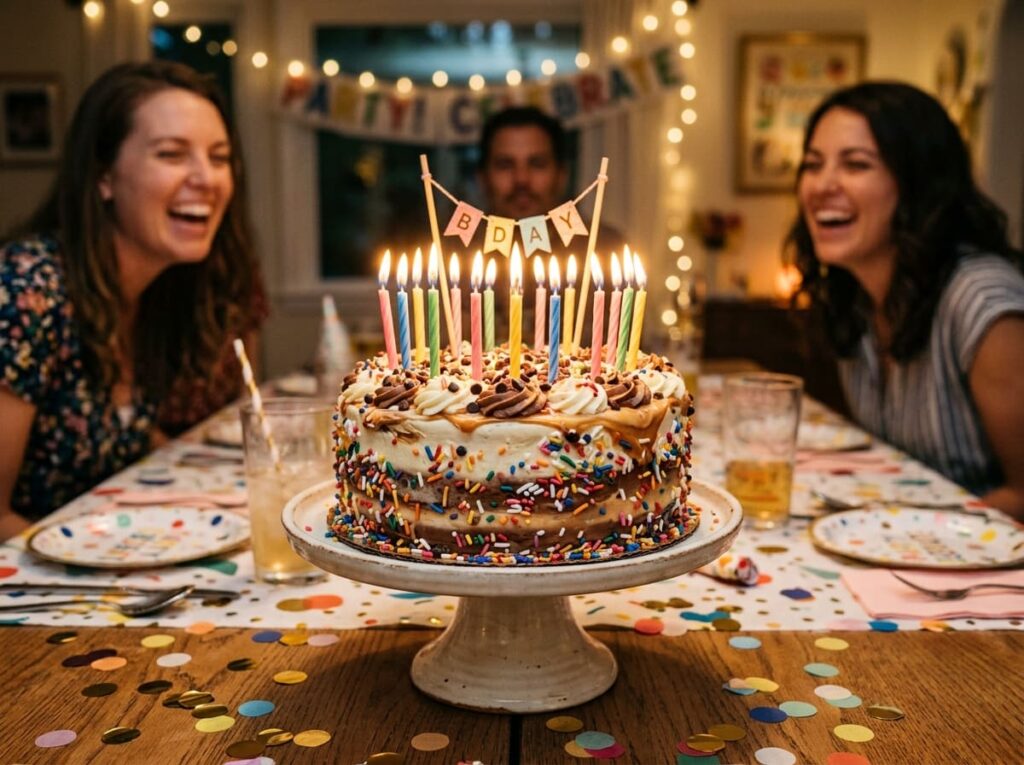
Nobody wants to stand around waiting for a cake to soften enough to cut, and nobody wants soup instead of slices either. The window for a clean cut is narrower than most people expect, usually about ten minutes out of the freezer before it starts sliding.
💡 Quick Tip
Pull the cake out about ten minutes before serving and dip the knife in warm water between slices for the cleanest cuts.
Conclusion
A great ice cream cake really comes down to patience more than skill. Give each layer its full freezer time, choose a base that can handle being frozen and sliced, and time the serving window so nobody is stuck waiting around or eating soup. These ice cream cake recipe ideas cover the classics along with a few less expected combinations, so there is something here whether the birthday person wants cookies and cream or something with more fruit and crunch.
Pick the one that matches the occasion, build in the freezer time ahead of the party, and you will have a dessert that actually slices the way it looks in photos.
Save this list for the next birthday that needs something better than a grocery store cake.