Summer heat and a hot oven don’t belong in the same kitchen, which is exactly why key lime dessert cups earn their spot on a warm weather dessert table. All the tang and creaminess of the classic pie, built into individual portions that never touch the stove.
The filling comes together with just a handful of ingredients, and the whole thing sets up in the fridge instead of baking. What trips people up isn’t difficulty, it’s a few small details, like whether to use real key limes, how to keep the crust from crumbling apart in a cup, and getting the tang to balance instead of turning sharp.
This list walks through fifteen of those details, from crust to filling to topping. Some solve a specific problem, like fixing a filling that won’t set. Others are just small upgrades that make the difference between a good version and one that tastes like it came from somewhere special.
No oven, no fuss, just a genuinely refreshing dessert built one cup at a time.
1. Skip the Oven Entirely With a No-Bake Crust
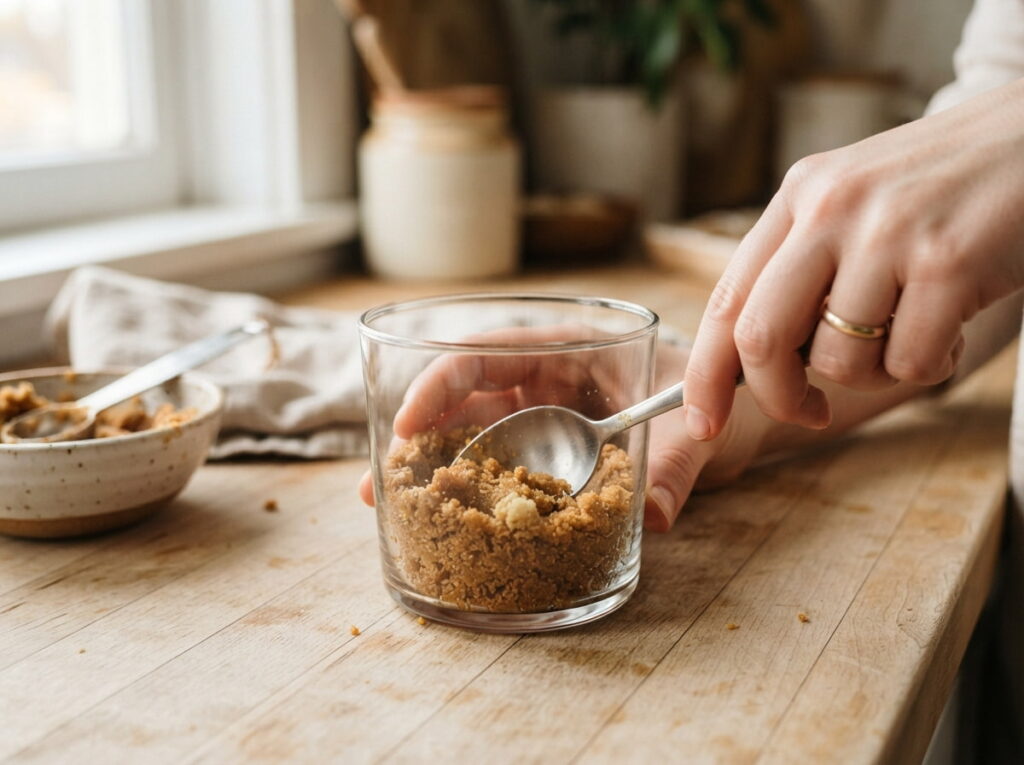
A traditional graham crust gets baked to hold its shape, but a no-bake version relies on the right ratio of butter to crumbs instead of heat to set firm. It still holds together, just through a different method.
💡 Quick Tip
Chill the pressed crust for at least 15 minutes before adding filling, so it has time to firm up on its own.
The fridge does the work an oven usually handles, just more slowly and without heating up your kitchen.
2. Pick Real Key Limes or Use a Substitute Wisely
Key limes are smaller, more aromatic, and slightly more tart than regular limes, but they can be harder to find and more work to juice. Knowing your options ahead of time saves a frustrating grocery trip.
Regular limes work well as a substitute. The dessert still tastes bright, just with a slightly softer edge.
3. Get the Crust to Actually Hold Its Shape in a Cup
A crust that’s too loose crumbles apart the moment you dig in with a spoon, which is disappointing after all the effort of building distinct layers. Getting the ratio right the first time avoids this entirely.
Mix fine graham crumbs with melted butter until it looks like wet sand.
Press firmly into the bottom of the cup with the back of a spoon.
Chill before adding filling so the crust sets before it takes on weight.
If it still feels loose after pressing, add a touch more melted butter and press again.
4. Balance the Tang So It Doesn’t Turn Bitter
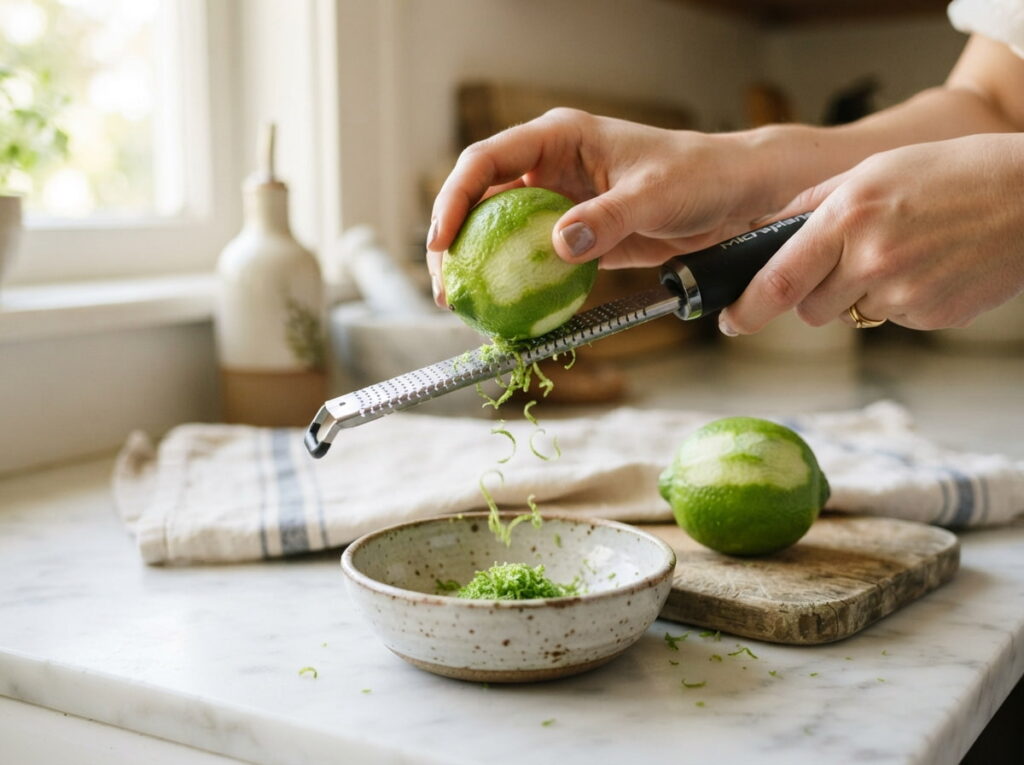
Too much lime zest pushes this dessert from bright and tangy into something closer to bitter, since the white pith just under the peel carries a lot of that harsh edge. A little zest goes a long way here.
Zest only the bright green outer layer, not the white pith underneath.
Taste the filling before assembling and adjust zest gradually.
Zesting deep enough to catch the bitter white pith.
Adding all the zest at once without tasting along the way.
If the filling does turn out bitter, a touch more condensed milk can help pull it back into balance.
5. Whip the Filling Until It’s Actually Light, Not Dense
A filling that’s just stirred together tends to set heavy and dense, while one that’s properly whipped picks up air and sets with a lighter, creamier texture. The difference is noticeable in every bite.
| Overmixed | Properly Whipped |
|---|---|
| Dense, heavy texture after chilling | Light, creamy texture with real body |
| Can start to separate if beaten too long | Holds together smoothly once set |
A hand mixer on medium speed for a couple of minutes is usually the sweet spot, not too little and not too much.
6. Use Sweetened Condensed Milk the Right Way

Condensed milk is what actually thickens this filling without any cooking involved, since the acid from the lime juice reacts with the milk proteins to set it firm in the fridge. Skimping on it leaves the filling thin.
Filling stays loose and never fully sets, even after chilling.
Filling sets firm enough to hold a clean spoonful.
Follow the recipe’s ratio closely here. This isn’t an ingredient to eyeball or cut back on.
7. Zest Before You Juice, Not After
Once a lime has been squeezed, it collapses and becomes much harder to zest cleanly, so the order of operations actually matters here. Doing it backward wastes time and often means less usable zest.
💡 Quick Tip
Zest all the limes you need first, set the zest aside, then juice them right after.
A microplane grater makes this step faster and gives you finer zest than a box grater does.
8. Layer the Cup for a Clean Look Through Glass
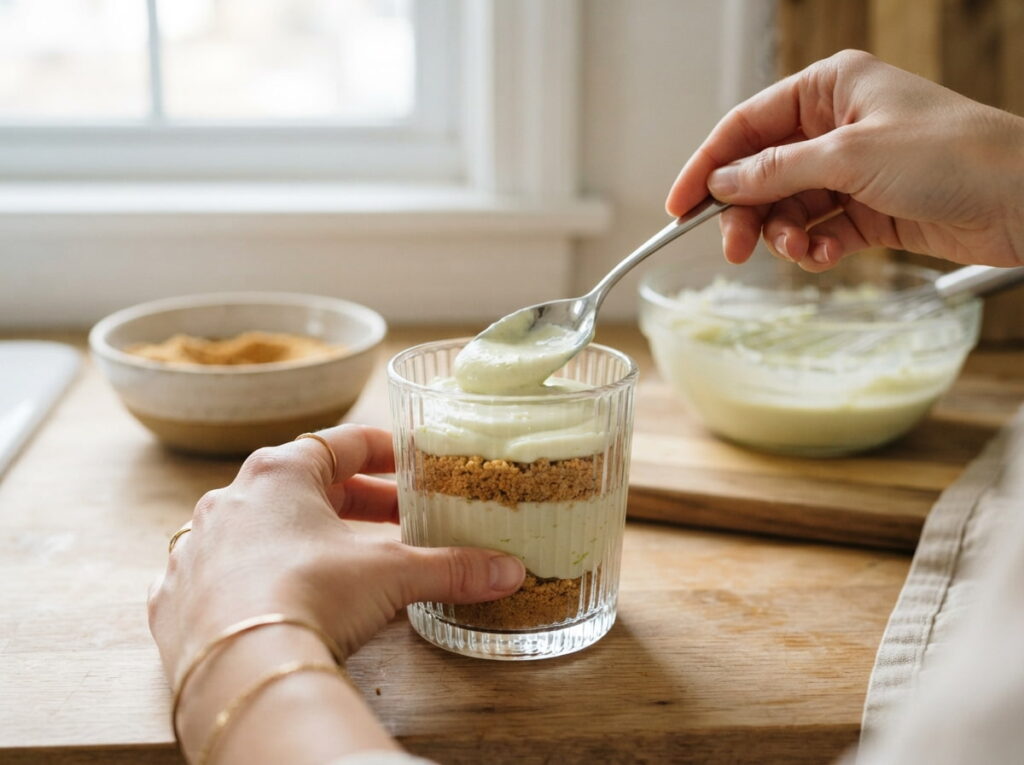
A cup layered without any real order can look muddy through clear glass, which undercuts how good this dessert actually looks once it’s finished. A simple, consistent order keeps every cup looking clean.
A firm layer of graham crust pressed into the bottom.
A generous layer of key lime filling, smoothed to the edges.
Whipped cream on top, added just before serving.
Smooth each layer to the edge of the glass as you go, so there are no visible gaps once it’s chilled.
9. Chill Long Enough for the Filling to Set Properly
Filling straight from the mixing bowl tastes right but hasn’t actually firmed up yet, and cutting the chill time short means a cup that’s more soup than dessert. Time in the fridge is what turns it into something you can actually eat with a spoon.
Overnight chilling gives the most reliable set, especially if your kitchen tends to run warm.
10. Top With Whipped Cream That Holds Its Shape

A dollop of whipped cream that collapses within minutes ruins the finished look of an otherwise clean dessert, especially if it’s sitting out at a summer gathering. A stabilized version holds up far longer.
How to stabilize it
Add the whipped cream right before serving rather than during assembly, so it stays fresh looking longer.
11. Add a Graham Crumb Garnish for Texture Contrast
A cup that’s all smooth filling and cream can start to feel one-note by the last bite, missing the textural crunch that made the crust interesting in the first place. A small garnish on top brings that contrast back.
Save a spoonful of crumbs to scatter on top. It brings back the crunch that gets lost under the whipped cream.
A thin lime slice or a little extra zest on top works well alongside the crumbs for a finished look.
12. Make a Dairy-Free Version Without Losing the Creaminess
Swapping dairy ingredients in a dessert that relies on condensed milk for structure sounds tricky, but the right substitutes get surprisingly close to the same result.
What to swap
The flavor shifts slightly toward coconut, but it still reads clearly as a key lime dessert.
13. Fix Filling That Turns Out Too Runny

Runny filling almost always traces back to not enough condensed milk, or lime juice added in a rush without measuring carefully. This is fixable if you catch it before the cups go into the fridge.
Whisk in a little more condensed milk, a tablespoon at a time.
Chill the mixture for 15 minutes and check the texture again.
Adding more lime juice, which actually makes it thinner.
Assembling the cups anyway and hoping the fridge saves it.
More lime juice feels like the intuitive fix, but it’s actually the opposite of what the filling needs.
14. Make Individual Cups Ahead for a Summer Gathering
This dessert genuinely gets better with time in the fridge, which makes it one of the easiest make-ahead options for a warm weather party or cookout.
Make these the morning of, or even the night before. The extra time only helps the flavor and texture settle.
Add the whipped cream and garnish right before guests arrive, so the top layer still looks fresh.
15. Store Leftovers Without the Crust Going Soggy
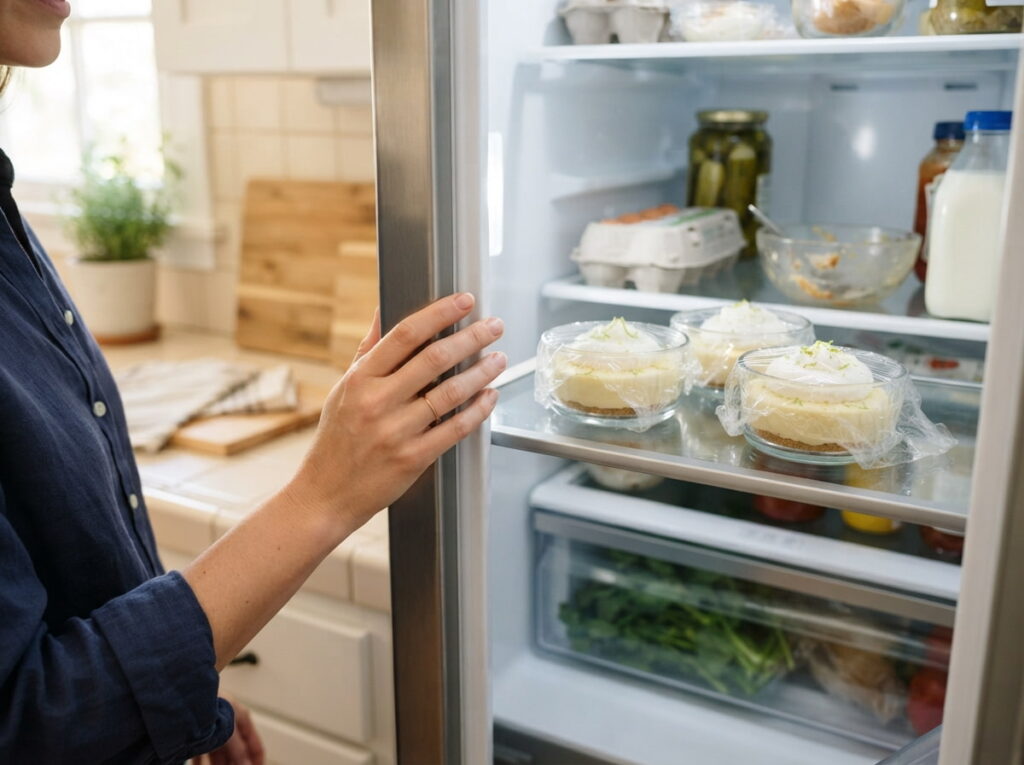
Leftover cups hold up reasonably well, but moisture from the filling keeps working on the crust the entire time they sit in the fridge, so texture does shift the longer they’re stored.
Past two days, the crust softens enough that the layers lose their distinct texture, so this one’s best enjoyed within that window.
Conclusion
Key lime dessert cups deliver everything the classic pie promises without ever needing an oven, which makes them one of the easier desserts to reach for when it’s too warm to bake. A few small details, real zest, patient chilling, a properly whipped filling, are really all it takes to get there.
Make one batch this weekend and you’ll likely have the process down for the next one. It’s a dessert that rewards a little patience more than any real skill.
Save this list so you have it ready the next time you’re craving something tangy, creamy, and completely fuss free.