There’s a reason red velvet shows up at nearly every party table, and it’s not really about the color. It’s the pairing, that mild cocoa cake against a tangy cream cheese layer, and these red velvet dessert cups take that exact combination and stack it into something that looks intentional instead of just cake and frosting mixed in a bowl.
What makes these worth the extra bit of effort is how much better a layered cup photographs and serves compared to a full cake. No slicing, no crumbs falling everywhere, no worrying about a clean cut. Just a spoon and a cup that already looks finished.
This list covers eighteen ways to build, layer, and finish these cups, from getting the color right to choosing between a from scratch cake and a faster shortcut version. Some ideas change the whole texture. A few are just about timing so the layers stay clean instead of blurring into each other.
If red velvet is already the flavor everyone asks for, this is the version that turns it into a party ready dessert.
1. The Layering Order That Keeps the Cream Cheese From Sinking Into the Cake

Most homemade versions add the cream cheese layer while the cake crumbs are still warm, and it sinks straight down instead of sitting on top in a clean line. Letting the cake cool completely before crumbling it in is what actually keeps the layers distinct.
2. Baking a Thin Cake Layer Specifically for Cutting Into Cubes
A cake baked in a sheet pan, thinner than a normal layer cake, cools faster and cuts into clean small cubes instead of the crumbly mess a thick round layer usually gives when broken apart.
💡 Quick Tip
Bake the cake in a quarter sheet pan instead of a round pan. The thinner layer cuts into cubes far more cleanly.
3. Boxed Mix Versus Scratch Cake for This Recipe
| Boxed Mix | Scratch Cake |
|---|
| Boxed Mix | Scratch Cake |
|---|---|
| Ready in about 30 minutes | Closer to an hour with cooling time |
| Consistent, reliable texture | Deeper flavor, more control over color |
The boxed version works fine here since the cake gets crumbled anyway, but scratch gives a richer flavor if there’s time for it.
4. Getting That Red Velvet Color Without It Turning Muddy or Brown

Cocoa powder added in too heavy a hand is the most common reason homemade red velvet turns brownish instead of that deep red everyone expects. A small amount, just enough for a mild chocolate note, keeps the color from fighting with the food coloring.
5. Whipping the Cream Cheese Layer So It Holds Peaks Instead of Sliding
A cream cheese layer that’s whipped too briefly stays loose and slides down the side of the cup instead of holding its shape once spooned in.
Cream cheese mixed just until combined, staying soft and sliding down the cup sides.
Cream cheese whipped a full 3 to 4 minutes, holding firm peaks that stay put once layered.
6. A No Bake Version Using Store Bought Cake for a Faster Assembly
A store bought red velvet cake or loaf, crumbled by hand, skips the baking step entirely and gets these cups on the table in under thirty minutes.
Crumble a store bought red velvet cake or loaf into small pieces.
Whip cream cheese with powdered sugar until it holds soft peaks.
Layer both in a cup and chill for at least 20 minutes before serving.
7. Buttermilk Versus Regular Milk for the Cake Layer
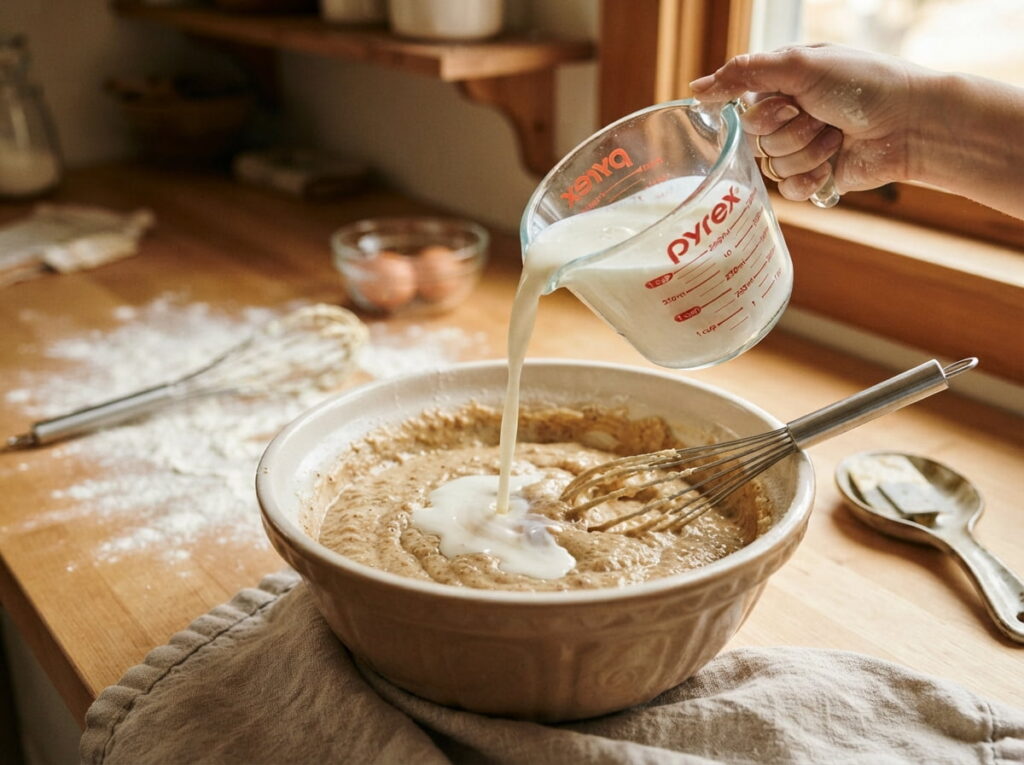
Buttermilk brings a slight tang that plays against the sweetness of the cream cheese layer, while regular milk leaves the cake tasting flatter and closer to a plain chocolate cake with red coloring.
Use buttermilk for the slight tang it brings.
Let it come to room temperature before mixing.
Substituting plain milk without any acid added.
Using cold buttermilk straight from the fridge.
8. Crumbling the Cake the Right Way So It Doesn’t Turn to Dust
Pulling the cooled cake apart with your fingers, rather than running it through a food processor, keeps small, uneven pieces that hold their texture instead of turning into fine crumbs that pack down flat.
📌 Good To Know
Crumble by hand in pea sized pieces. A food processor turns the cake into dust that compacts instead of layering with any texture.
9. The White Chocolate Drizzle That Holds Its Shape on Top
White chocolate melted and cooled slightly before drizzling sits on top of the cream cheese layer instead of sinking straight through, adding a contrast in both color and flavor.
Let the white chocolate cool for a minute or two before drizzling so it sits on top instead of sinking in.
Best drizzled in a thin zigzag right before serving, while it’s still soft enough to set into a clean pattern.
10. Adding a Crushed Cookie Crunch Layer for Texture

A thin layer of crushed chocolate sandwich cookies between the cake and cream cheese layers adds a crunch that breaks up the softness of both without pulling attention away from the red velvet flavor.
What to grab first
11. Make Ahead Timing, From the Night Before to Party Day
The cake and cream cheese layers both hold up fine made a day ahead. Any crunch layer or fresh garnish is the only part that needs to wait until closer to serving.
12. Clear Cups Versus Mini Trifle Glasses for a Party Table
Clear plastic cups show off the layers for a fraction of the cost, while mini trifle glasses add a slightly more formal look for a special occasion, worth the extra expense if presentation matters more than budget.
| Clear Cups | Mini Trifle Glasses |
|---|---|
| Budget friendly and disposable | A more formal, reusable look |
| Good for large batches | Better for smaller, special occasions |
13. A Cheesecake Version That Swaps the Whipped Layer for a Baked One

A thin baked cheesecake layer, cooled and cut into small pieces, replaces the whipped cream cheese entirely for a denser, richer texture closer to an actual slice of cheesecake.
Bake a thin cheesecake layer in a small pan and chill completely.
Cut the cheesecake into small cubes once fully set.
Layer the cheesecake cubes with cake crumbs instead of whipped cream cheese.
14. The Cocoa Powder Ratio That Keeps the Flavor Balanced, Not Bitter
Too much cocoa turns red velvet into something closer to a mild chocolate cake, which fights with the tang of the cream cheese instead of complementing it.
Keep cocoa powder to about one to two tablespoons per cake layer, just enough for a mild chocolate note.
15. Piping the Cream Cheese Layer for a Bakery Case Finish
A piping bag and a star tip turn a plain spoonful of cream cheese filling into something that looks like it came from a display case instead of a mixing bowl.
What to grab first
16. A Mini Version for Individual Servings at a Larger Party

Shot glasses or two ounce cups turn this dessert into a two bite portion, which works better than full sized cups once the guest count climbs past a dozen people.
Good for a smaller gathering, more filling per serving.
Better for large parties, letting more guests try a dessert table without overcommitting.
17. The Vinegar Trick That Makes the Cake Taste Like Bakery Red Velvet
A small splash of white vinegar in the batter reacts with the baking soda, giving the cake a slightly lighter crumb closer to what a bakery version has, rather than the denser texture a vinegar free batter produces.
18. Garnishing the Top So It Still Looks Fresh Hours Into a Party
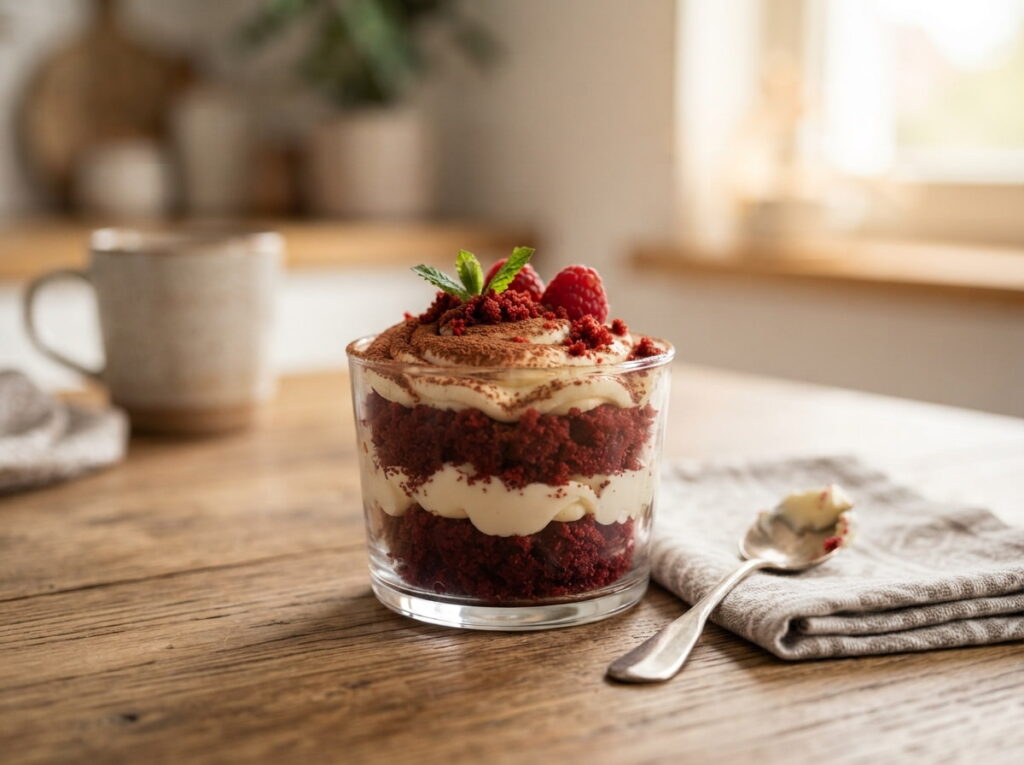
A few cake crumbs sprinkled on top just before serving hold their color and texture far longer than a fresh garnish like berries, which can weep or discolor after sitting out.
- ▸Sprinkle reserved cake crumbs on top right before serving.
- ▸Add the garnish after the final chill, not before.
- ▸A light dusting of cocoa powder finishes the look.
Conclusion
None of what makes these cups look and taste like something from a bakery case is complicated. It comes down to a handful of specific choices, cooling the cake fully, whipping the cream cheese enough, using vinegar for the crumb. The flavor pairing does the rest on its own.
Start with the basic version, cake, cream cheese, maybe a crunch layer if you want one. Once that feels easy, the cheesecake swap or the white chocolate drizzle are both worth trying next time around.
Red velvet dessert cups turn out to be one of the easiest ways to bring a familiar cake flavor to a party table without the hassle of slicing and serving a full cake. Save this list for the next celebration that calls for something a little more festive than usual.