A mason jar salad sounds simple until the lid comes off five days later and everything at the bottom has turned into a soggy mess nobody wants to eat. Learning how to layer mason jar salad the right way isn’t complicated, but it does follow a real order, and skipping even one step is usually what ruins the whole thing by day three.
The logic is straightforward once you see it laid out. Dressing goes on the bottom, sturdy ingredients sit above it, and anything delicate stays as far from the liquid as possible. Get that order backwards, even slightly, and the greens on top end up wilting long before the jar is ever opened.
This guide covers twenty rules and details worth knowing, from which jar shape actually works best to how to fix a jar that’s already gone wrong. Some of these are obvious once pointed out, others are the kind of small mistake that ruins a whole week of meal prep without anyone realizing why. Read through once, and every future jar comes out right.
1. Always Start With Dressing at the Very Bottom
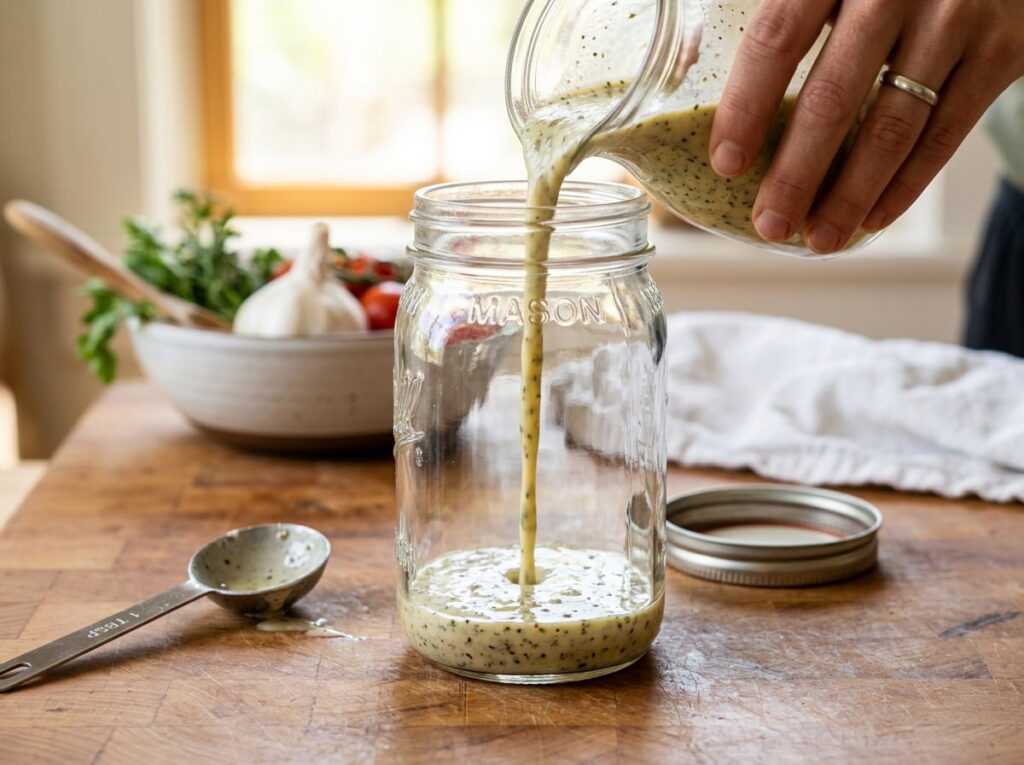
The entire method depends on this one rule, and skipping it undoes every other layering decision that comes after.
Pour dressing into the bottom of the jar first, before anything else goes in. This keeps it fully separated from the rest of the ingredients until the jar gets shaken or dumped out later.
2. Pick a Wide Mouth Jar Over a Regular Mouth Jar
A regular mouth jar looks fine on the shelf, but the narrow opening makes it genuinely harder to layer ingredients evenly or get the finished salad back out later.
💡 Quick Tip
A wide mouth quart jar gives enough room to layer without ingredients getting stuck against the sides on the way in.
A quart size wide mouth jar is the standard for a reason, since it’s large enough for a full meal without becoming impossible to pack cleanly.
3. Layer Two: Sturdy Vegetables That Can Sit in Dressing
Right above the dressing is the one spot in the jar where sitting in liquid for days actually works in the vegetable’s favor instead of against it.
These vegetables actually soften slightly and pick up flavor from marinating, which is the opposite of what happens to anything delicate placed in the same spot.
4. Never Let Soft Fruit Touch the Dressing Layer
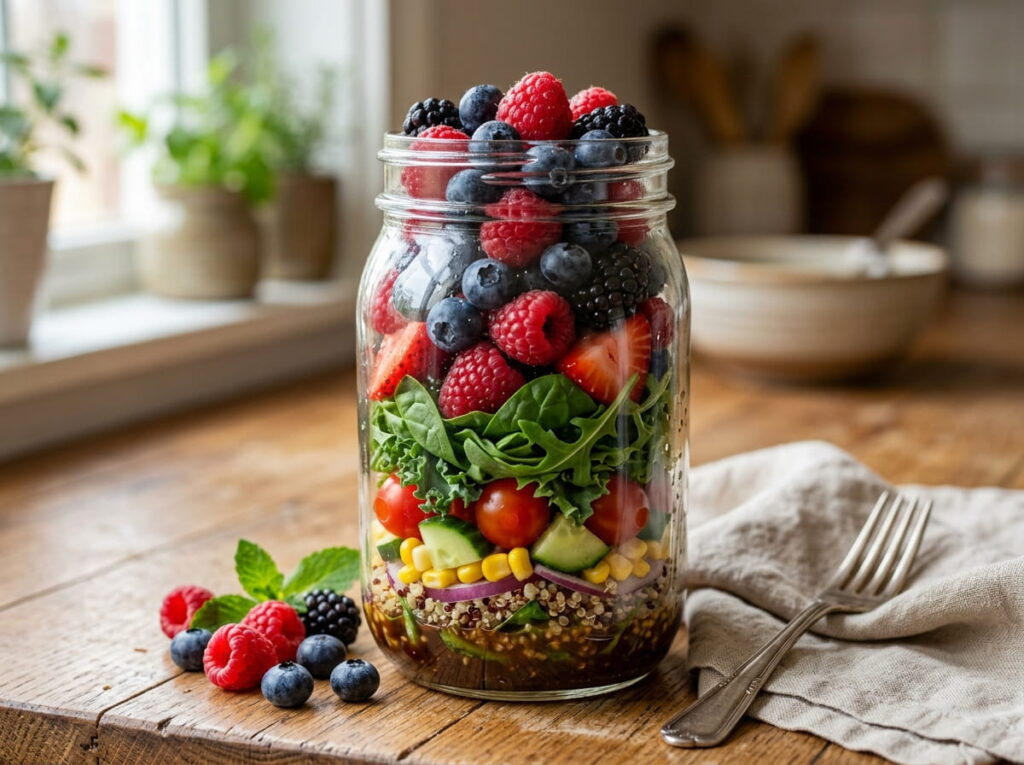
Soft fruit and dressing sitting together for days is one of the fastest ways to end up with a mushy, syrupy layer nobody wants near the rest of the salad.
Keep berries, avocado, and stone fruit far from the bottom layer.
Place them closer to the top, near the greens, where liquid never reaches.
If using avocado, add it fresh the day of eating instead of layering it ahead at all.
Avocado in particular browns fast even away from dressing, so it’s often better added fresh rather than prepped days in advance.
5. Layer Three: Grains, Beans, or Pasta for Bulk
A jar without something starchy or filling in the middle tends to fall apart as an actual meal, leaving mostly vegetables with nothing to anchor them.
Cool grains or pasta fully before layering them in.
Use something sturdy, like quinoa, farro, or cooked beans.
Adding grains while they’re still warm from cooking.
Using something delicate like orzo, which turns mushy fast.
6. Layer Four: Proteins Go Above the Grains, Not Below
Cooked protein sitting directly on top of dressing tends to absorb too much liquid over several days, which is exactly why it belongs a layer or two further up.
Grab a protein that holds up well:
What works well here
Layer the protein directly on top of the grains, giving it a buffer from the dressing while still keeping it easy to see and portion when the jar gets emptied out.
7. Keep Cheese Away From the Dressing Unless It’s Hard Cheese
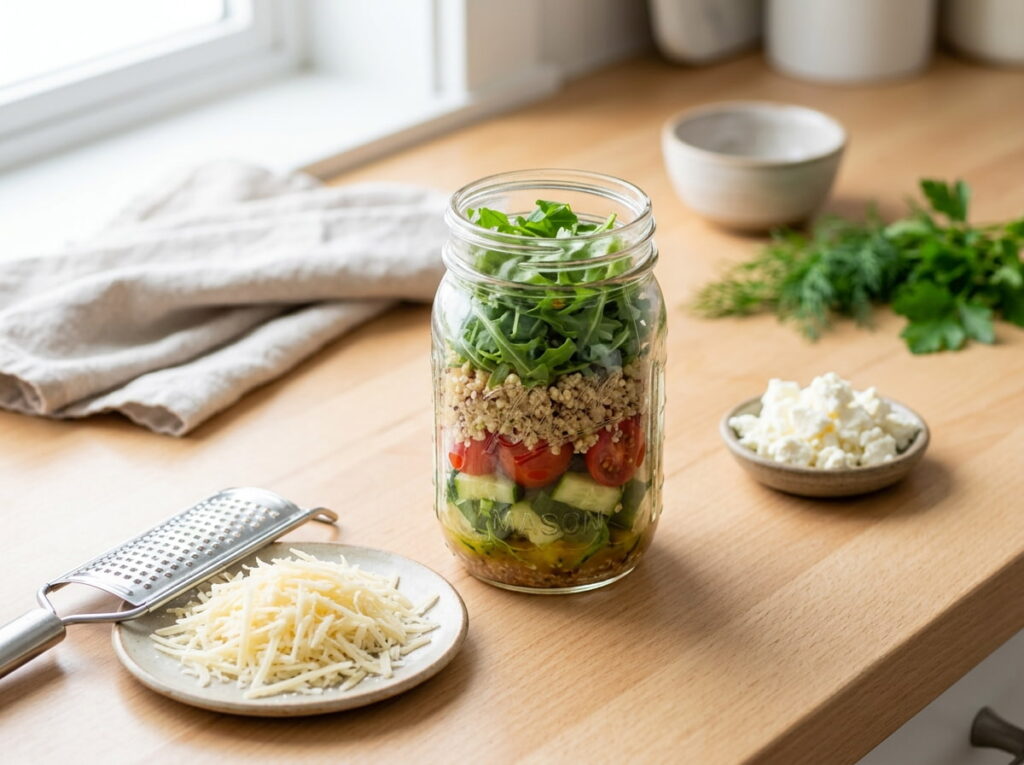
Soft cheese and dressing sitting together for days turns into a genuinely unappetizing mess, while a hard cheese like parmesan can actually handle that same spot just fine.
Soft feta or goat cheese near the bottom, breaking down into the dressing after a few days.
Hard, shredded cheese holding its shape near the bottom without any real breakdown.
Soft cheeses like feta or goat cheese should sit closer to the top layer, near the greens, where they stay firm until the jar is actually opened.
8. Nuts and Seeds Belong Near the Top, Not Buried
Moisture ruins the crunch nuts and seeds are supposed to add, and burying them anywhere near the dressing defeats the whole point of including them at all.
Top layer vs. bottom layer ingredients:
| Belongs Near the Top | Belongs Near the Bottom |
|---|---|
| Nuts, seeds, croutons | Firm vegetables, hard cheese |
| Anything that needs to stay dry | Anything that improves sitting in liquid |
Add them in the layer just before the greens, or scatter them on top right before eating if there’s any concern about them softening too early.
9. Greens Always Go on Top, Packed but Not Crushed
Greens sitting anywhere but the very top of the jar means direct contact with everything below, and that contact is what wilts them long before the jar even gets opened.
Pack the greens in firmly enough that they hold their place during storage, but not so tightly that they bruise or turn dark before the jar makes it to the fridge.
Greens on top isn’t optional. It’s the one rule that keeps the whole jar edible by the end of the week.
10. Leave an Inch of Space at the Top of the Jar
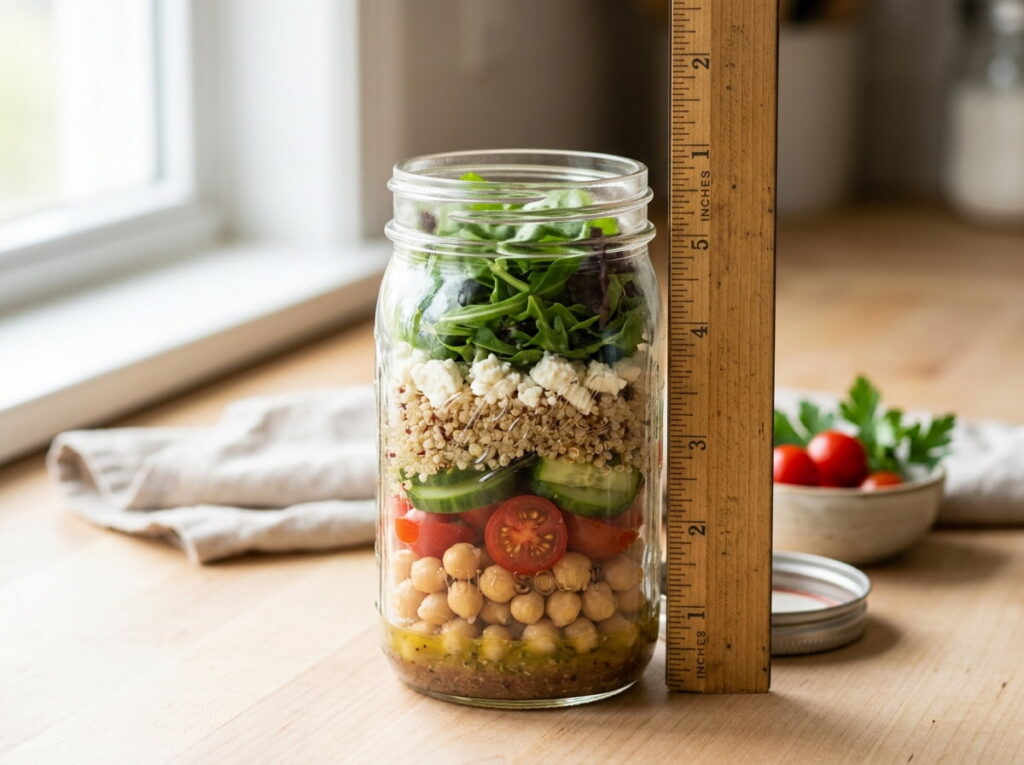
A jar packed all the way to the rim makes it nearly impossible to shake the ingredients together later without spilling half of it across the counter.
⚠️ Watch Out
A jar filled to the very top leaves no room for the ingredients to move when shaken, which means the dressing never actually reaches the greens on top.
That extra inch of space is what makes the jar functional later, not just something to squeeze in one more handful of greens.
11. Seal the Lid Tightly Before Storing in the Fridge
A loosely sealed jar lets air in around the edges, which speeds up wilting on the top layer faster than most people realize.
Store the jars standing upright rather than on their side, so the layers stay exactly where they were originally packed instead of shifting during storage.
12. Know How Long Each Layer Actually Stays Fresh
Not every ingredient in the jar lasts the same amount of time, and treating the whole thing as one uniform shelf life leads to eating something past its best days without realizing it.
Firm vegetables and grains generally hold up for four to five days.
Cooked protein is usually best within three to four days.
Greens on top can wilt noticeably by day five or six even when layered correctly.
Plan the earliest jars for the ingredients closest to their limit, and save anything with a longer shelf life for later in the week.
13. Shake or Dump the Jar Into a Bowl Before Eating

A common mistake is eating straight from the jar with a fork, which leaves the dressing pooled at the bottom instead of coating anything above it.
Shake the jar with the lid on for a wide mouth version, or dump the whole thing into a bowl and toss, which works better for anything with delicate ingredients that might bruise from shaking.
14. Avoid Watery Vegetables Like Cucumber Right Above the Dressing
Cucumber releases a surprising amount of water once it sits in a sealed jar for a few days, and that extra liquid waters down the dressing in a way most people don’t expect.
Grab vegetables that actually hold up:
What works well here
If cucumber has to go in, keep it near the top with the greens instead, where it stays crisp without contributing to a watery jar.
15. Build Grain-Based Jars Differently Than Green-Based Jars
A jar meant to be eaten warm, like a grain bowl, doesn’t actually need greens on top the way a cold salad jar does.
Wilted greens on top of a jar that was always meant to be reheated and eaten warm.
Grains and protein layered without greens at all, built specifically to be dumped into a bowl and heated.
16. Pack Ingredients Snugly So Layers Don’t Shift in Transit
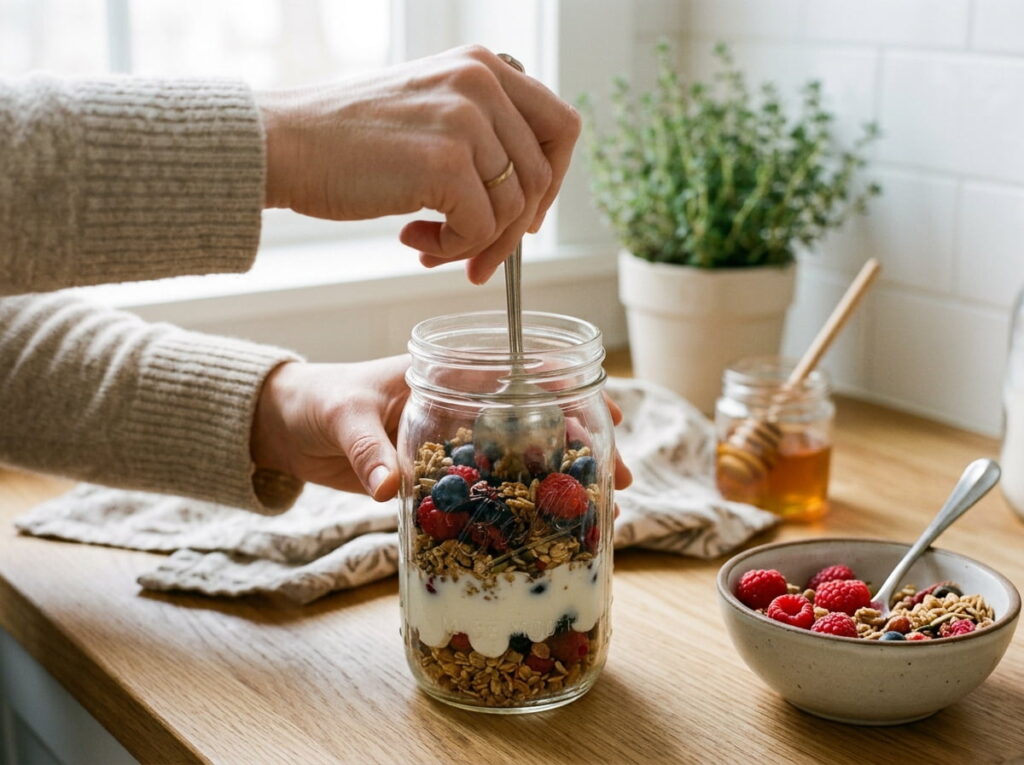
A jar with loose gaps between layers tends to shift around during a commute or a bag ride, which mixes ingredients that were meant to stay separated.
Loosely packed vs. tightly packed jars:
| Loosely Packed | Tightly Packed |
|---|---|
| Layers shift and mix during travel | Layers stay separated through transport |
| Easier to pack quickly | Takes a few extra seconds per layer |
Press each layer down gently with the back of a spoon before adding the next one, which keeps everything settled in place through a car ride or a walk to work.
17. Prep a Full Week of Jars in One Sitting
Building five jars back to back is barely more work than building one, and it means lunch is already handled for the entire week ahead of time.
Batching the layers, all the dressing first, then all the vegetables, is faster than building each jar completely before starting the next.
Line up every jar and work layer by layer across all of them at once instead of finishing one completely before starting the next, since it keeps the whole process moving faster.
18. Label Each Jar With the Date It Was Made
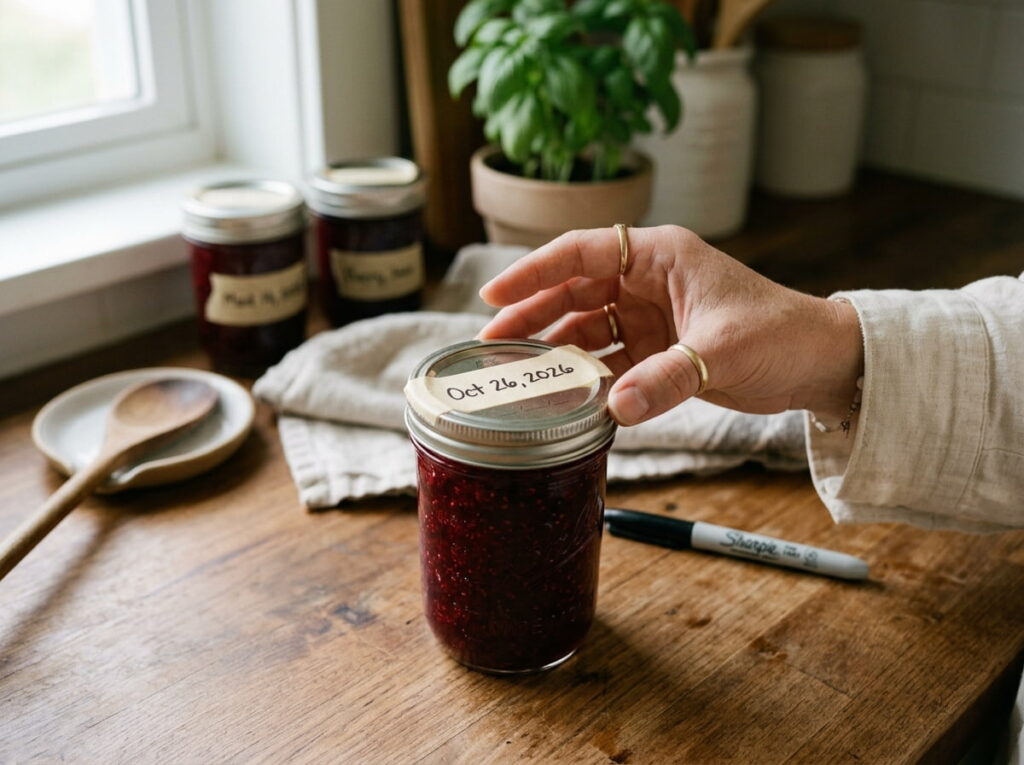
A jar without a label turns into a guessing game by midweek, and nobody wants to open something questionable without knowing exactly how old it actually is.
💡 Quick Tip
A piece of painter’s tape and a marker on the lid works just as well as anything fancier, and it peels off clean once the jar is empty.
19. Adjust the Layering Order for a Cold Pasta Jar
A cold pasta salad jar doesn’t need the same bottom-up structure a green salad does, since the pasta itself can handle sitting in dressing without turning mushy the way lettuce would.
Toss the pasta directly with dressing at the bottom, then build up with heartier add-ins, saving anything delicate like fresh tomatoes or herbs for the very top.
20. Fix a Jar That Turned Out Soggy Before It’s Too Late
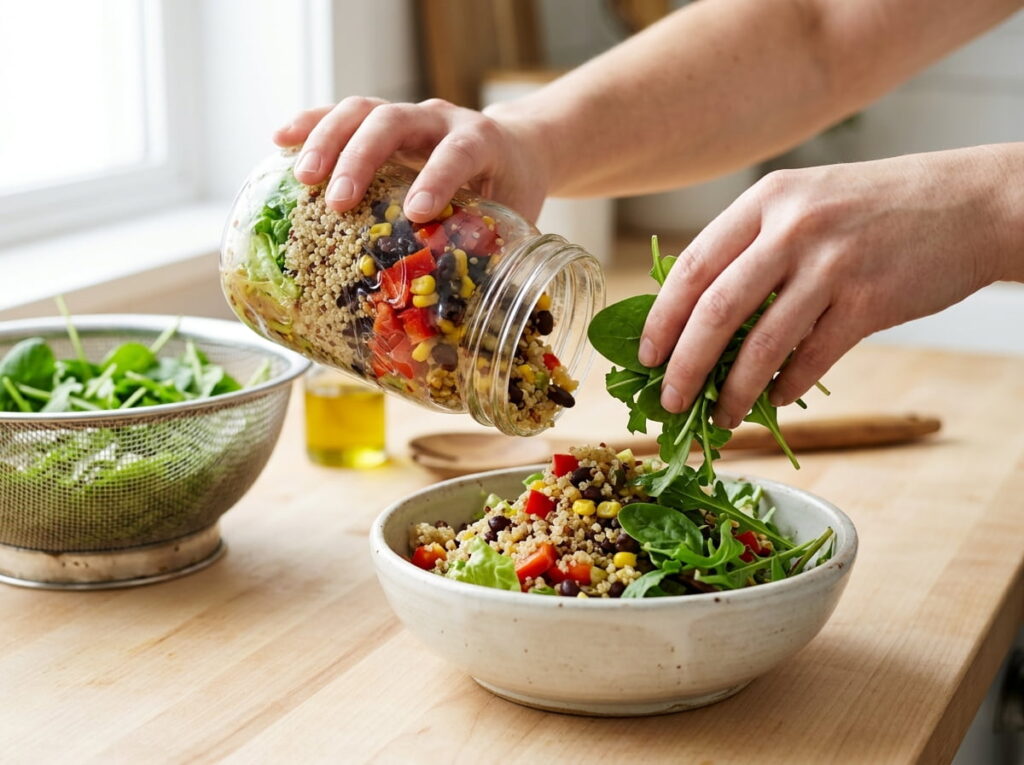
A jar that already went soggy is rarely a total loss, and knowing how to salvage it saves the ingredients from getting tossed out entirely.
Dump the jar into a bowl and drain off any excess liquid at the bottom.
Sort out anything visibly wilted or mushy, and set it aside.
Add a handful of fresh greens or crunchy vegetables to bring back some texture.
Conclusion
Learning how to layer mason jar salad the right way comes down to one repeated idea: keep liquid away from anything delicate, and let sturdy ingredients absorb whatever sits near the bottom. Once that order clicks, it applies to nearly any combination of ingredients, not just the specific ones covered here.
A jar built this way holds up for most of the week instead of turning into something forgotten in the back of the fridge by day three. Prep a batch in one sitting, label them clearly, and lunch stops being something to figure out fresh every single morning.
Save this guide for the next meal prep session, and check back on it whenever a new ingredient combination needs sorting out.