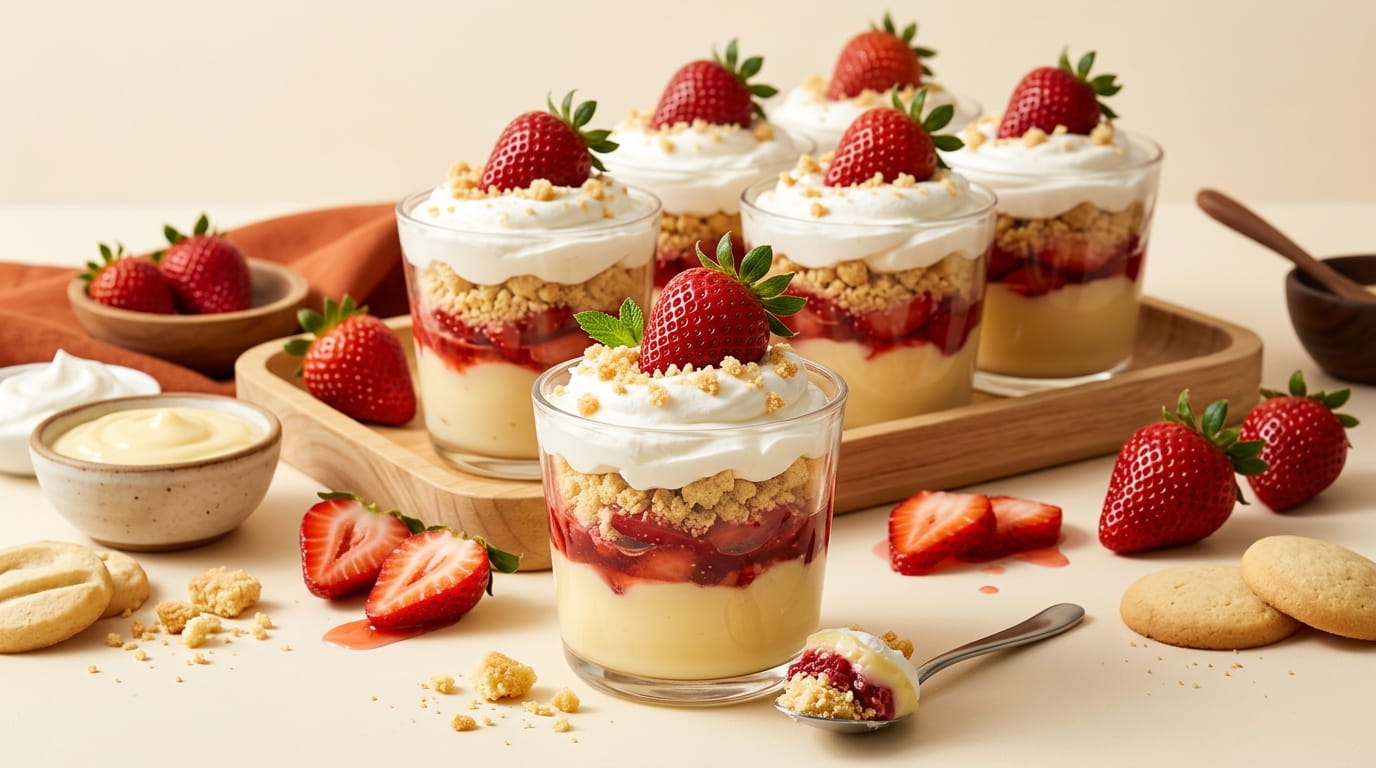
Strawberry shortcake is one of those desserts that gets messy fast, crumbs everywhere, cream sliding off the plate, berries rolling loose. Strawberry shortcake pudding cups fix that by putting every part of the dessert into its own little jar, layered so it stays put and travels well.
This list covers eighteen ways to build, customize, and serve these cups, from the pudding base that actually sets firm to the exact way to pack them for a potluck without the layers shifting in the car. Some ideas are about texture, keeping the crumbs from turning soggy. Others are about presentation, since a clear cup at a gathering gets noticed before anyone even takes a bite.
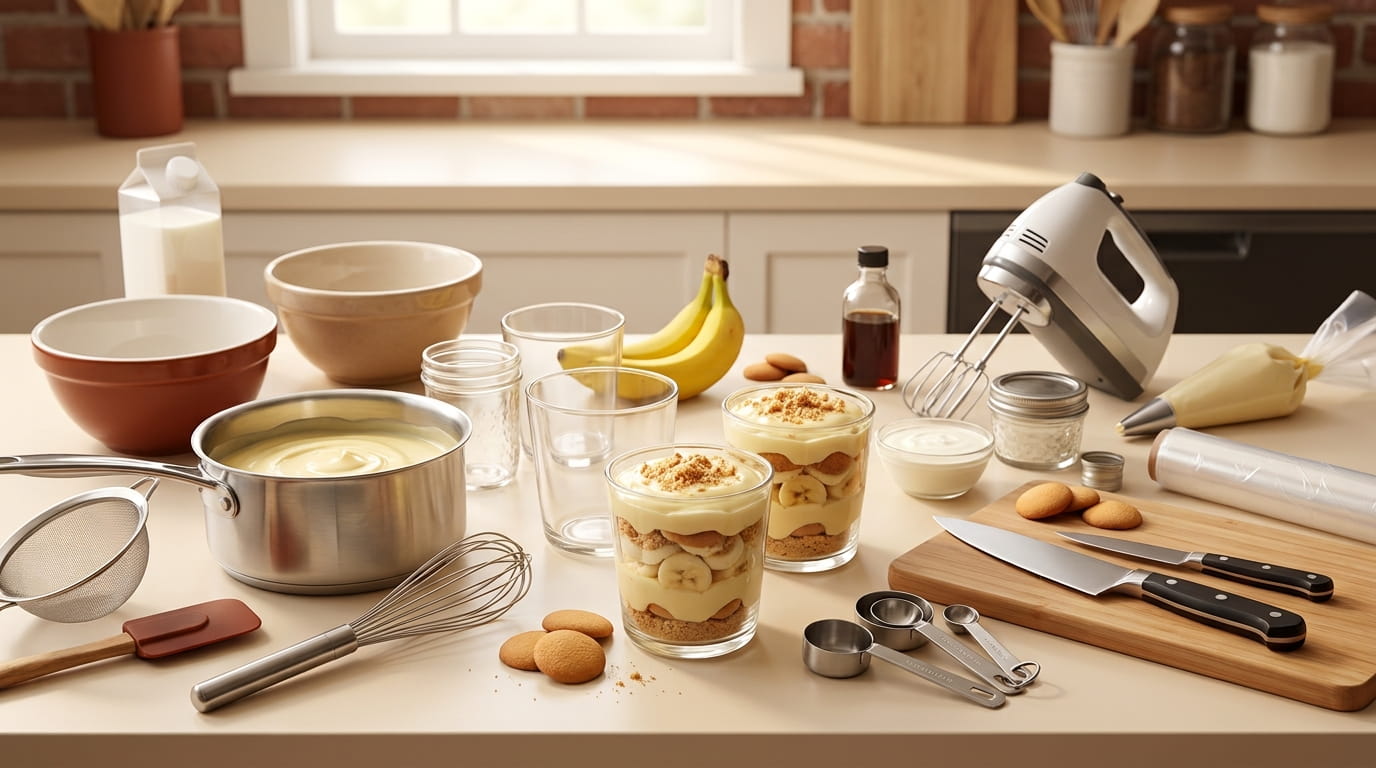
None of this requires special equipment. A few bowls, some cups or small jars, and the patience to let each layer set before adding the next is really all it takes. By the end, you’ll have a dessert that looks like more effort than it actually was, which might be the whole point of a good potluck dish.
1. The Pudding Base That Sets Firm Enough to Hold Every Layer

A pudding that’s too loose turns the whole cup into soup the moment you add whipped cream on top. Using slightly less milk than the box calls for, or letting the pudding chill a full two hours before layering, gives it the structure to hold its shape against everything stacked above it.
- Reduce milk by about a quarter cup for a firmer set
- Chill at least two hours, not just until it looks thick
- Whisk vigorously for the first minute to avoid lumps
A firm base is the difference between neat layers and a cup that collapses the second you dig in.
2. Macerating Strawberries So They Release Juice Instead of Staying Bland
Raw strawberries dropped straight into a cup can taste flat compared to everything else layered around them. Slicing them and tossing with a spoonful of sugar, then letting them sit for twenty minutes, pulls out natural juice that makes the fruit taste brighter and pairs better with the pudding underneath.
💡 Quick Tip
Save the extra juice that collects in the bowl and drizzle a little into each cup before adding the fruit.
3. Crushing Shortcake Cookies Into a Crumb Layer That Doesn’t Turn Mushy
The crumb layer is what gives these cups their shortcake identity, but crushed too fine or added too early, it turns to paste against the pudding. Pulse shortbread or vanilla wafer cookies into coarse, uneven crumbs, and add the layer just before serving whenever possible.
Fine, powdery crumbs that turn to paste within an hour of assembly.
Coarse, uneven crumbs that hold their crunch until the last bite.
4. Whipped Cream Versus Cool Whip, and When Each One Wins

Homemade whipped cream tastes richer and holds its shape a little longer once chilled, but Cool Whip survives a warm car ride to a potluck without deflating the way fresh cream sometimes does. Neither one is wrong, the right choice just depends on how far these cups are traveling.
Which one to pick
5. Layering the Cups So You See Every Color Through the Glass
The whole point of using a clear cup disappears if the layers get mixed together while spooning them in. Add the pudding first with a spoon pressed gently against the side of the cup, wipe any drips before adding the next layer, and keep each addition centered so the colors stay distinct from the outside.
6. A No Bake Version for Days You Don’t Want the Oven On
- Use instant pudding mix instead of a stovetop cooked version
- Buy pre-made shortbread cookies instead of baking your own
- Layer everything cold, straight from the fridge
Skipping the oven entirely means these cups come together in under twenty minutes on a hot day.
Use instant pudding mix instead of a stovetop cooked version.
Buy pre-made shortbread cookies instead of baking your own.
Layer everything cold, straight from the fridge.
7. Keeping the Crumb Layer From Sinking to the Bottom of the Cup

Crumbs added on top of a soft pudding layer will slowly work their way down over a few hours, leaving a gritty bottom instead of a crunchy middle. A thin layer of whipped cream spread between the pudding and the crumbs acts as a barrier that holds the crumbs in place where you actually want the crunch.
Add a whipped cream barrier before the crumbs.
Keep crumbs coarse, not powdery.
Placing crumbs directly on soft pudding.
Assembling more than a day ahead with crumbs already in.
8. Swapping in Different Berries When Strawberries Aren’t in Season
Winter strawberries can taste watery and pale compared to the deep flavor of summer fruit, which makes swapping in a different berry a smarter move some months. Raspberries add tartness, blackberries bring a deeper color, and a mix of frozen berries thawed and drained works when nothing fresh looks worth buying.
| Berry | Flavor Note |
|---|---|
| Raspberries | Sharper, more tart |
| Blackberries | Deep color, earthier taste |
9. The One Step That Keeps Homemade Pudding From Turning Lumpy
Lumpy pudding usually comes down to one mistake, adding hot milk too quickly to the egg and starch mixture, which cooks the eggs before they can blend in smoothly. Pouring the hot liquid in slowly while whisking constantly, rather than all at once, keeps everything silky from start to finish.
Add hot liquid slowly while whisking. Dumping it in all at once is what causes lumps.
10. Adding a Cream Cheese Layer for a Denser, Tangier Bite

Straight pudding can taste a little one note after the first cup, and folding softened cream cheese into part of the whipped cream adds tang that balances the sweetness of the berries. Blend it smooth before folding so there are no visible streaks running through the layer.
- ▸Soften cream cheese fully before mixing.
- ▸Blend until completely smooth, no lumps.
- ▸Fold gently into whipped cream, don’t stir hard.
11. Choosing Clear Cups So the Layers Actually Show at a Potluck
A dessert this layered loses half its appeal in an opaque bowl where nobody can see the work that went into it. Clear plastic cups, small mason jars, or glass tumblers let every color show through, which tends to be what gets these cups noticed on a crowded dessert table before anyone even tastes one.
12. Making the Shortcake Crumbs From Scratch Instead of Store Bought
Store bought cookies work fine, but a simple homemade shortcake crumb, just flour, butter, sugar, and a touch of vanilla baked until golden, tastes closer to actual shortcake than any cookie pulled from a box. It takes about fifteen extra minutes and makes the whole dessert taste more intentional.
💡 Quick Tip
Bake the crumb mixture on a sheet pan, then break it apart once it’s cooled instead of trying to crush it warm.
13. Assembling a Big Batch Ahead of Time Without the Layers Going Soft

A dozen cups assembled the morning of a party can start to lose their texture by the time guests arrive, especially the crumb layer. Building everything except the final crumb and berry topping the night before, then adding those two layers right before serving, keeps the crunch and color intact.
Fully assembled cups sitting for hours with soggy crumbs by party time.
Crisp crumbs and bright berries added right before guests dig in.
14. A Lighter Version for Anyone Watching Sugar or Dairy
Sugar free pudding mix, a light or dairy free whipped topping, and a smaller crumb portion cut a good amount of sugar and fat without losing the layered structure that makes this dessert recognizable. The berries stay exactly the same either way, since fresh fruit doesn’t need any adjusting.
Simple swaps
15. Garnishing the Top Layer So Every Cup Looks Ready for a Photo
The top of the cup is the first thing anyone sees, so a bare layer of whipped cream tends to look unfinished compared to one with a little attention on top. A single whole strawberry, a light dusting of extra crumbs, or a small mint leaf takes seconds and makes every cup look deliberately finished.
16. Portioning Cups for a Crowd Without Running Out of Any Layer

- Count your guests, then plan for two extra servings
- Divide each ingredient batch evenly by that final count before layering
- Measure the first two or three cups to set a consistent portion size
Portioning this way means the last cup looks just as full as the first one, instead of thinning out toward the end.
Count your guests, then plan for two extra servings.
Divide each ingredient batch evenly by that final count before layering.
Measure the first two or three cups to set a consistent portion size.
17. Transporting a Tray of Cups to a Potluck Without the Layers Shifting
A car ride full of sudden stops can turn perfectly layered cups into a mixed mess by the time you arrive. Nestling each cup tightly into a box or tray so they can’t slide, and keeping the tray flat rather than tilted on a seat, protects the layers the whole way there.
Nestle cups tightly so they can’t shift.
Keep the tray flat on the car floor.
Setting the tray on an angled seat.
Leaving gaps between cups where they can slide.
18. Storing Leftover Cups So the Crumb Layer Doesn’t Turn to Mush Overnight

Leftover cups covered and left in the fridge overnight often end up with soggy crumbs by the next day, since moisture from the pudding and cream keeps working its way upward. Storing any extra crumbs separately in their own container and adding them fresh the next day keeps the crunch from disappearing entirely.
| Store Together | Store Separately |
|---|---|
| Pudding and cream cheese layer | Shortcake crumbs |
| Whipped cream topping | Fresh garnish berries |
Conclusion
Strawberry shortcake pudding cups solve the biggest problem with the original dessert, keeping every layer intact from the moment you make them to the moment someone actually eats one. A firm pudding base, a coarse crumb layer, and fresh berries added last are really all it takes to get that classic flavor into something portable and photo ready.
Whether you’re making one batch for a weeknight treat or a full tray for a potluck, these cups hold up better than a traditional shortcake ever could. Adjust the layers to whatever fits your crowd and let the rest come together on its own.
Save this list so you’ve got every trick ready the next time you want that shortcake flavor in a cup.