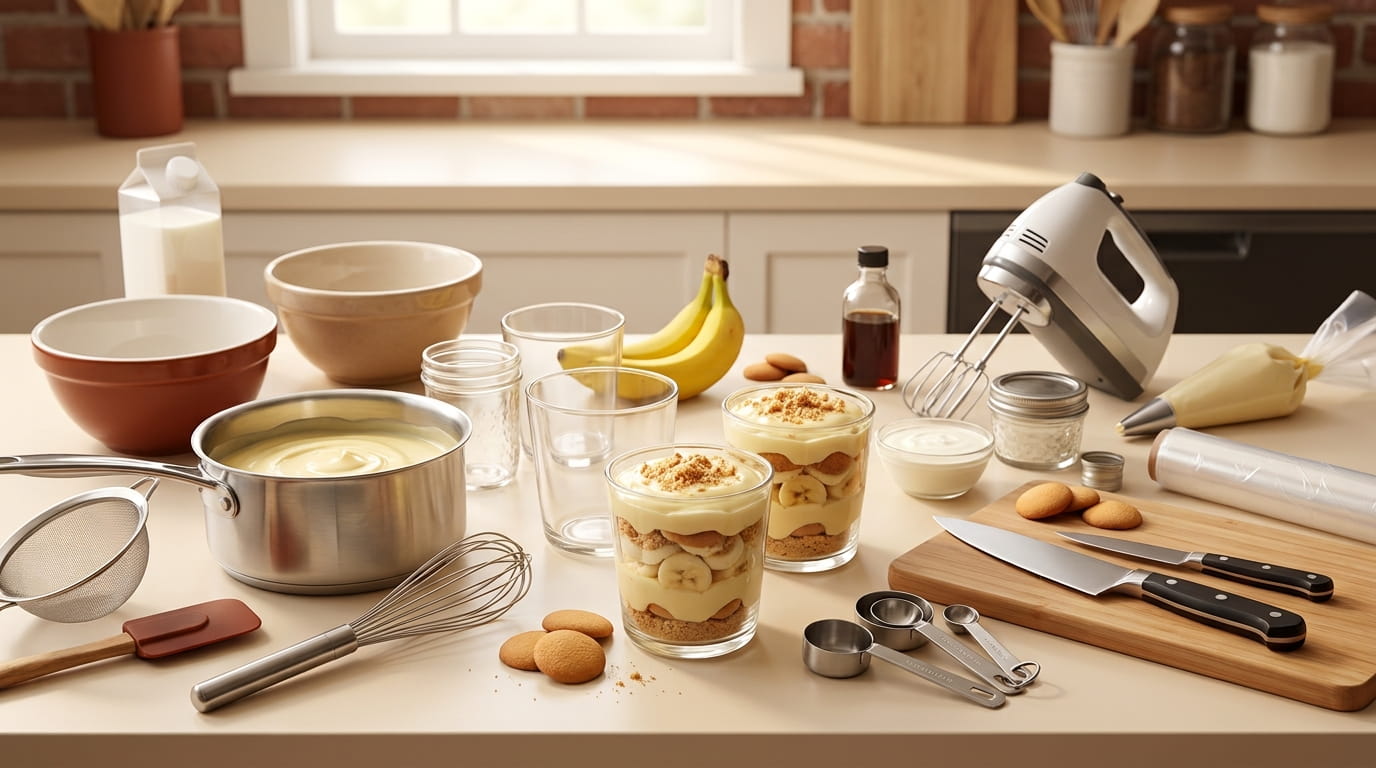
Standing in a kitchen supply aisle wondering what’s actually necessary versus what’s just marketing is exactly the moment that stops a lot of beginners before they even start. Learning to make banana pudding cups doesn’t require a cart full of specialty gadgets, no matter what some recipe blogs might suggest with their long lists of affiliate links.
The truth is, most of what you need is already sitting in a typical kitchen, and the handful of things you might not have are inexpensive and genuinely useful, not just for this recipe but for basic cooking in general. Knowing the difference between essential and optional before you shop saves both money and a cluttered cabinet.
Below is the real list, fifteen items covering exactly what earns a spot in this process and why, plus a clear note on what you can skip entirely. By the end, you’ll know precisely what to grab before your first batch instead of guessing.
1. The Short List: Everything You Actually Need Before You Start

Most of this recipe comes down to just a handful of core tools, not a long specialty list. Everything else on this page either supports those basics or falls into the optional category.
2. A Medium Saucepan For Cooking The Pudding Base Properly
Too small a pot means the pudding base is at risk of bubbling over the moment it starts to thicken, and too large a pot spreads the mixture thin enough that it cooks unevenly.
💡 Quick Tip
A two to three quart saucepan gives the pudding enough room to thicken without spreading too thin across the bottom.
3. A Whisk That Won’t Leave You With Lumpy Pudding
A fork or spoon can technically stir a pudding base, but neither breaks up small lumps of cornstarch or egg the way a proper whisk does, especially in the first couple minutes over heat.
4. A Heatproof Spatula For Stirring Without Melting

A regular plastic spoon left resting against the side of a hot pan can warp or melt fast, and a metal spoon can scratch a nonstick pan’s surface over time.
| Silicone Spatula | Regular Plastic Spoon |
|---|---|
| Withstands direct heat safely | Can warp or melt against hot pans |
| Scrapes the bottom of the pot cleanly | Less flexible, misses corners |
5. Mixing Bowls In A Few Different Sizes, Not Just One
One single bowl means constantly washing and reusing it between steps, which slows down a process that already has several stages happening close together.
- A small bowl for whipping cream separately
- A medium bowl for combining the pudding base
- A large bowl if you’re doubling the recipe for a crowd
A basic bowl set covers it
6. A Hand Mixer Versus Whipping Cream By Hand
Whipping cream by hand is completely possible, but it takes real time and effort compared to a hand mixer, which gets the job done in a fraction of the time with far less arm fatigue.
Works fine, but takes several minutes of steady whisking.
Whips cream to stiff peaks in about a minute, minimal effort.
7. Clear Cups Or Jars For That Signature Layered Look

Part of what makes this dessert recognizable is being able to see every layer through the side, which means an opaque bowl or mug defeats a big part of the purpose here.
8. A Sharp Knife For Clean Banana Slices, Not A Butter Knife
A dull knife crushes soft banana instead of slicing through it cleanly, which leaves you with mashed edges instead of neat rounds that layer nicely in the cup.
💡 Quick Tip
Any sharp paring or chef’s knife works fine here. The sharpness matters far more than the size or brand.
9. Measuring Cups And Spoons You Probably Already Own
Nothing about this recipe requires specialty measuring tools, just the standard set most kitchens already have tucked in a drawer somewhere.
- Dry measuring cups for flour, sugar, and wafer crumbs
- A liquid measuring cup for milk and cream
- A standard set of measuring spoons for vanilla and smaller amounts
The basic set covers everything
10. A Fine Mesh Strainer For A Smoother Pudding Base

Even with careful whisking, a homemade pudding base can end up with a few tiny cooked egg bits or lumps that a strainer catches before they make it into the final texture.
Strain the pudding base right after cooking, while still warm.
Use a spatula to press it through gently.
Straining after it’s already fully cooled and thickened.
Skipping it entirely if you’re not confident in your whisking.
11. Plastic Wrap For Preventing A Skin From Forming On The Pudding
Pudding left uncovered in the fridge develops a thick, rubbery skin on top as it cools, which most people would rather avoid finding when it’s time to fold in the whipped cream.
12. A Cutting Board Dedicated To Fruit, Not Meat Or Onions
A board that recently handled onion or garlic can leave a faint lingering flavor behind, and that flavor transfers fast to something as mild and absorbent as a banana.
📌 Good To Know
Bananas pick up lingering odors easily. Use a board that hasn’t recently handled onion, garlic, or raw meat.
13. Optional But Helpful: A Piping Bag For A Cleaner Finish

A spoon does the job of layering pudding into cups just fine, but a piping bag gives you more control over neat, even layers without dripping down the inside of the glass.
| Spoon | Piping Bag |
|---|---|
| Works fine, a little less tidy | Cleaner lines, more control |
| No extra purchase needed | Worth it if presentation matters to you |
14. What You Genuinely Don’t Need Despite What Some Guides Suggest
A lot of recipe roundups list specialty gadgets that sound helpful but really aren’t necessary for this particular dessert.
Stick to the basic tools already listed above.
Save extra spending for ingredients instead.
A stand mixer, which is overkill for one bowl of whipped cream.
A double boiler, since a regular saucepan on low heat works fine.
15. Your One Page Shopping List Before Your First Batch

Bookmark this section for the day you head to the store, so you’re not standing in an aisle trying to remember what actually made the list.
Conclusion
Getting ready to make banana pudding cups shouldn’t feel like a shopping project. Most of what you actually need is already sitting in a typical kitchen, and the few extra items worth buying are inexpensive tools you’ll reach for again and again, not single use gadgets.
Skip the long lists that push specialty equipment you don’t need, and start with the basics instead. Once you’ve made your first batch with just the essentials, you’ll know exactly whether any of the optional extras are actually worth adding to your setup.
Save this list for the next time you’re heading out to shop, so you know exactly what belongs in your cart.