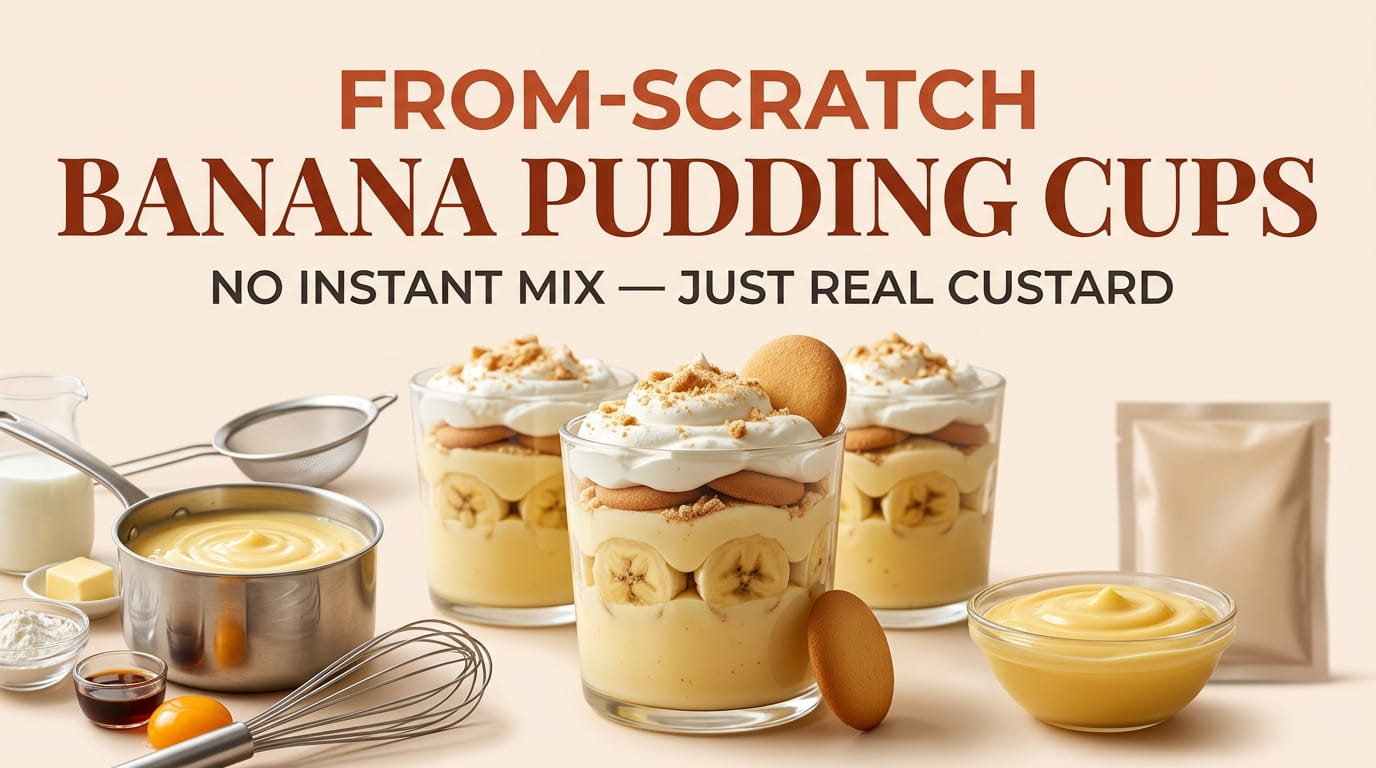
There’s a real difference between banana pudding made with a box of instant mix and the kind built from egg yolks, sugar, and milk cooked slowly on the stove. Once you taste the scratch version, it’s hard to go back to the powdery, one-note sweetness of the instant kind.
From-scratch banana pudding cups take a little more time, but not much more skill. Most of what trips people up is small technical stuff, like tempering eggs correctly or knowing when a custard has actually thickened enough. Once you understand those few details, the process becomes almost automatic.
This list walks through eighteen steps that cover the real custard-making technique from start to finish, along with a few troubleshooting fixes for when things don’t go quite right the first time. Nothing here requires special equipment, just a saucepan, a whisk, and a bit of patience while the custard comes together on the stove.
By the end, you’ll understand not just how to make this dessert, but why each step matters.
1. Why Scratch Custard Beats a Boxed Mix Every Time
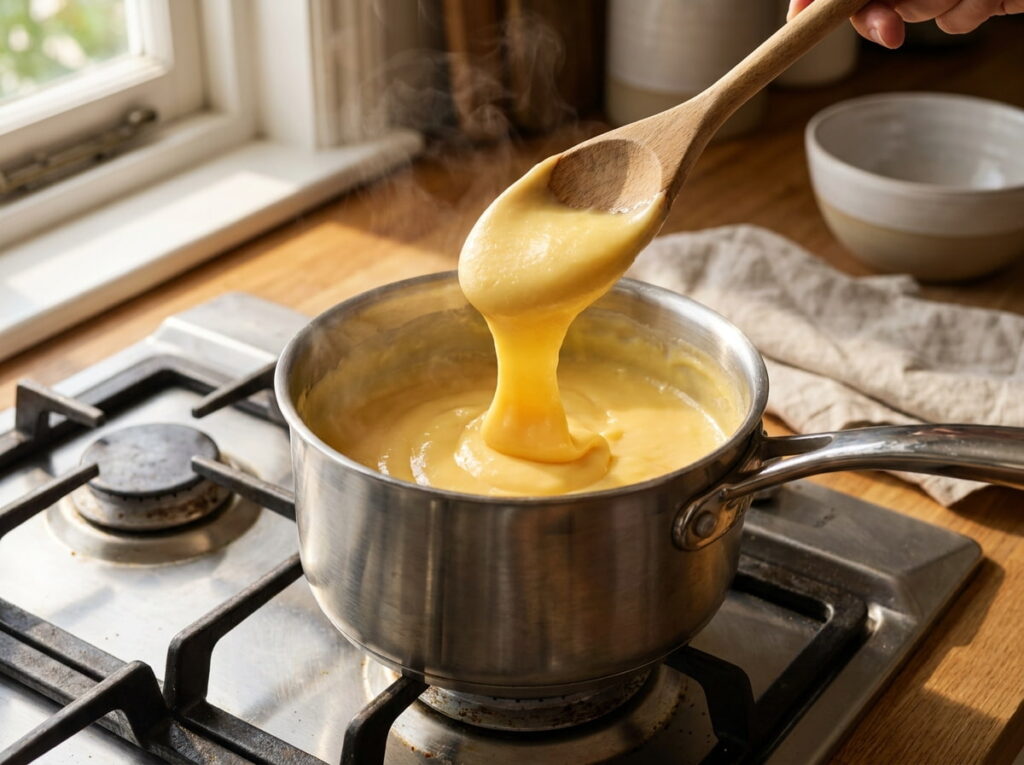
Instant pudding mix relies on modified starches and artificial flavoring to set quickly without any cooking, which is convenient but leaves behind a flatter, less rounded flavor. A stovetop custard made with real egg yolks has a richness that no powder can fully replicate.
💡 Quick Tip
The difference is most obvious in the first bite, before the banana or wafers add their own flavor to the mix.
It’s a small trade of convenience for flavor, and most people find it’s worth making at least once.
2. Gather the Real Ingredients a Box Mix Replaces
A box of instant pudding hides several ingredients inside one convenient packet. Making the custard from scratch means gathering those pieces yourself, which is simpler than it sounds once you see the short list laid out.
Sugar and vanilla round out the list, and chances are you already have most of this in your kitchen.
3. Temper the Eggs So They Don’t Scramble
Pouring hot milk directly into egg yolks all at once will cook the eggs instantly, leaving bits of scrambled egg floating in what’s supposed to be a smooth custard. Tempering means slowly warming the yolks first so they can handle the heat without curdling.
Whisk the egg yolks in a bowl while the milk mixture heats separately.
Slowly pour a small amount of hot milk into the yolks while whisking.
Once warmed, pour the yolk mixture back into the pot with the rest of the milk.
Go slowly on this step. Rushing it is the most common reason a first custard attempt ends up with tiny cooked egg bits.
4. Know the Exact Moment the Custard Is Done
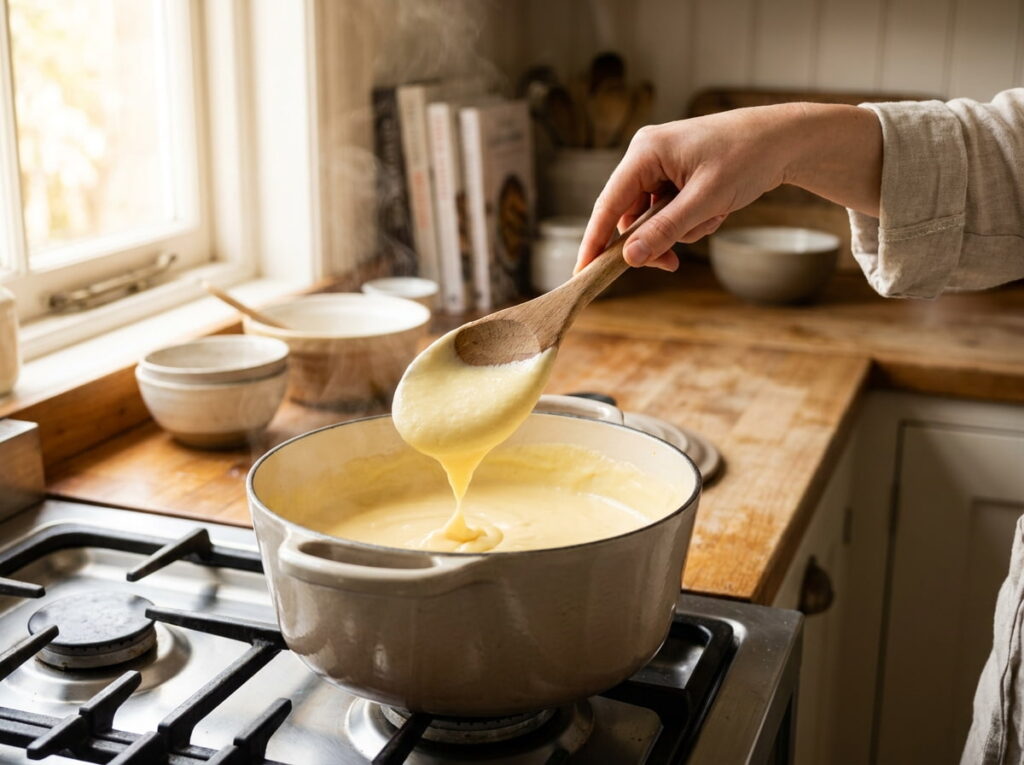
Undercooked custard stays thin no matter how long it chills, while overcooked custard can turn grainy or start to break. There’s a fairly narrow window where it’s actually finished, and learning to spot it saves a lot of guesswork.
Drag a finger across the back of the coated spoon. If the line stays clean, the custard is ready.
5. Use Cornstarch Instead of Flour for a Silkier Set
Some older recipes call for flour as the thickener, but cornstarch produces a noticeably smoother, glossier custard with less of a starchy aftertaste. The texture difference is easy to notice once you’ve made both versions side by side.
| Cornstarch | Flour |
|---|---|
| Smooth, glossy finish | Slightly duller, more opaque finish |
| Clean flavor, no aftertaste | Can leave a faint starchy taste |
If cornstarch is all you have on hand, flour still works. It just won’t give you quite the same silky result.
6. Whisk Constantly or Risk Lumps Forming
Cornstarch settles fast, and the moment you stop whisking to check your phone or grab another ingredient is usually the moment small lumps start forming at the bottom of the pot. Constant motion is what keeps the custard smooth from start to finish.
- ▸Small dots forming at the bottom of the pot mean you’ve paused too long.
- ▸A grainy feel against the whisk usually means cornstarch has clumped.
- ▸Uneven thickness from one side of the pot to the other is a sign to whisk faster.
Have everything else measured and ready before you start cooking, so your hands never need to leave the whisk.
7. Add Butter and Vanilla Off the Heat, Not On It
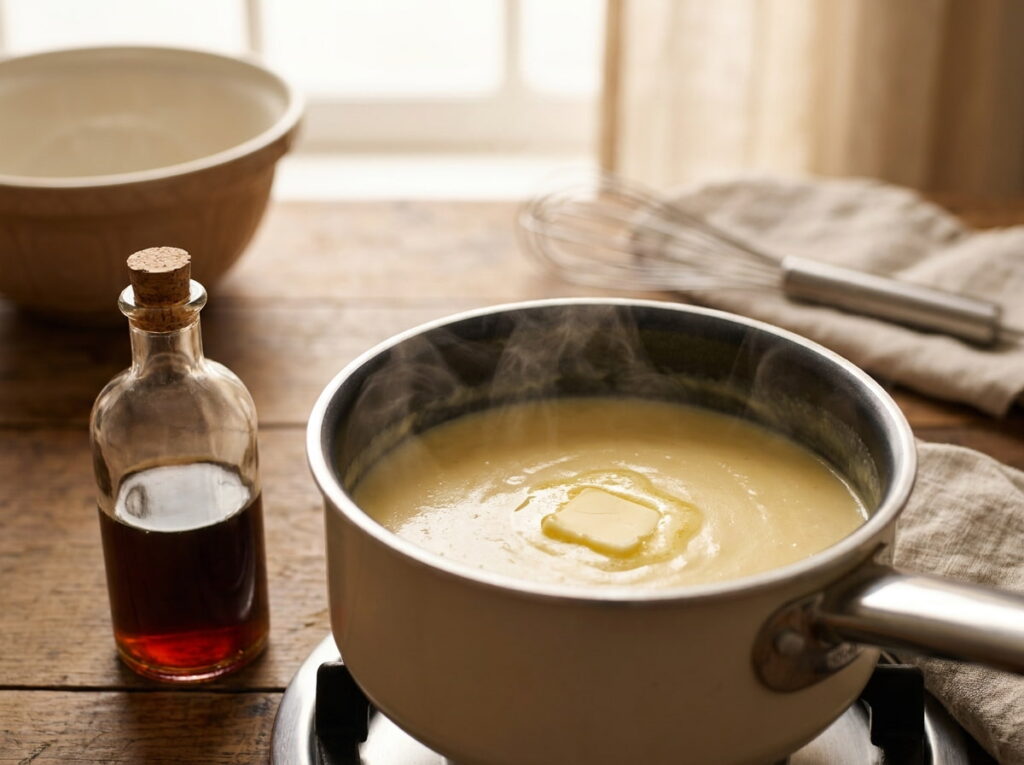
Cooking vanilla extract directly in the hot custard burns off some of its aroma before it ever reaches your bowl. Stirring both butter and vanilla in after the pot comes off the stove protects their flavor and gives the custard a glossier finish.
💡 Quick Tip
Stir in cold butter first, letting it melt into the warm custard, then add vanilla right after.
This small change makes a noticeable difference in how fragrant the finished custard smells and tastes.
8. Strain the Custard for a Truly Smooth Texture
Even a carefully made custard can have a few tiny bits of cooked egg or undissolved cornstarch hiding in it, and straining catches what whisking alone might miss. This step is optional, but it’s the difference between good and genuinely silky.
What a fine mesh strainer catches
Push the custard through with the back of a spoon rather than pouring quickly, or the mesh will clog before you’re done.
9. Cool the Custard the Right Way to Avoid a Skin
Custard left uncovered as it cools develops a thick, rubbery skin on top from moisture escaping into the air. That skin isn’t harmful, but it ruins the smooth texture people expect from this dessert.
A thick, rubbery skin forms across the surface as it cools.
Smooth, skin-free custard all the way to the surface.
Press plastic wrap directly against the surface, not just over the top of the bowl, and that thin skin simply won’t have a chance to form.
10. Understand Why Scratch Custard Needs More Patience
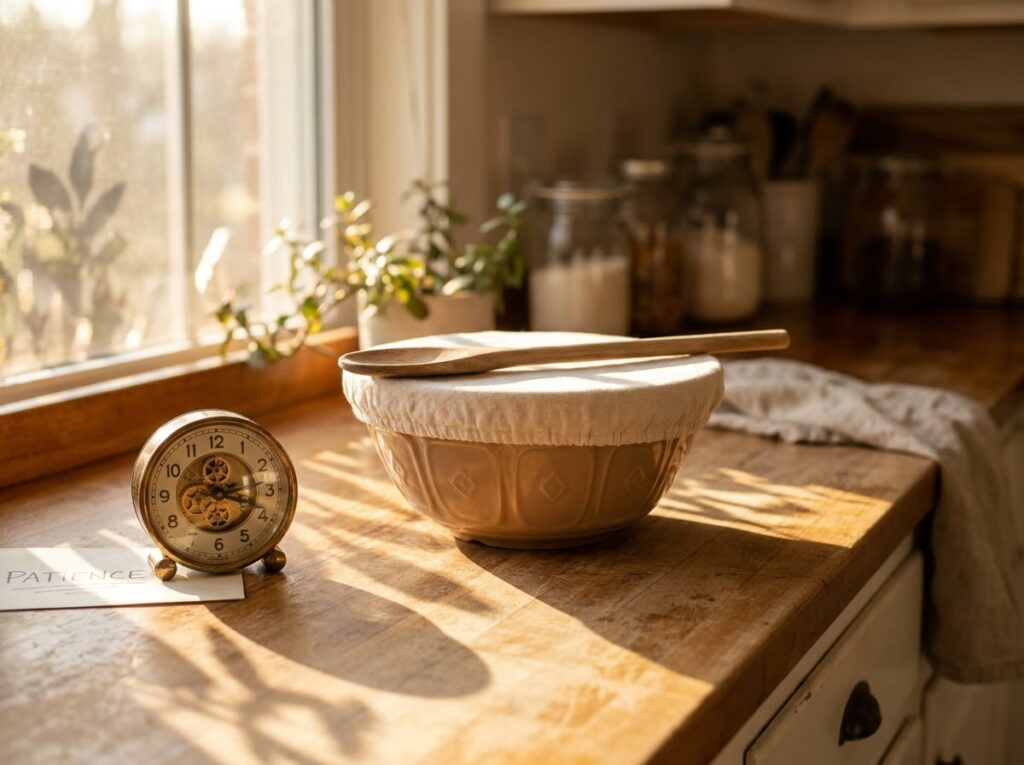
A boxed pudding sets in the fridge in under an hour, while a scratch custard genuinely benefits from more time to cook, cool, and chill before assembly. Rushing any of these three stages shows up in the final texture, usually as a custard that’s too loose.
Scratch custard trades speed for flavor. Give it the full cooking, cooling, and chilling time and it rewards you every time.
Plan for this dessert a few hours ahead rather than making it as a last minute decision.
11. Pick Bananas That Won’t Fall Apart in Layers
A banana that’s too soft turns to mush the moment it’s layered with warm custard, losing its shape before the cups even make it to the fridge. Bananas with solid yellow skin and just a few small brown flecks hold their structure much better through assembly and chilling.
Ripeness signs to check
Bananas at this stage also brown a little slower once sliced, which helps the finished cups look fresher longer.
12. Layer the Cups While the Custard Is Still Warm-ish
Fully cold custard is thick and harder to spread evenly over wafers and bananas without disturbing the layers underneath. Custard that’s cooled to warm room temperature, not cold, pours and settles more smoothly into the cup.
Let the custard cool for about 20 to 30 minutes after cooking.
Check that it’s warm to the touch, not hot and not fully chilled.
Layer quickly once it’s in that window, before it thickens further.
Once the cups are layered, that’s when they go into the fridge to fully set and chill.
13. Compare Scratch Custard Cost to a Box Mix
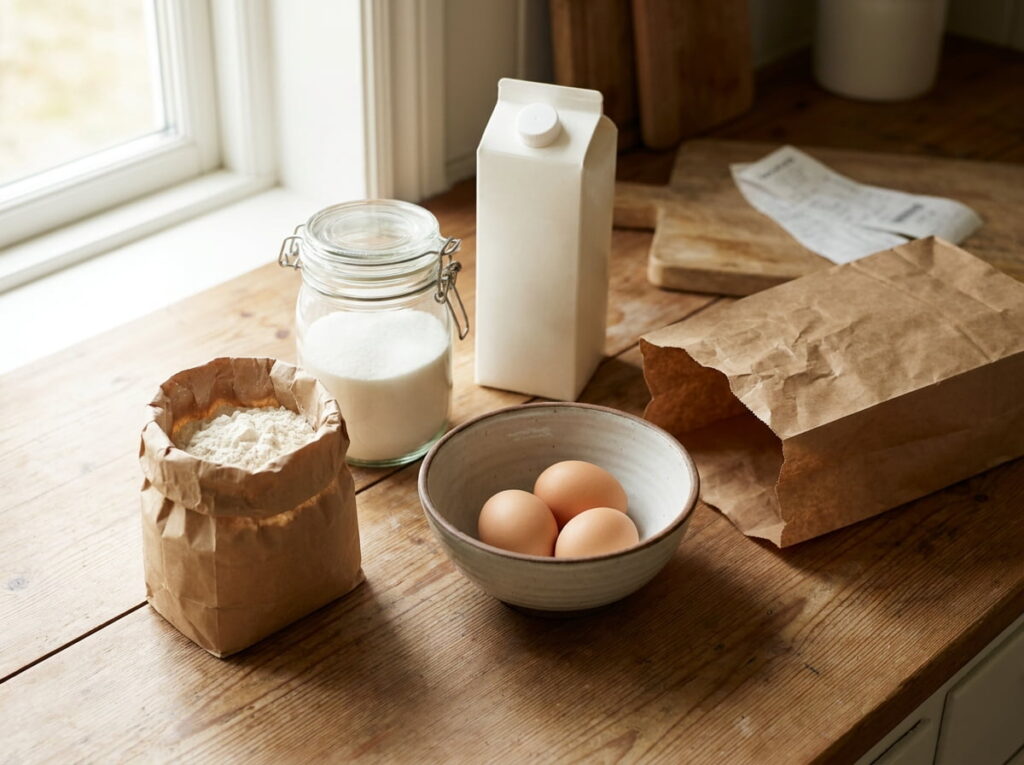
A box of instant pudding mix looks cheap sitting on the shelf, but once you factor in that scratch custard uses ingredients most people already stock, like eggs, milk, and sugar, the actual cost difference is smaller than it first appears.
| Scratch Custard | Box Mix |
|---|---|
| Ingredients most kitchens already have | One extra item to buy and store |
| About 20 minutes of active cooking | A few minutes of whisking |
The real trade here is time, not really money, which makes the flavor upgrade feel like an easier decision.
14. Fix a Custard That Turns Out Too Thin
A custard that never thickens past the consistency of heavy cream usually means it didn’t reach a high enough temperature before coming off the heat. This is fixable even after the fact, as long as you catch it before the custard has fully cooled.
Return the pot to low heat and whisk in a bit more cornstarch slurry.
Cook a few more minutes, checking the spoon test again.
Adding dry cornstarch straight into the hot custard.
Assuming the fridge alone will fix a thin custard.
A thin custard will not thicken on its own in the refrigerator, so it’s worth fixing on the stove first.
15. Fix a Custard That Turns Out Too Thick
An overly thick custard usually means it was left on the heat a little too long or reduced too much before coming off the stove. This one is also fixable, though it needs a gentler touch than fixing a thin batch.
Stiff, almost paste-like texture that resists a spoon.
Smooth and pourable again after a splash of warm milk.
Whisk in a small splash of warm milk at a time until it loosens back to the right consistency.
16. Make the Whipped Topping From Scratch Too
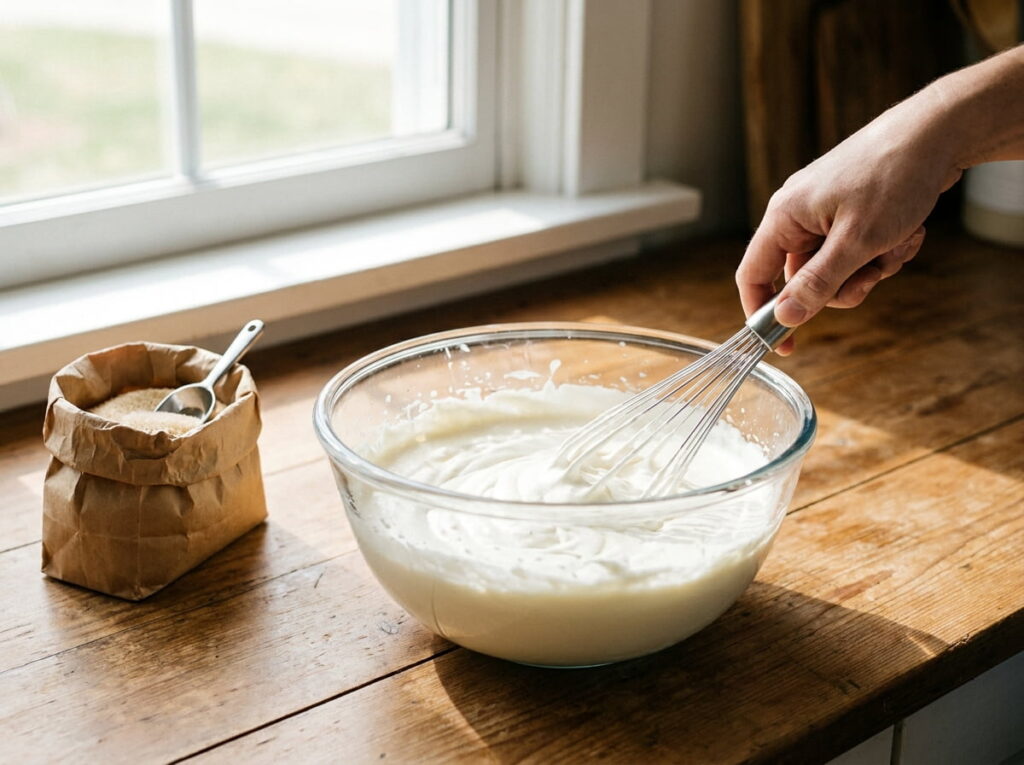
A dollop of tub topping doesn’t quite match the rest of a scratch dessert, and real whipped cream is simple enough to make while the cups are chilling. It’s a small extra step that keeps every part of the dessert homemade.
Stop whipping as soon as soft peaks form. Overwhipped cream turns grainy and can start separating.
17. Store Scratch Pudding Cups Without Losing Texture
Scratch custard behaves a little differently from boxed pudding once it’s been sitting for a day, since it doesn’t have the same stabilizers that help store-bought versions hold their texture longer. Covering the cups tightly matters more here than it would with an instant mix.
Scratch custard also tends to separate slightly if left too long, so a quick stir before serving brings it back together.
18. Know When Scratch Custard Is Worth the Extra Step
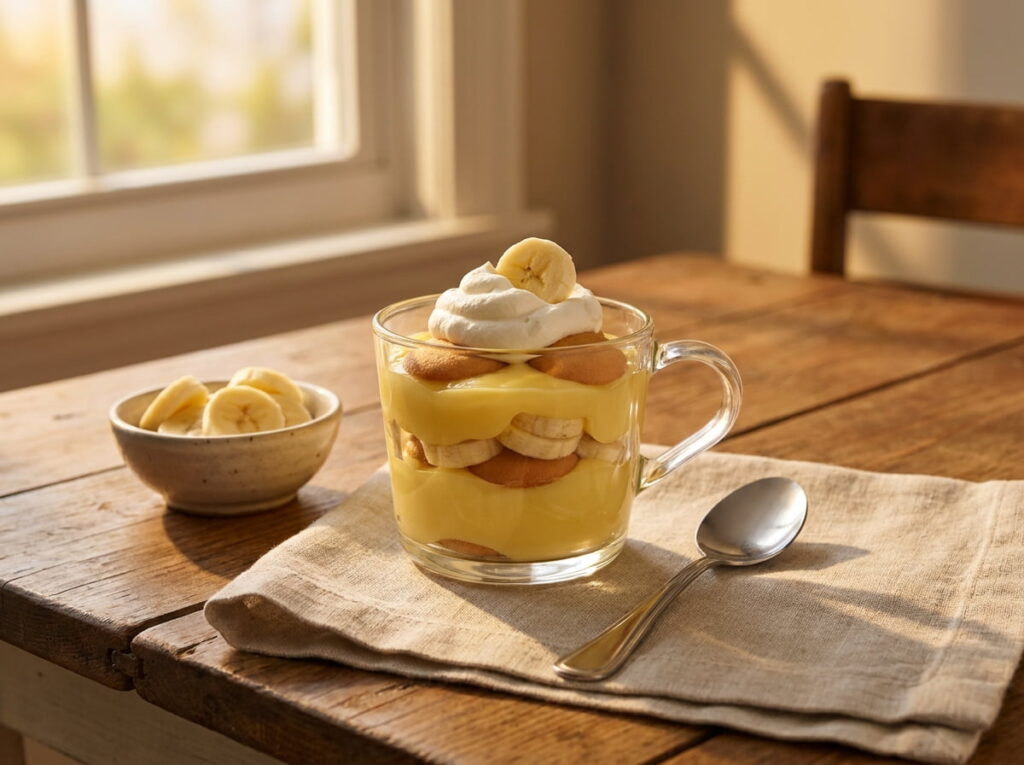
Not every night calls for the extra time a from-scratch custard takes, and that’s a fair trade off to weigh honestly. But for a dessert people will remember, or one you’re making for someone who appreciates the difference, the extra effort tends to pay off.
Save the scratch version for when the dessert matters. The flavor difference is real, and it shows.
Once you’ve made it from scratch a few times, the process starts to feel like second nature instead of a project.
Conclusion
From-scratch banana pudding cups aren’t complicated once you understand what’s actually happening in the pot. Tempering the eggs, watching for the right texture, and giving the custard time to cool properly are the details that separate a smooth, rich dessert from one that falls flat.
The instant version will always be faster, and there’s nothing wrong with reaching for it on a busy night. But once you’ve made this dessert from scratch a few times, you’ll start to notice exactly why the extra steps matter, and the process will feel a lot less intimidating than it did the first time.
Save this list for the next time you’re ready to skip the box and build banana pudding the way it was meant to be made.