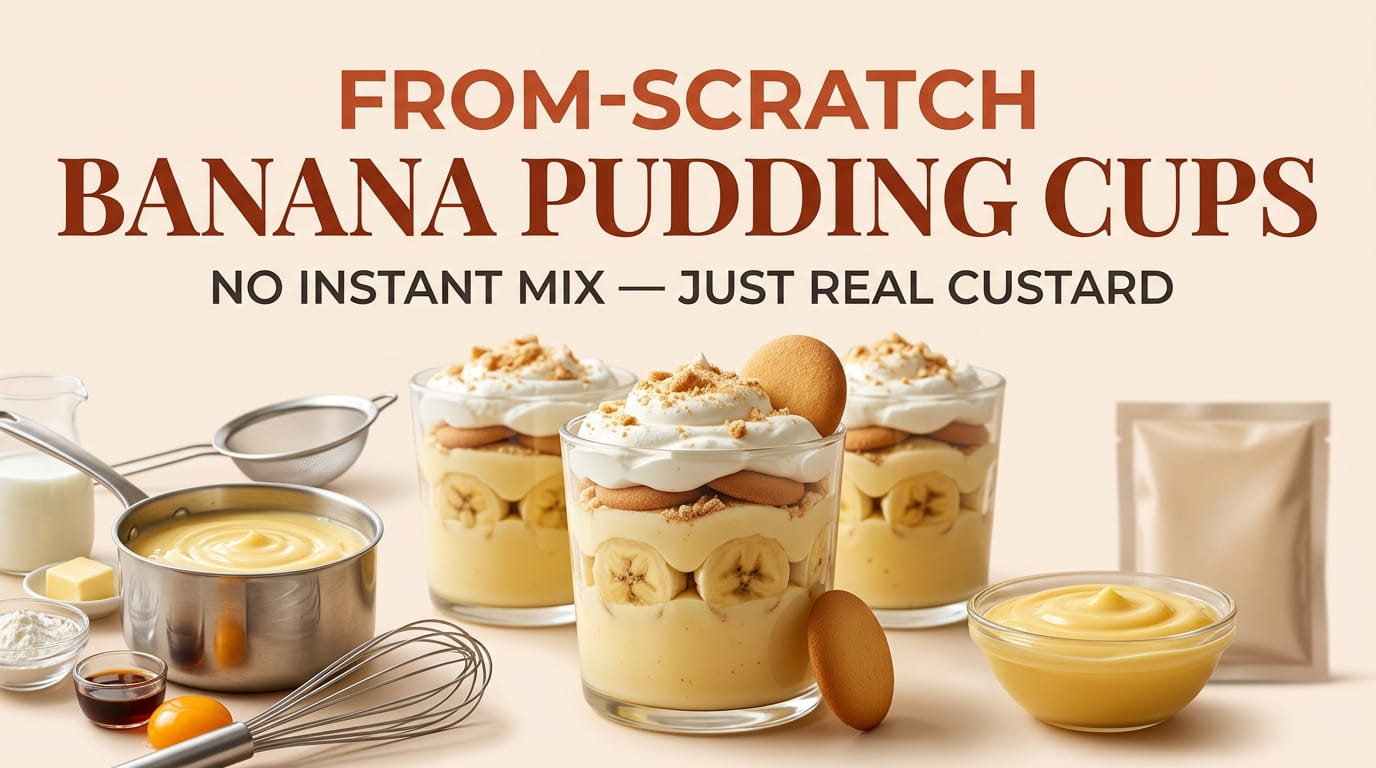
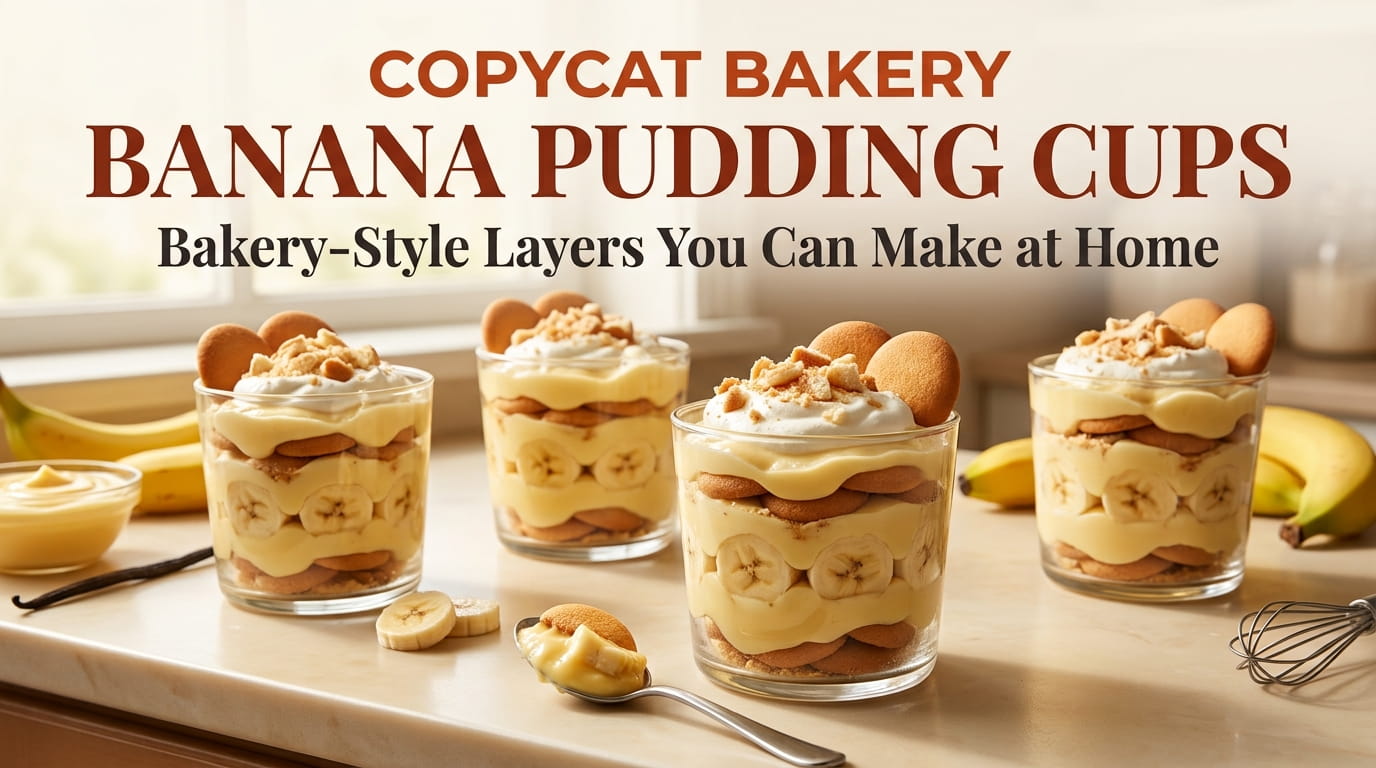
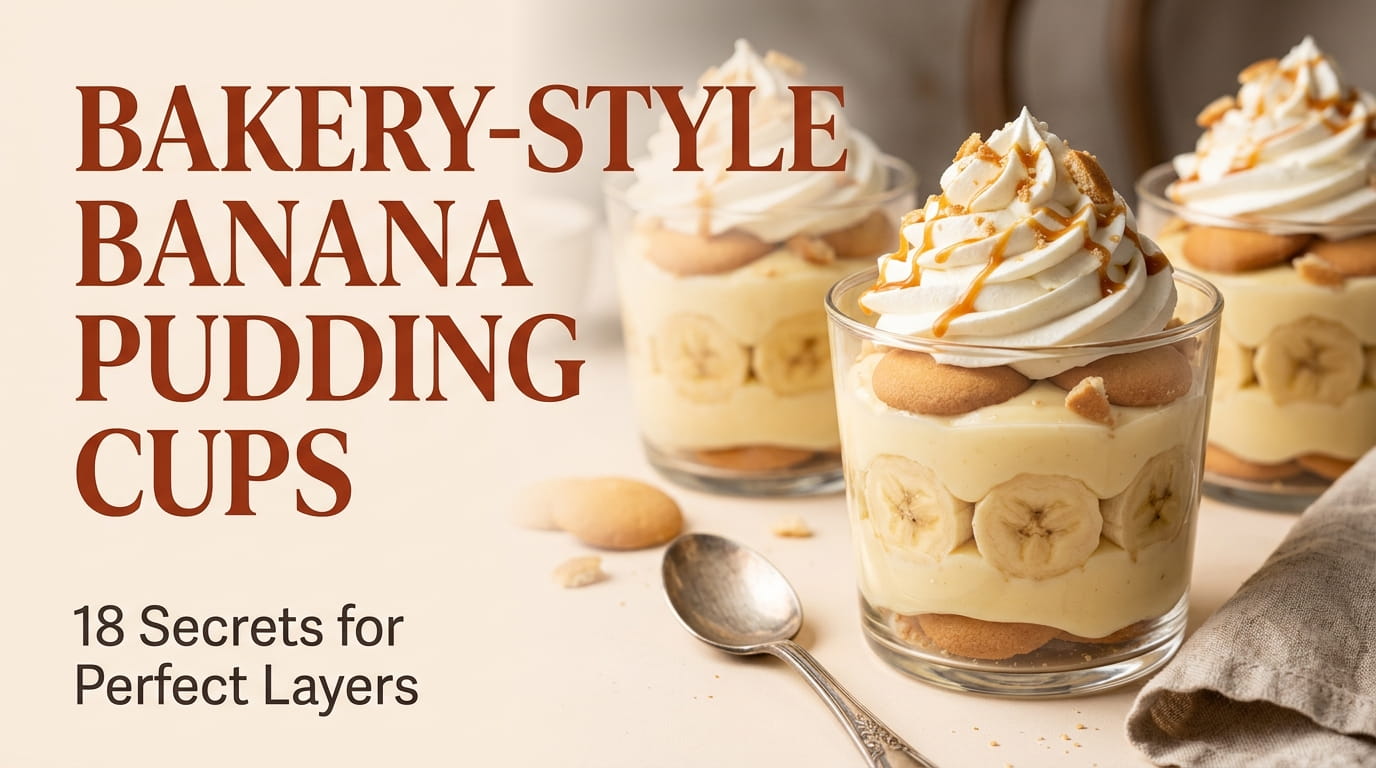
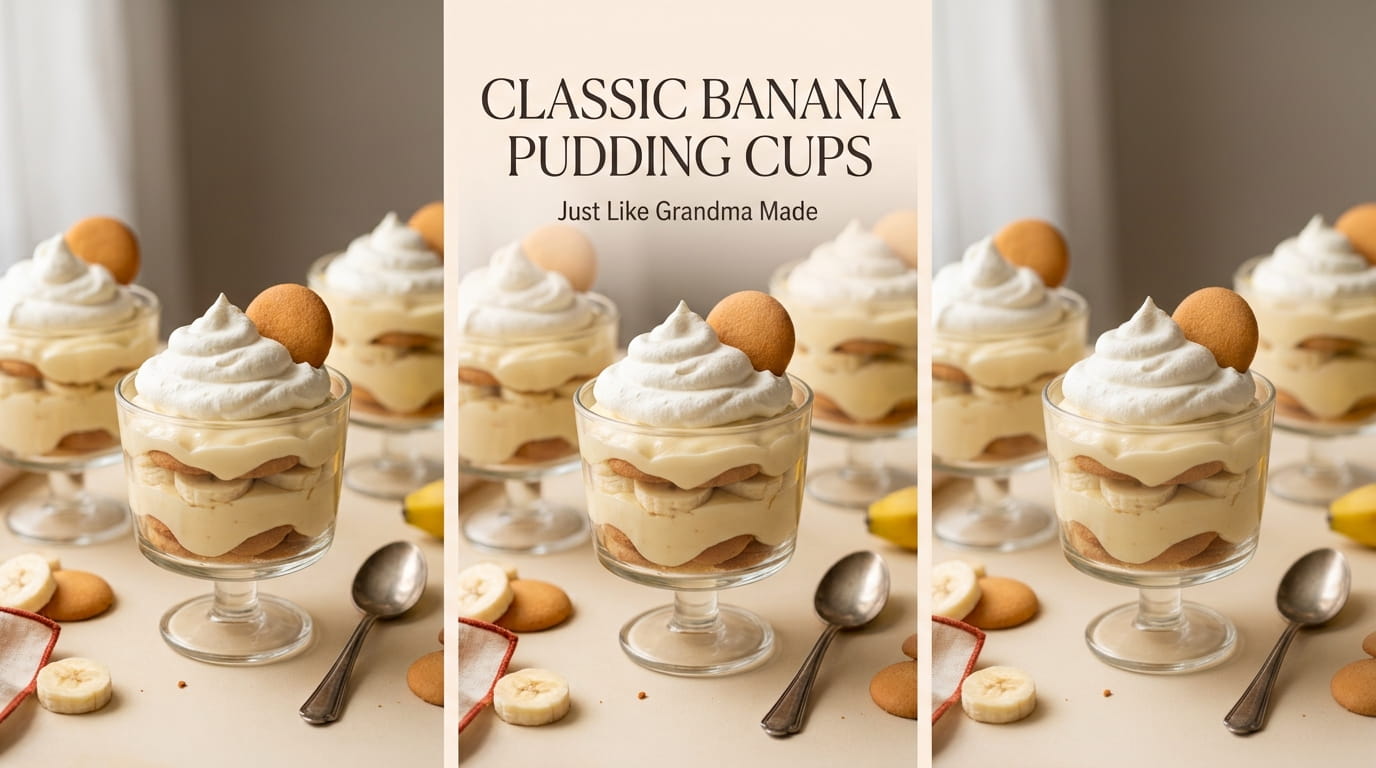
There’s a specific moment when banana pudding goes from a bowl of mush to something that actually looks like dessert, and it has nothing to do with the recipe. It’s the layering. Layered banana pudding cups look like they came from a bakery case because someone paid attention to order, timing, and a few small choices most people skip on a weeknight.
The good news is none of this requires special skill. It requires knowing which layer goes soggy first, which banana trick actually works, and how far ahead you can build these before the wafers turn to paste.
This list walks through eighteen details that turn a basic banana pudding into something with clean, distinct layers you can see through the side of a clear cup. Some are about ingredients. A few are just about timing the assembly so nothing gets soft before it needs to.
If your banana pudding has always tasted good but never looked the part, this is the part that’s been missing.
1. The Layering Order That Keeps Every Cup From Turning to Mush

Most homemade versions layer pudding, then wafers, then bananas, and wonder why the middle turns soft within an hour. The order that actually holds is pudding first, then a banana layer pressed flat against the glass for visibility, then wafers, then a thin pudding layer sealing them in before the next round starts.
2. Homemade Pudding Base Versus the Instant Mix Shortcut
| Homemade Custard | Instant Mix |
|---|
| Homemade Custard | Instant Mix |
|---|---|
| Richer flavor, holds shape longer | Faster, softer set |
| Takes about 20 minutes on the stove | Ready in about 5 minutes |
Either works for layering, but the homemade version holds its shape better if the cups sit out for a while before serving.
3. The Banana Trick That Stops Brown Spots Before They Start
A quick dip in lemon juice diluted with water, just a few seconds per slice, slows the browning enough to keep the layers looking fresh for hours instead of turning gray by the time dessert is served.
4. Building the Whipped Layer So It Holds Overnight in the Fridge

Regular whipped cream deflates by morning, which is a problem if these cups are made the night before an event. Stabilizing it with a small amount of cream cheese or a spoon of instant pudding mix folded in keeps the peaks firm well past the first few hours.
💡 Quick Tip
A tablespoon of softened cream cheese per cup of cream stabilizes it without changing the flavor much at all.
5. Wafer Placement That Keeps Every Bite Crunchy, Not Soggy
Wafers laid flat against pudding on both sides soften fast, sometimes within an hour. Standing a few wafers upright along the inside edge of the cup, visible through the glass, keeps them from ever fully submerging.
Wafers laid flat between pudding layers, turning soft and mushy within an hour.
Wafers standing upright against the glass, staying visible and holding their crunch longer.
6. Choosing the Right Cup Size for a Clean, Photographable Layer
A cup that’s too wide makes each layer look thin and uneven once you cut into it. Something in the four to six ounce range gives enough room for three or four visible layers without looking like a shallow puddle of pudding.
What to grab first
7. A Salted Caramel Drizzle Layer That Doesn’t Sink to the Bottom

Warm caramel poured straight into a cup slides right through the pudding layer beneath it, ending up pooled at the bottom instead of staying where it’s drizzled. Letting the caramel cool to room temperature first keeps it thick enough to sit on top of each layer instead of sinking through.
Cool the caramel to room temperature before drizzling.
Drizzle in a thin, controlled zigzag.
Pouring warm caramel straight onto pudding.
Using too much at once in one spot.
8. Making the Custard From Scratch Without Curdling the Eggs
Temper the eggs before they ever touch the hot milk, or you end up with sweet scrambled eggs instead of custard.
Whisk a small ladle of hot milk into the beaten eggs first.
Slowly pour the warmed eggs back into the rest of the hot milk.
Cook on low heat, stirring constantly, until it coats the back of a spoon.
9. The Cookie Crumb Topping That Stays Crisp on Top
Crushed vanilla wafers sprinkled on right before serving stay crunchy, since they never have time to absorb moisture from the whipped layer underneath.
Add the crumb topping right before serving, never while the cups are still chilling in the fridge.
Best crushed with a rolling pin instead of a food processor, so the texture stays a little uneven and rustic.
10. Timing the Assembly So Nothing Gets Soggy Before Serving

Building these more than four hours before serving usually means soft wafers and dull looking bananas by the time anyone digs in, even with the lemon juice trick.
⚠️ Watch Out
Assemble within four hours of serving for the cleanest layers, or build the base ahead and add bananas and topping last minute.
11. A Chocolate Version That Doesn’t Overpower the Banana
Swapping vanilla pudding for chocolate sounds simple, but too much cocoa flattens the banana flavor entirely. A milk chocolate pudding base, rather than dark, keeps enough sweetness in balance that the banana still comes through in every bite.
12. Piping the Whipped Topping for a Bakery Case Finish
A basic star tip and a steady hand turn a plain spoonful of whipped cream into something that looks like it came from a display case instead of a home kitchen.
Fill a piping bag fitted with a star tip with stabilized whipped cream.
Pipe in a tight circular motion, starting from the outer edge inward.
Finish with a small peak in the center by lifting the bag straight up.
13. Make Ahead Timing, From the Night Before to the Morning Of

The pudding base and whipped layer both hold up fine made a day ahead. Bananas and any crumb topping are the only pieces that need to wait until closer to serving time.
14. A Dairy Free Version That Still Layers and Sets Properly
Coconut milk pudding tends to set softer than a dairy version, which can leave the layers looking blurred instead of distinct.
| Dairy Version | Dairy Free Version |
|---|
| Dairy Version | Dairy Free Version |
|---|---|
| Sets firm on its own | Needs an extra hour to firm up in the fridge |
| Whipped cream for topping | Coconut cream, chilled overnight before whipping |
15. Choosing Clear Cups Versus Opaque Ones for the Best Presentation
Clear cups show off every layer, which is the whole appeal of building these in the first place. Opaque cups hide any uneven layering, which is actually useful if the layers didn’t come out perfectly even.
Forgiving for uneven layers, but hides the visual payoff entirely.
Shows every layer clearly, worth the extra care in spooning them neatly.
16. Adding a Toasted Coconut Layer for Texture Without Overwhelming It

Coconut flakes toasted in a dry pan for a few minutes add a nutty crunch that plain shredded coconut can’t match on its own.
What to grab first
17. The Vanilla Wafer Swap That Changes the Whole Flavor Profile
Swapping standard vanilla wafers for shortbread cookies shifts the whole dessert toward something richer and more buttery, closer to a banoffee pie than classic banana pudding.
Shortbread cookies swap in one to one for vanilla wafers and shift the flavor toward something richer.
Works especially well in the chocolate version, since the buttery cookie holds up against the deeper flavor.
18. Garnishing the Top Layer So It Still Looks Fresh Hours Later

A single banana slice on top browns fast once it’s exposed to air, so a light brush of the lemon water mixture right on the garnish slice keeps it looking fresh even a few hours into a party.
- ▸Brush the top banana slice lightly with lemon water.
- ▸Add the garnish slice right before serving, not ahead of time.
- ▸A small mint leaf or single wafer half adds a finished look.
Conclusion
None of what makes these cups look bakery made is complicated. It’s mostly about order and timing: pressing the bananas against the glass so they’re visible, adding the crumb topping last, waiting to garnish until right before anyone takes a bite. The recipe itself barely changes from one cup to the next.
Pick two or three of these ideas to start, rather than trying all eighteen at once. The lemon juice trick and pressing the layers against the glass alone will make a noticeable difference the first time you try it.
Layered banana pudding cups are one of those desserts that look far more impressive than the effort they actually take, especially once the small details are handled ahead of time. Save this list for the next time you want a dessert that looks like it took all day, even when it didn’t.