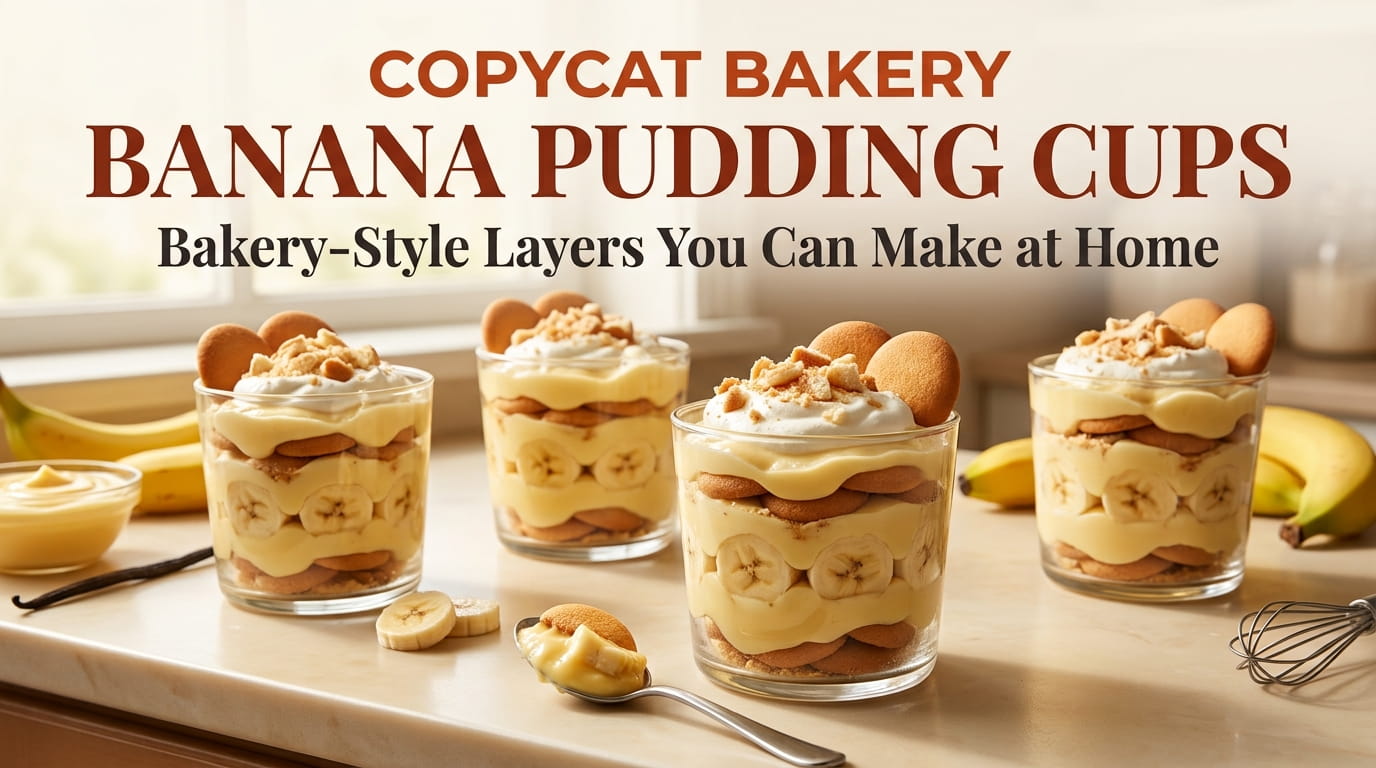
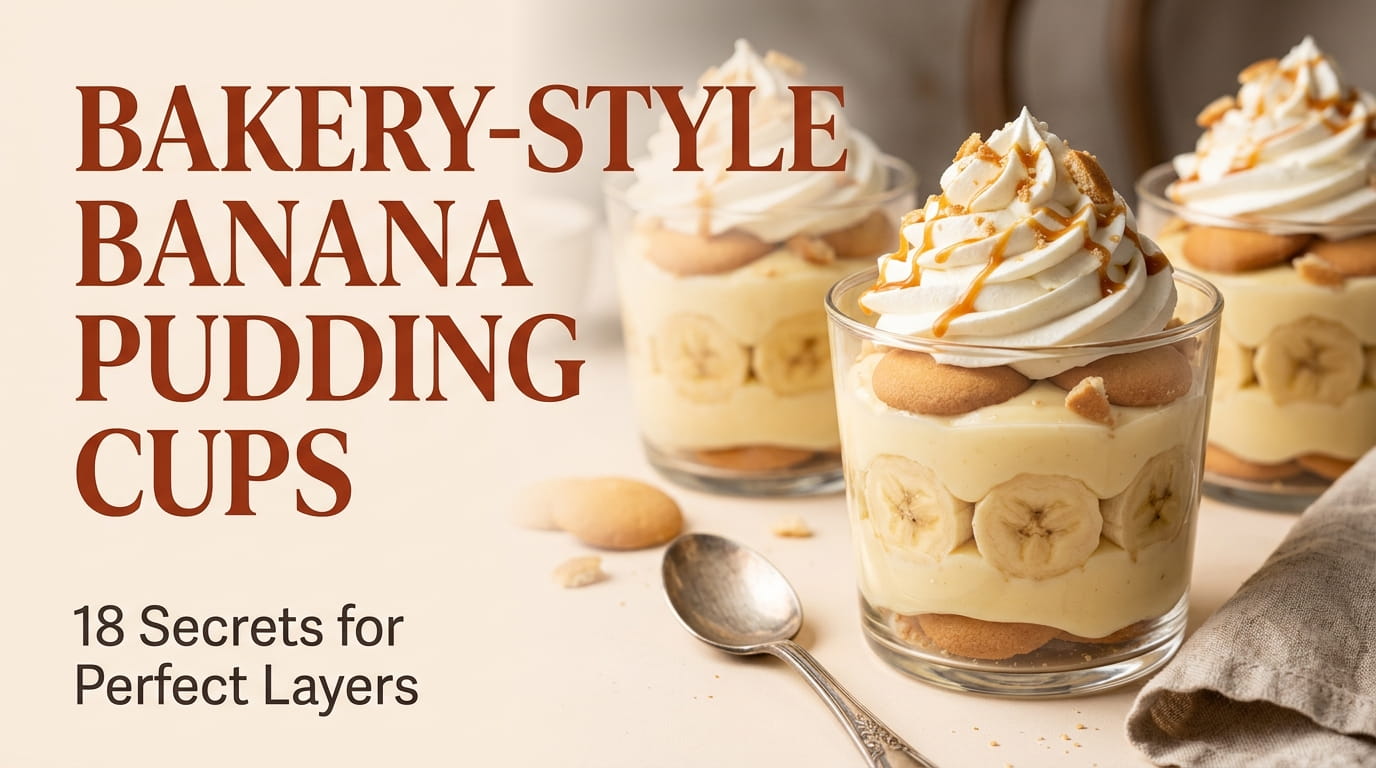
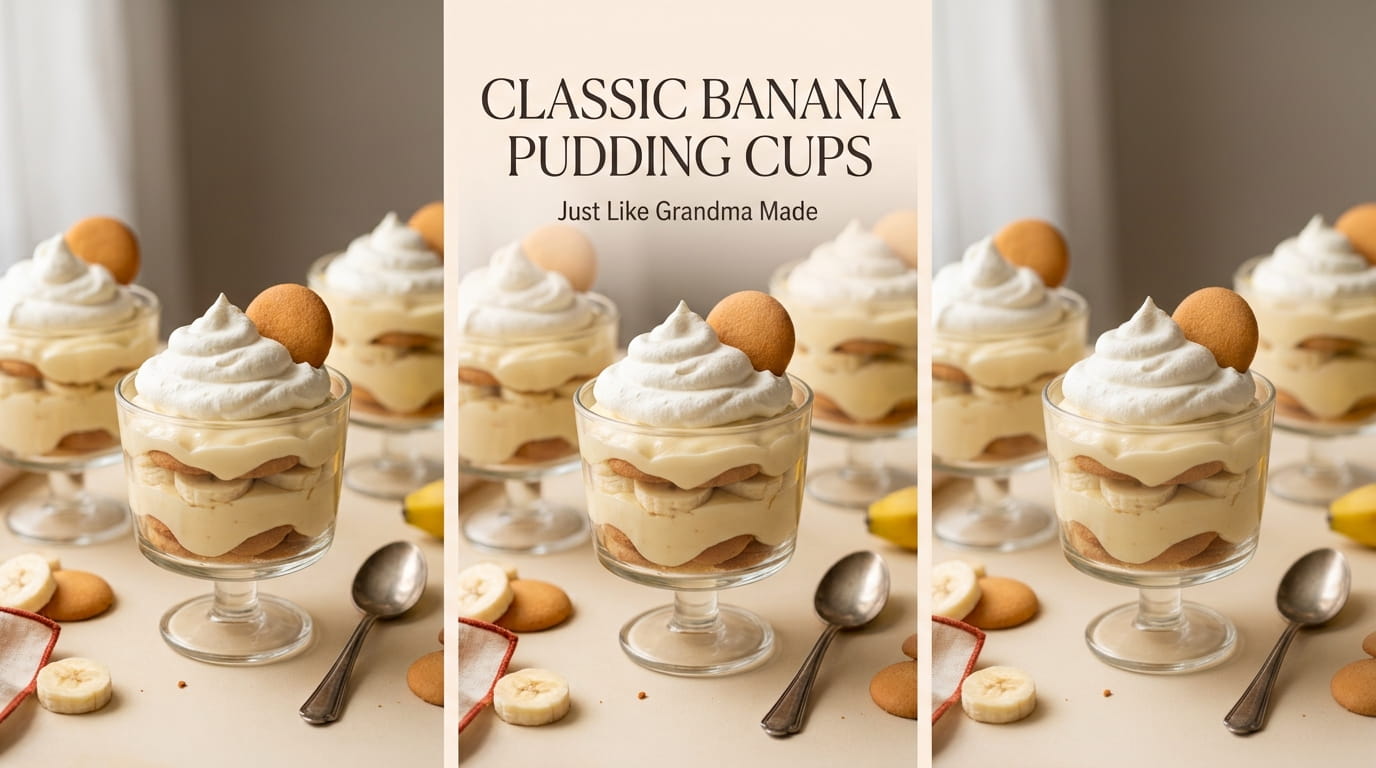
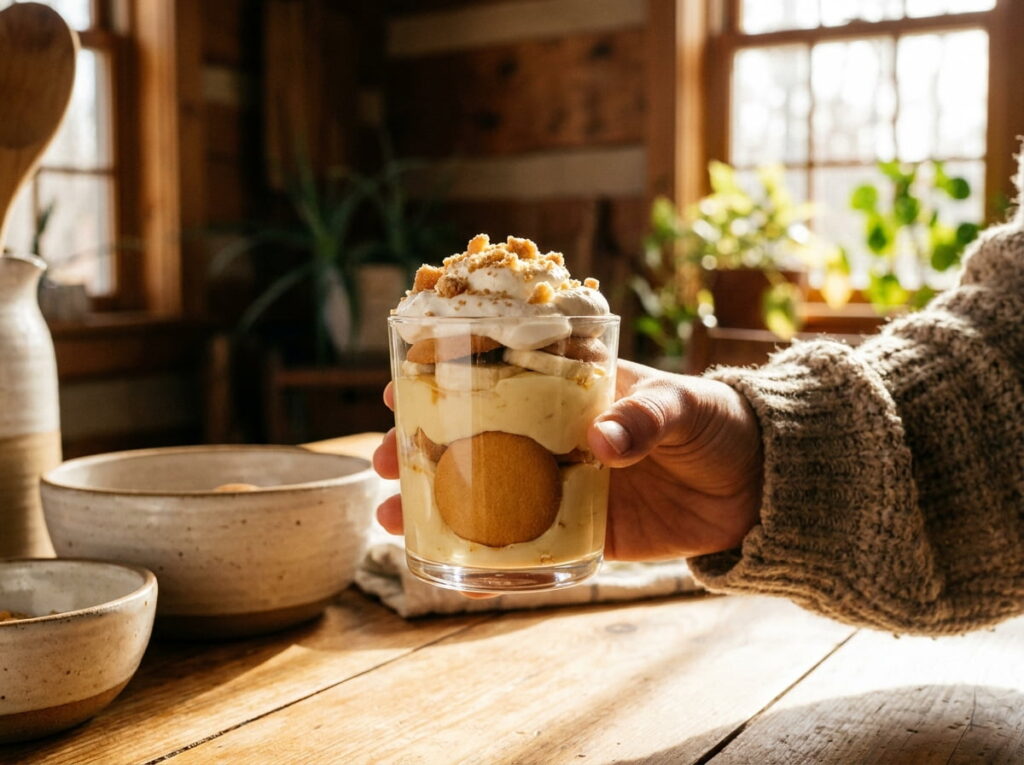
There’s a very specific banana pudding that shows up in every NYC food video, the one in a little cup with a wafer pressed into the side, and once you’ve had it, regular banana pudding just doesn’t hit the same. Copycat bakery banana pudding cups exist for exactly that reason, the craving that hits when you’re nowhere near a line out the door in Manhattan.
Getting it right isn’t about a mystery ingredient either. It comes down to a handful of specific choices, a real from scratch pudding instead of a shortcut mix, whipped cream folded in gently, bananas at the right ripeness, and a proper rest in the fridge before anyone digs in. Skip any one of those and the texture or flavor falls a little flat.
Below are twenty details covering everything from the pudding base to how far ahead you can prep these for a party, all built around recreating that specific cup people wait in line for. Get through this list once, and you’ll have the whole thing down without ever leaving your kitchen.
1. Why This Specific Banana Pudding Became Famous In The First Place

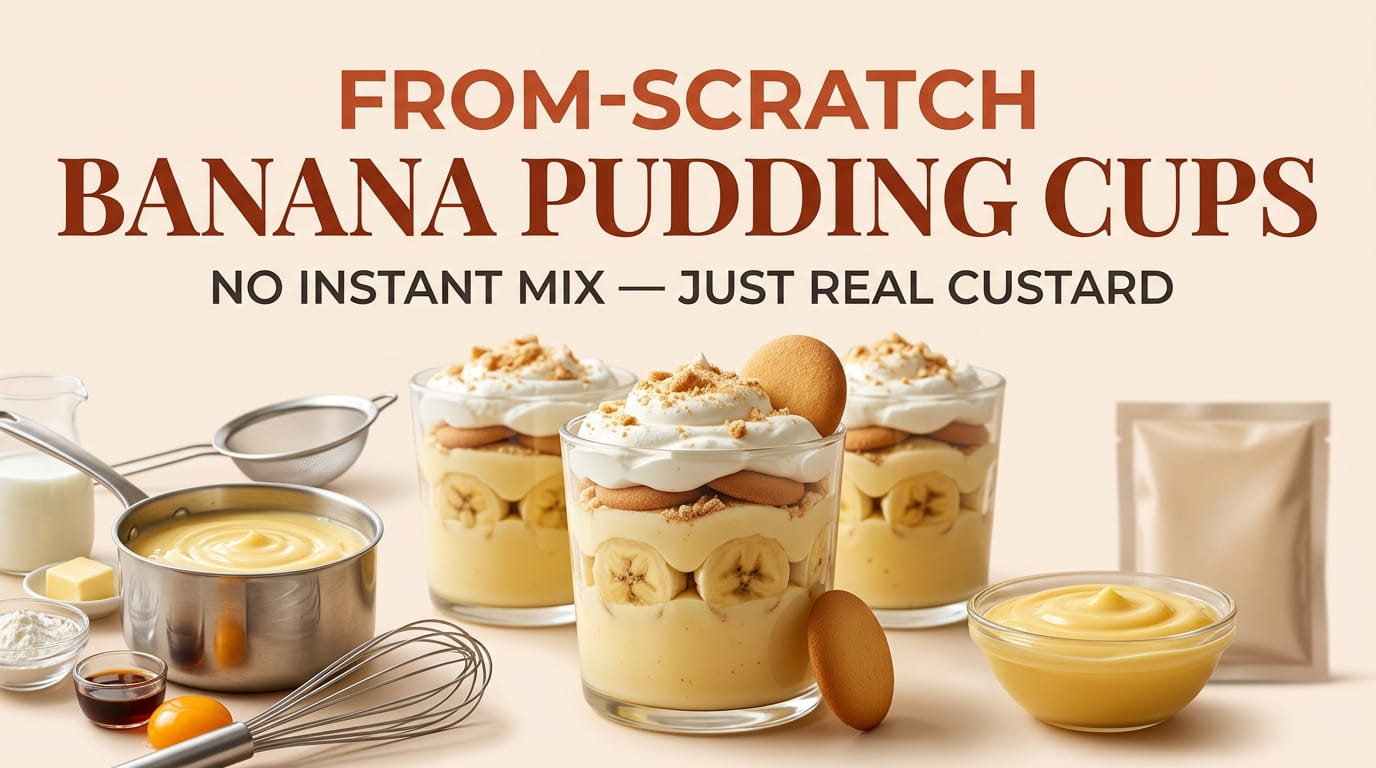
Most banana pudding recipes lean on instant pudding mix and call it a day. This version stands out because it treats the pudding as its own real dessert, made from scratch, rather than a quick afterthought poured over wafers.
💡 Quick Tip
The real difference is treating the pudding itself as a from scratch dessert, not just a binder for bananas and wafers.
2. The Exact Ingredients That Build The Base Layer
Every layer here earns its spot, and skipping or swapping one changes the whole texture more than you’d expect.
3. Vanilla Wafers Versus Nilla Wafers: Does The Brand Actually Matter
Most people assume the name brand box is required, but the truth is any classic style vanilla wafer works, since it’s the shape and crunch that matter more than the label.
| Name Brand Wafers | Any Vanilla Wafer |
|---|---|
| Familiar flavor and shape | Nearly identical texture and crunch |
| Usually costs more | Store brand works just as well |
4. The Pudding Base Built From Scratch Instead Of An Instant Mix
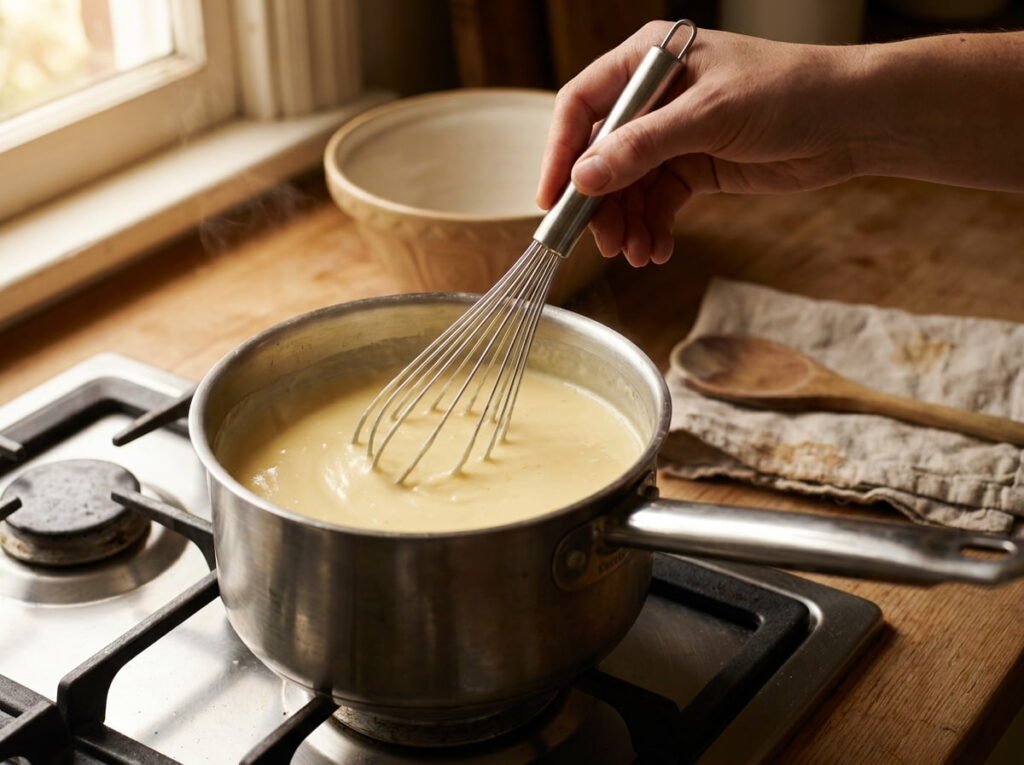
Instant pudding sets up fast, but it also tastes noticeably artificial next to a base built from egg yolks, milk, and real vanilla cooked slowly on the stove until it thickens naturally.
Instant pudding mix, fast but slightly artificial tasting.
Real egg yolk custard base, rich and genuinely vanilla flavored.
5. Folding Whipped Cream In Without Deflating The Pudding
Stirring whipped cream in aggressively knocks all the air back out of it, leaving the pudding dense instead of light. A gentle folding motion keeps that airiness intact.
- Let the pudding base cool completely before adding cream
- Add whipped cream in two or three additions, not all at once
- Fold gently with a spatula, turning the bowl as you go
Let the pudding base cool completely before adding cream.
Add whipped cream in two or three additions, not all at once.
Fold gently with a spatula, turning the bowl as you go.
6. Choosing Bananas At The Right Ripeness, Not Too Green Or Too Spotted
A banana that’s still slightly green stays firm but tastes starchy against the sweet pudding. One that’s heavily spotted turns mushy fast and browns even quicker once sliced.
7. The Layering Order That Keeps Every Bite Balanced

Dumping bananas, wafers, and pudding in randomly means some bites are all cookie and others are all pudding with nothing else. A consistent layering order fixes that completely.
💡 Quick Tip
Wafer layer, then banana slices, then pudding, repeated twice per cup, keeps every spoonful balanced.
8. Individual Cups Versus One Large Dish: Which Fits Your Occasion
Both versions use the exact same recipe, but the format changes how the pudding actually gets served and stored.
| Individual Cups | One Large Dish |
|---|---|
| Great for parties, no serving needed | Better for a family style dinner |
| Portion controlled automatically | Easier to make one big batch |
9. Why This Pudding Needs A Real Rest In The Fridge Before Serving
Serving this right after assembly means crunchy wafers and a pudding that hasn’t had time to settle into itself. A real rest changes both of those things for the better.
Let the assembled cups rest at least four hours in the fridge.
Overnight is even better if you have the time.
Serving it right after assembly.
Rushing the chill time to save a couple hours.
10. Keeping The Wafers From Turning Fully Soggy Too Early
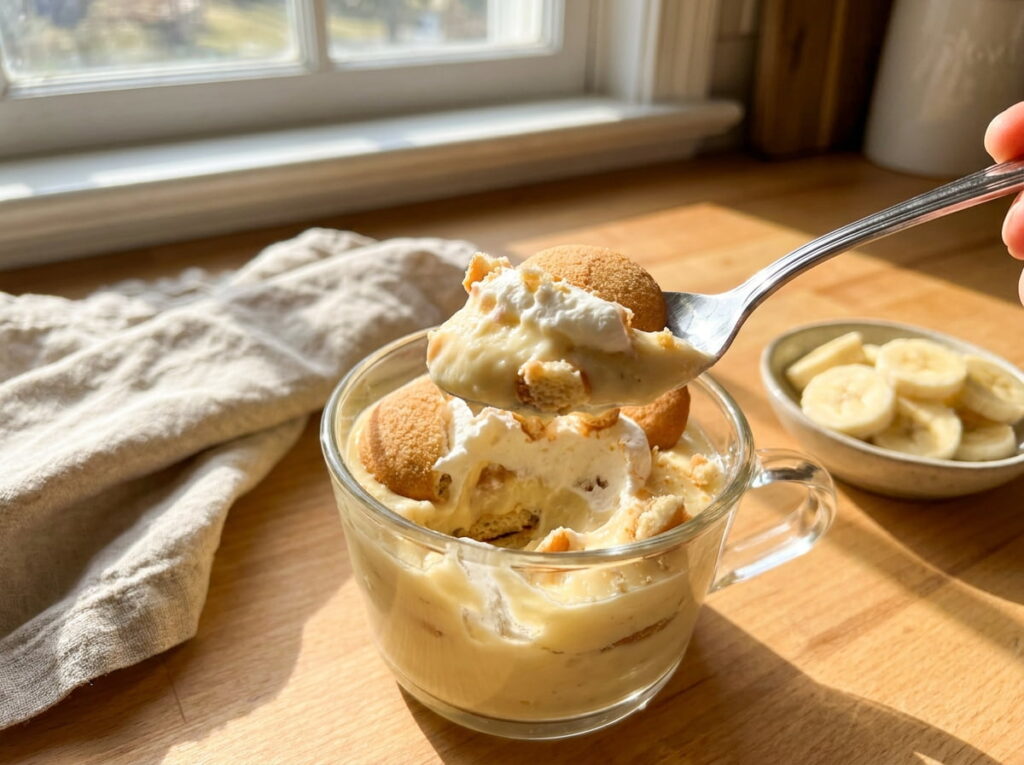
Some softening is the point here, but fully dissolved wafers by the time you serve mean the rest time went on too long or the layers were too thin to begin with.
- Use a slightly thicker wafer layer than feels necessary
- Keep the rest time close to the recommended window, not far beyond it
- Add a few whole wafers on top just before serving for contrast
Keeping some texture
11. The Cream Cheese Addition That Changes The Whole Texture
A small amount of softened cream cheese whipped into the pudding base before folding in the cream adds a slight tang and a noticeably denser, richer texture than pudding alone would have.
Plain vanilla pudding, light but slightly one note.
A touch of cream cheese, richer with a subtle tang underneath.
12. Sweetened Condensed Milk As The Ingredient Most People Skip By Mistake
A lot of homemade versions leave this out entirely, assuming regular sugar covers the sweetness. Sweetened condensed milk actually does more than sweeten, it adds body and a slight caramel note that plain sugar can’t replicate.
13. Building The Cups In Clear Glass For The Full Visual Effect

Part of the appeal here is genuinely visual, since you can see every distinct layer through the side of the cup instead of guessing what’s inside a bowl.
14. How Far Ahead You Can Actually Make These Before Serving
Timing this one well means the difference between fresh, well set cups and pudding that’s either too firm or too far gone by serving time.
- Assemble up to a full day ahead for the best texture
- Avoid going much beyond 24 hours before serving
- Add any topping garnish right before guests arrive
Planning your timeline
15. Preventing The Bananas From Browning Before You Even Serve Them
Sliced bananas start browning within the hour, which is a problem for anything meant to be assembled ahead and stored looking its best.
Toss sliced bananas lightly in lemon or pineapple juice.
Slice bananas right before layering, not hours ahead.
Slicing all the bananas at the start of a long prep session.
Leaving sliced bananas uncovered on the counter.
16. Topping Each Cup With Crushed Wafers Right Before Serving, Not Before
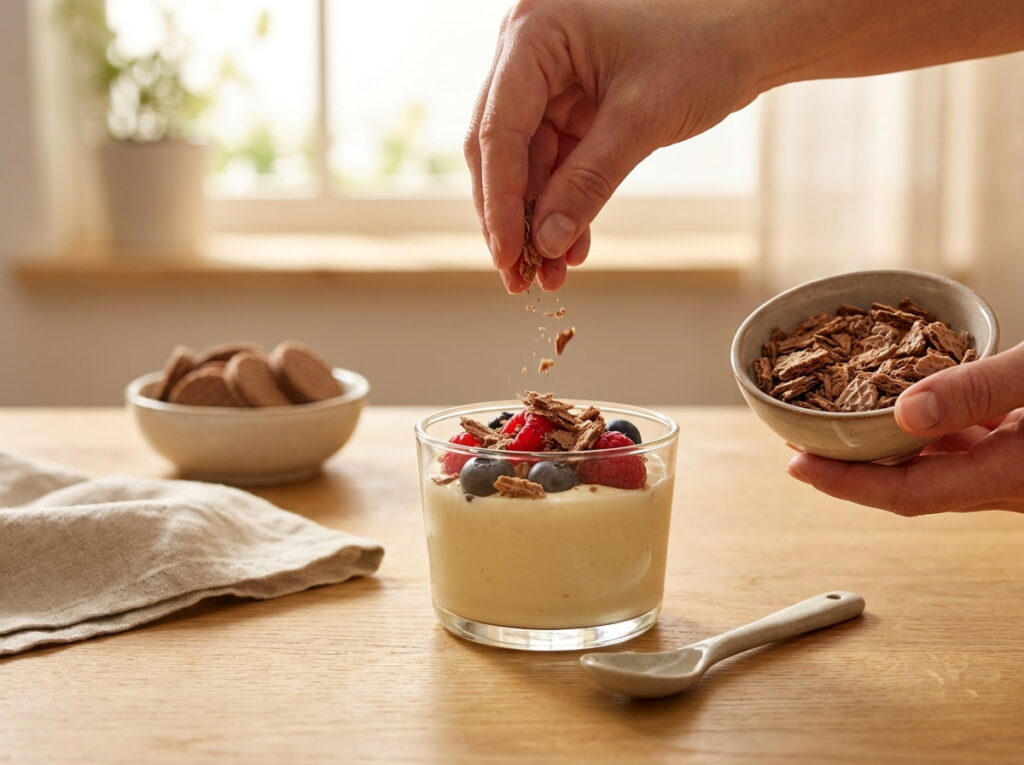
A crushed wafer topping added during assembly softens right along with everything else by the time you serve, losing the crunch that’s supposed to contrast with the creamy pudding underneath.
💡 Quick Tip
Keep the crushed wafer topping in a separate container and add it right before serving, not during assembly.
17. Portioning Cups For A Party Without Running Out Of Pudding
Guessing at quantities for a crowd usually ends with either way too much leftover pudding or a table of guests eyeing the last cup.
- Plan on one cup per guest, with a couple extras for seconds
- Batch the pudding base in one large pot rather than smaller batches
- Assemble all cups in one session so the layers stay consistent
Plan on one cup per guest, with a couple extras for seconds.
Batch the pudding base in one large pot rather than smaller batches.
Assemble all cups in one session so the layers stay consistent.
18. Common Mistakes That Make Homemade Banana Pudding Taste Off
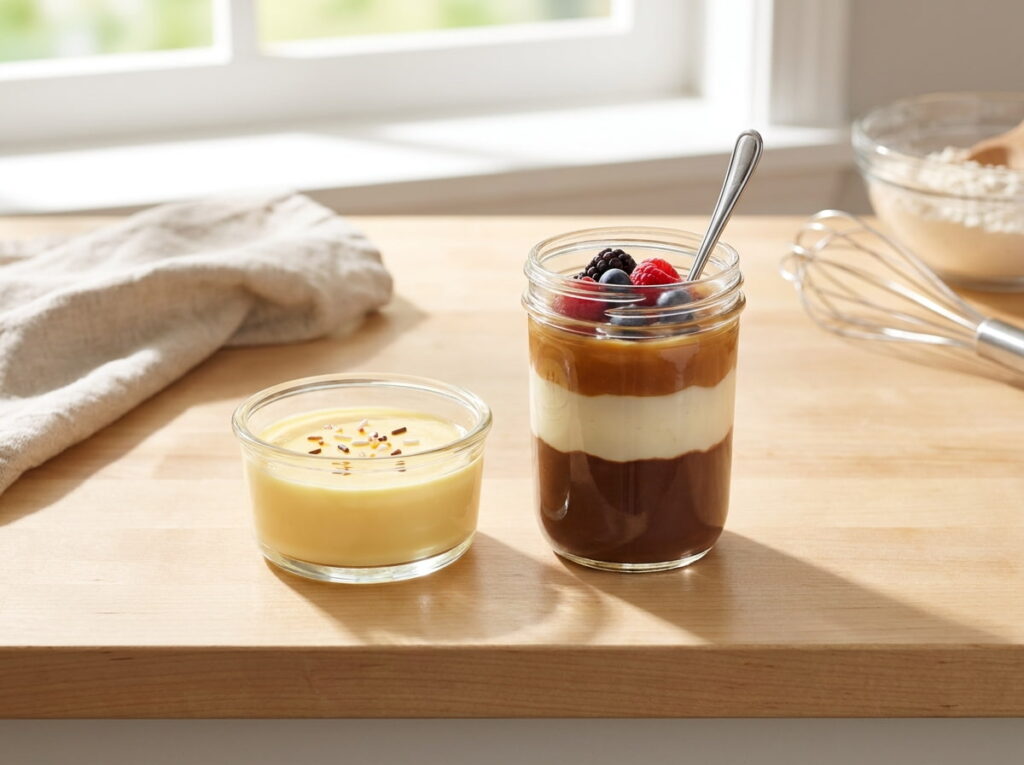
Most disappointing homemade attempts trace back to a small handful of avoidable choices, not any single ruined ingredient.
Instant pudding, overripe bananas, no rest time, flat one note flavor.
From scratch pudding, ripe bananas, proper rest, layered and balanced.
19. Storing Leftovers Without Ruining The Texture By The Next Day
Leftovers hold up reasonably well for a short window, but the texture and banana freshness both decline steadily the longer they sit.
20. Your One Page Guide To Building The Perfect Pudding Cup
Bookmark this section for the next time you’re making these and want a quick reminder of the whole process laid out at once.
Conclusion
That specific banana pudding craving doesn’t need a trip to New York to satisfy it. Once you understand what actually goes into copycat bakery banana pudding cups, the real vanilla base, ripe bananas, a proper rest in the fridge, the whole thing comes together at home without much extra effort at all.
Start with the pudding base itself, since getting that right does more for the final result than any other single step. Everything else, the layering, the timing, the toppings, builds naturally from there.
Save this guide for the next time that craving hits and you’d rather make a batch yourself than wait in line for one.