A favorite casserole recipe doesn’t have to sit unused just because the oven’s tied up with something else, or the kitchen’s too hot to run it for an hour. Most oven dishes can move to a slow cooker without much trouble, once you know which parts of the recipe actually need adjusting.
Learning how to convert recipe to crockpot cooking isn’t about memorizing exact substitutions for every dish. It’s a handful of consistent adjustments, mainly around time, liquid, and when certain ingredients go in, that apply across almost any recipe you’d want to move over.
This list walks through those adjustments in order, starting with the basic time and temperature math and working through the specific details that trip people up, like when cheese should go in or why a browned top layer usually doesn’t survive the switch. Once the pattern clicks, converting a new recipe takes a few minutes of thinking instead of guesswork.
Let’s get into the actual conversion process.
1. Match the Oven Temperature to the Right Slow Cooker Setting
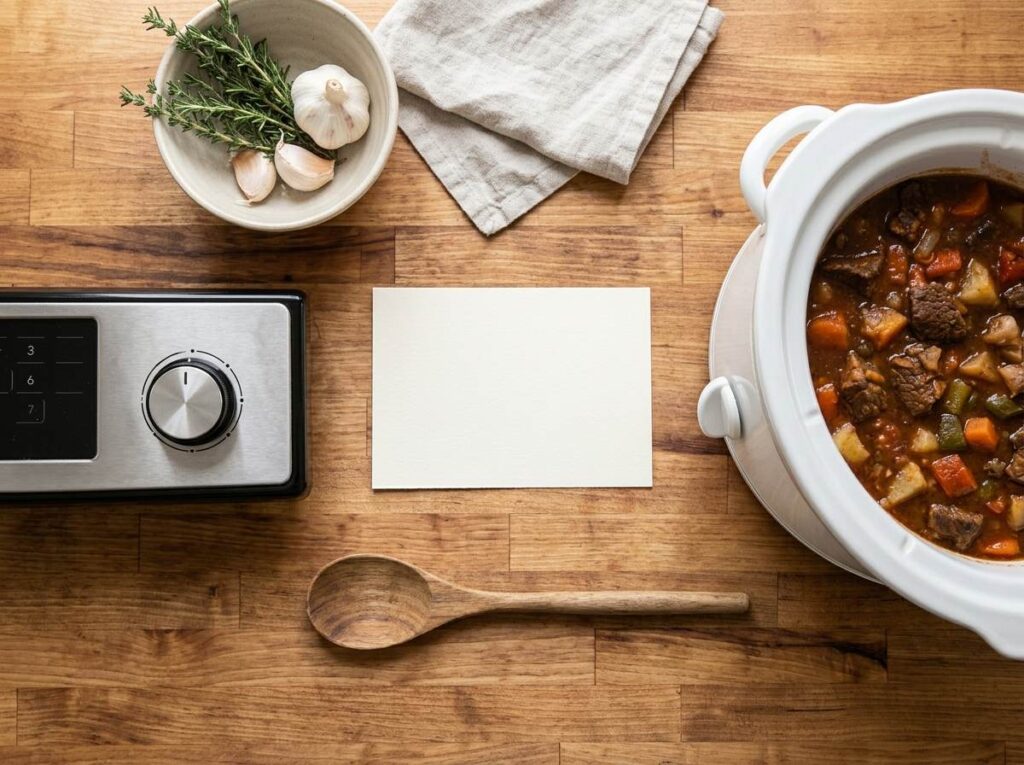
Oven temperatures don’t translate directly to slow cooker settings, since the heat source and cooking environment work completely differently.
As a general starting point, a 350 degree oven recipe usually converts to about 6 to 8 hours on low, or 3 to 4 hours on high. Recipes that bake hotter, closer to 400 or 425, usually need slightly less total time even on the low setting, since they were built for a faster cook to begin with.
2. The General Time Formula for Converting Any Bake Time
Once the basic ratio clicks, converting any oven bake time to a slow cooker setting becomes a quick calculation instead of a guess.
Multiply the original bake time by roughly 4 for the low setting, or by 2 for the high setting. A 45 minute oven recipe lands around 3 hours on high or closer to 6 hours on low, giving a solid starting point before checking doneness directly.
💡 Quick Tip
Treat this formula as a starting estimate, always check the dish rather than relying on the math alone.
3. Cut the Added Liquid Before the Recipe Ever Goes In
An oven recipe assumes some of its liquid will evaporate off during baking, which simply doesn’t happen the same way under a sealed slow cooker lid.
Reduce any added liquid, broth, water, or sauce, by about a quarter to a third of what the original recipe calls for. The sealed environment traps moisture instead of letting it cook off, so a full amount of liquid usually turns the dish thin and watery by the end.
4. Dense Root Vegetables Go on the Bottom, Not the Protein
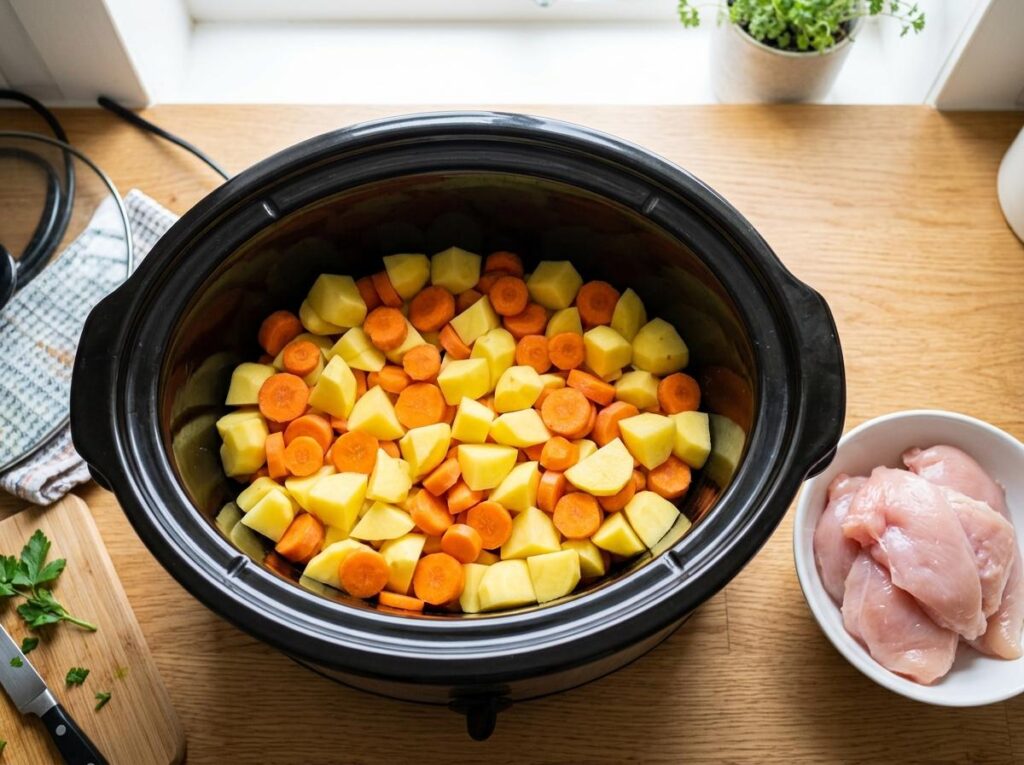
Layering a converted recipe in the wrong order is one of the fastest ways to end up with undercooked potatoes and overcooked meat.
- Place dense vegetables like potatoes, carrots, and turnips on the very bottom.
- Add the protein next, since it sits closer to the heat source at the bottom of the pot.
- Layer anything soft or quick cooking, like peas or leafy greens, on top last.
Place root vegetables directly on the bottom of the pot.
Layer the protein on top of the vegetables next.
Save soft, fast cooking ingredients for the very top.
5. Dairy Added at the Start Versus Added Near the End
Cream, milk, and sour cream can curdle or separate if they sit at slow cooker heat for the entire cook time, something that rarely happens in a shorter oven bake.
Hold dairy back and stir it in during the last 20 to 30 minutes instead of adding it at the beginning with everything else. That timing shift is often the single biggest reason a converted creamy dish comes out smooth instead of broken and grainy.
Stir dairy in during the last 20 to 30 minutes.
Keep the heat on low once dairy is added.
Adding cream or milk at the very start.
Letting dairy sit at heat for the full cook time.
6. Brown the Meat First Even Though the Recipe Says Skip It
A lot of oven recipes rely on the dry heat of baking to develop browning and flavor on meat, something a slow cooker simply can’t replicate on its own.
- Sear the meat in a hot pan for two to three minutes per side before it goes in.
- Deglaze the pan with a splash of the recipe’s liquid to catch the browned bits.
- Add both the seared meat and that liquid into the slow cooker together.
What to grab first
7. Casseroles Versus Roasts, Why the Conversion Isn’t the Same for Both
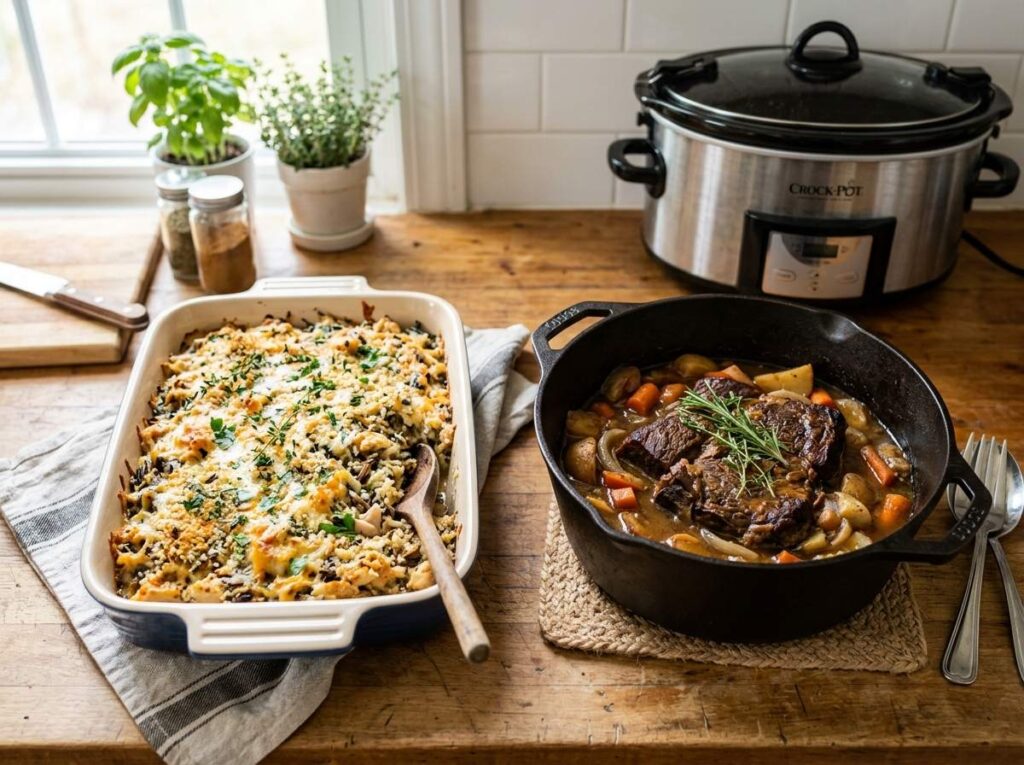
Not every oven recipe converts the same way, and treating a casserole exactly like a roast usually leads to disappointing results either direction.
Roasts and stews generally convert cleanly, since they’re already built around long, moist cooking that a slow cooker handles well. Casseroles need more adjustment, since they often rely on layers, a crisp top, or pasta that behaves differently once it’s cooking under a sealed lid for hours.
| Roasts and stews | Casseroles |
|---|---|
| Convert with minor time and liquid changes. | Often need ingredient timing adjustments too. |
| Already built for long, moist cooking. | Built around dry oven heat and a crisp top. |
8. Thicken the Sauce at the End Instead of the Beginning
A sauce that’s supposed to reduce and thicken in the oven doesn’t get that same chance under a slow cooker’s sealed, moist environment.
Instead of adding flour or cornstarch at the start where it can clump or thin out over hours, mix a small slurry near the end of the cook time and stir it in during the last 15 to 20 minutes. That timing gives the sauce a real chance to thicken properly before serving.
A thin, watery sauce that never actually thickened.
A properly thickened sauce added right at the end.
9. The One Rule That Prevents a Converted Recipe From Turning to Mush
Every adjustment on this list really supports the same underlying principle, which is worth keeping in mind more than any single specific number.
A slow cooker cooks gently but for a much longer stretch of time than an oven, so anything sensitive to overcooking, vegetables, delicate proteins, pasta, needs to go in later than the recipe originally suggests. Respecting that timing difference is what keeps a converted dish from turning into an overcooked, mushy version of the original.
Anything sensitive to overcooking needs to go in later than the original recipe suggests.
10. Cheese and Delicate Toppings Go On After the Cook, Not Before
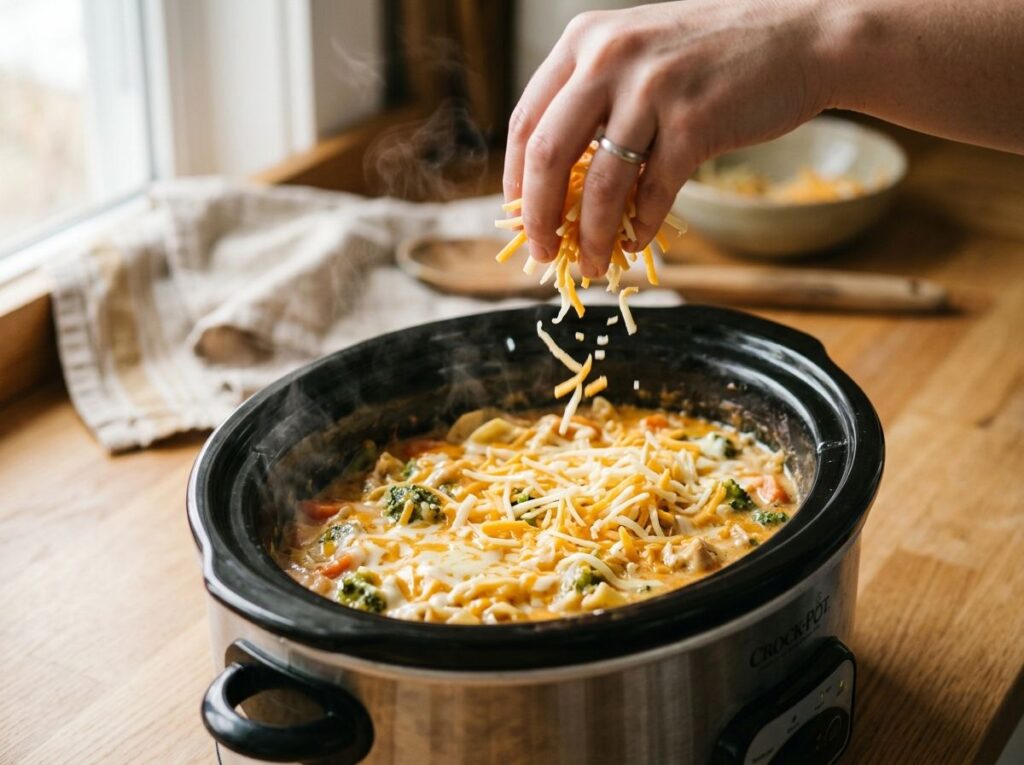
Melted cheese baked on top of a casserole in the oven turns golden and slightly crisp, but that same cheese added at the start of a slow cooker recipe just turns greasy and separated after hours of heat.
Add cheese, breadcrumbs, or any other topping during the final 15 minutes, with the lid off if possible to let some of the moisture escape. It won’t get quite as crisp as an oven finish, but it holds its texture far better than cooking the whole time.
💡 Quick Tip
A few minutes under the broiler after the slow cooker finishes can bring back some of that crisp top layer.
11. Adjust Seasoning Amounts Since Flavor Concentrates Over a Long Cook
A recipe seasoned correctly for a 45 minute oven bake can turn out oddly intense after six or eight hours of slow, concentrated cooking.
Dial back strong seasonings like garlic powder, chili flakes, and dried herbs by about 20 to 25 percent from what the original recipe calls for. Salt is the exception, that’s better added toward the end once you can actually taste how much the dish has concentrated.
12. Convert a Casserole Recipe Step by Step From Oven to Crockpot
Bringing all the individual adjustments together on one recipe makes the whole process click faster than reading about each rule separately.
- Cut the added liquid by about a quarter and reduce dried seasoning slightly.
- Layer starchy vegetables on the bottom, protein in the middle, and hold delicate toppings back.
- Cook on low using the time formula, then add cheese or breadcrumbs during the last 15 minutes uncovered.
Reduce liquid and seasoning slightly before assembling.
Layer ingredients by density, holding back delicate toppings.
Add the topping near the end, uncovered, to finish the dish.
13. Five Ingredients That Actually Do Better With the Longer Cook Time
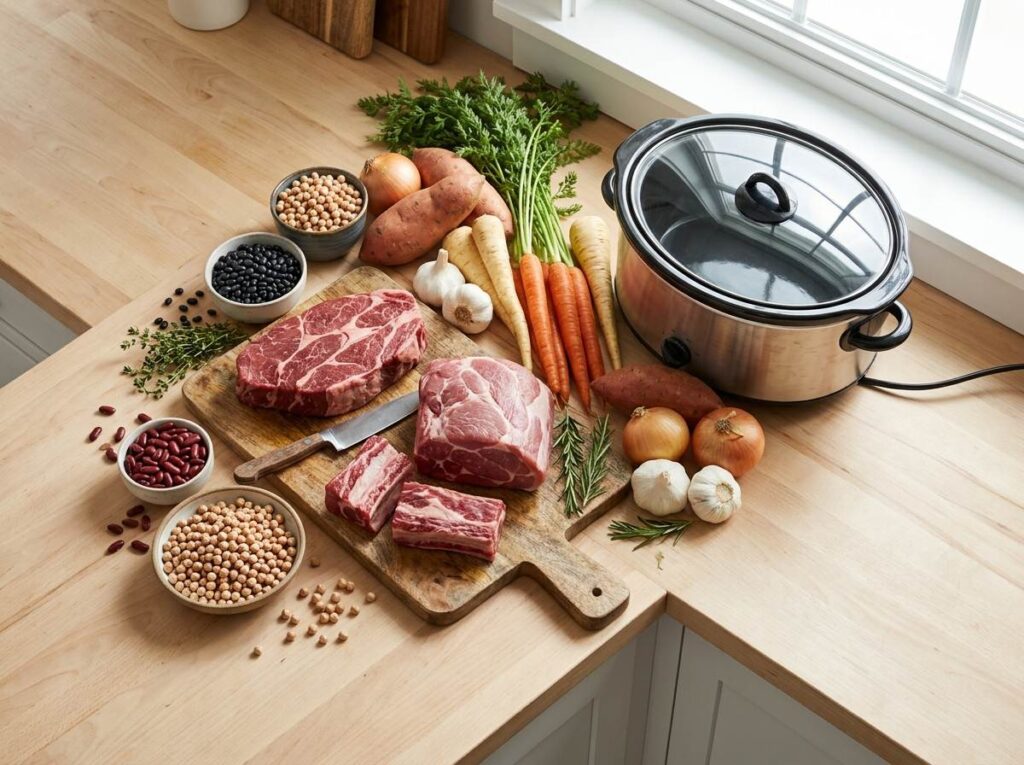
Not every ingredient suffers from the switch to a slow cooker, and some genuinely turn out better than the original oven version.
Tough cuts of meat, dried beans, bone in chicken, root vegetables, and onions all benefit from the extended low heat, breaking down further into deeper flavor than a shorter oven bake ever allows.
14. Baked Pasta Dishes Need the Noodles Added Later, Not at the Start
Pasta added at the beginning of a long slow cooker session turns to mush well before the rest of the dish is anywhere near done.
- Cook the sauce and any protein for most of the total time first.
- Add uncooked pasta during the last 30 to 45 minutes, depending on the shape.
- Check for doneness at the low end of that window, since pasta cooks fast even at slow cooker temperatures.
What to grab first
15. Skip Recipes That Rely on a Crispy or Browned Top Layer
Not every oven recipe is worth converting, and knowing which ones to leave alone saves a disappointing result before it happens.
Anything built around a genuinely crispy top, like a gratin or a dish that depends on browned, bubbling cheese as the main appeal, generally isn’t worth the effort of converting. The slow cooker’s moist, sealed environment just can’t replicate that texture, no matter how the timing gets adjusted.
Convert dishes where texture isn’t the main appeal.
Finish under a broiler if crispness really matters.
Converting a gratin or crispy topped dish directly.
Expecting a browned top from a sealed, moist environment.
16. High Setting Versus Low Setting, What Each One Actually Changes
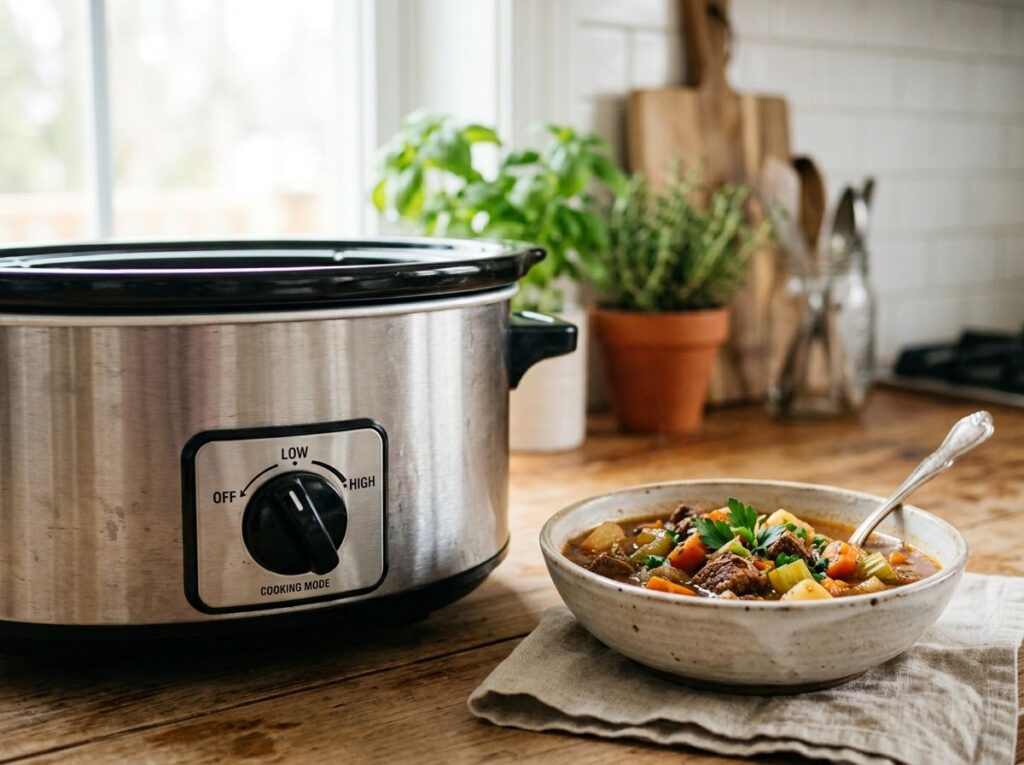
Both settings eventually reach a similar internal temperature, but the path getting there changes the final texture more than people expect.
Low heat cooks more gently over a longer stretch, which is better for tougher cuts of meat that need time to break down. High heat gets there faster but can toughen leaner proteins that don’t have the fat content to hold up under a quicker, more aggressive cook.
| Low setting | High setting |
|---|---|
| Best for tough cuts that need time to break down. | Faster, but can toughen leaner proteins. |
| Roughly double the total cook time of high. | Roughly half the total cook time of low. |
17. Check Doneness With a Thermometer Instead of Trusting the Clock
Relying purely on a converted time estimate is risky, since slow cookers vary more than ovens do from one model to the next.
A meat thermometer removes that guesswork entirely, confirming the dish is actually done instead of just assuming based on the clock. What used to be a hopeful guess based on converted math becomes an actual confirmed result, checked directly instead of estimated.
Guessing doneness based on converted time estimates alone.
A thermometer confirming the dish is actually finished.
18. A Quick Reference for Converting Any Oven Recipe in One Pass
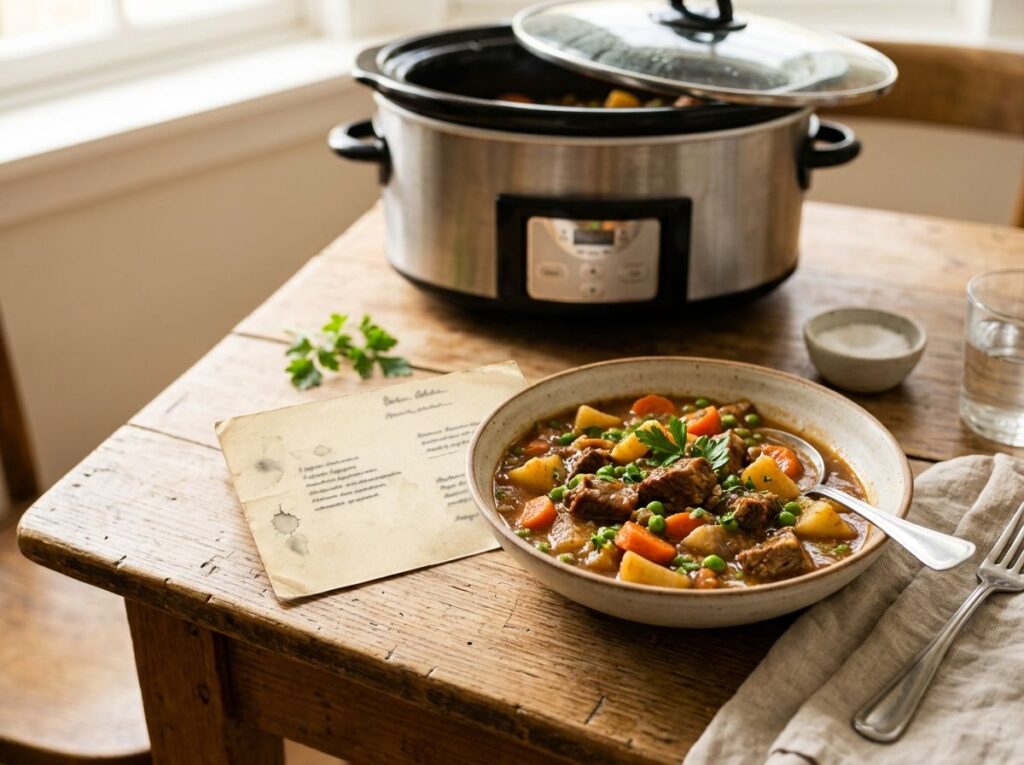
With every individual adjustment covered, a short recap makes it easier to run through the whole conversion process on a new recipe without flipping back through the full list.
Cut the liquid, layer by density, hold delicate ingredients and dairy until the end, and multiply the bake time using the low or high formula. That combination covers the majority of what any oven recipe needs to work well in a slow cooker.
Cut the liquid, layer by density, hold delicate ingredients until the end, and multiply the time.
Conclusion
None of this requires memorizing a new recipe for every dish, just a consistent set of adjustments that apply almost anywhere. Once you understand how to convert recipe to crockpot cooking, a whole shelf of favorite oven recipes opens back up for the mornings when the oven isn’t an option.
Start with something forgiving, a stew or a pot roast, before working up to trickier conversions like baked pasta or a layered casserole. The adjustments get faster to apply each time, until converting a new recipe barely takes more than a quick glance through the ingredient list.
Save this list for the next recipe that’s stuck in the oven only column for no real reason.